Clothespin Doll Tutorial
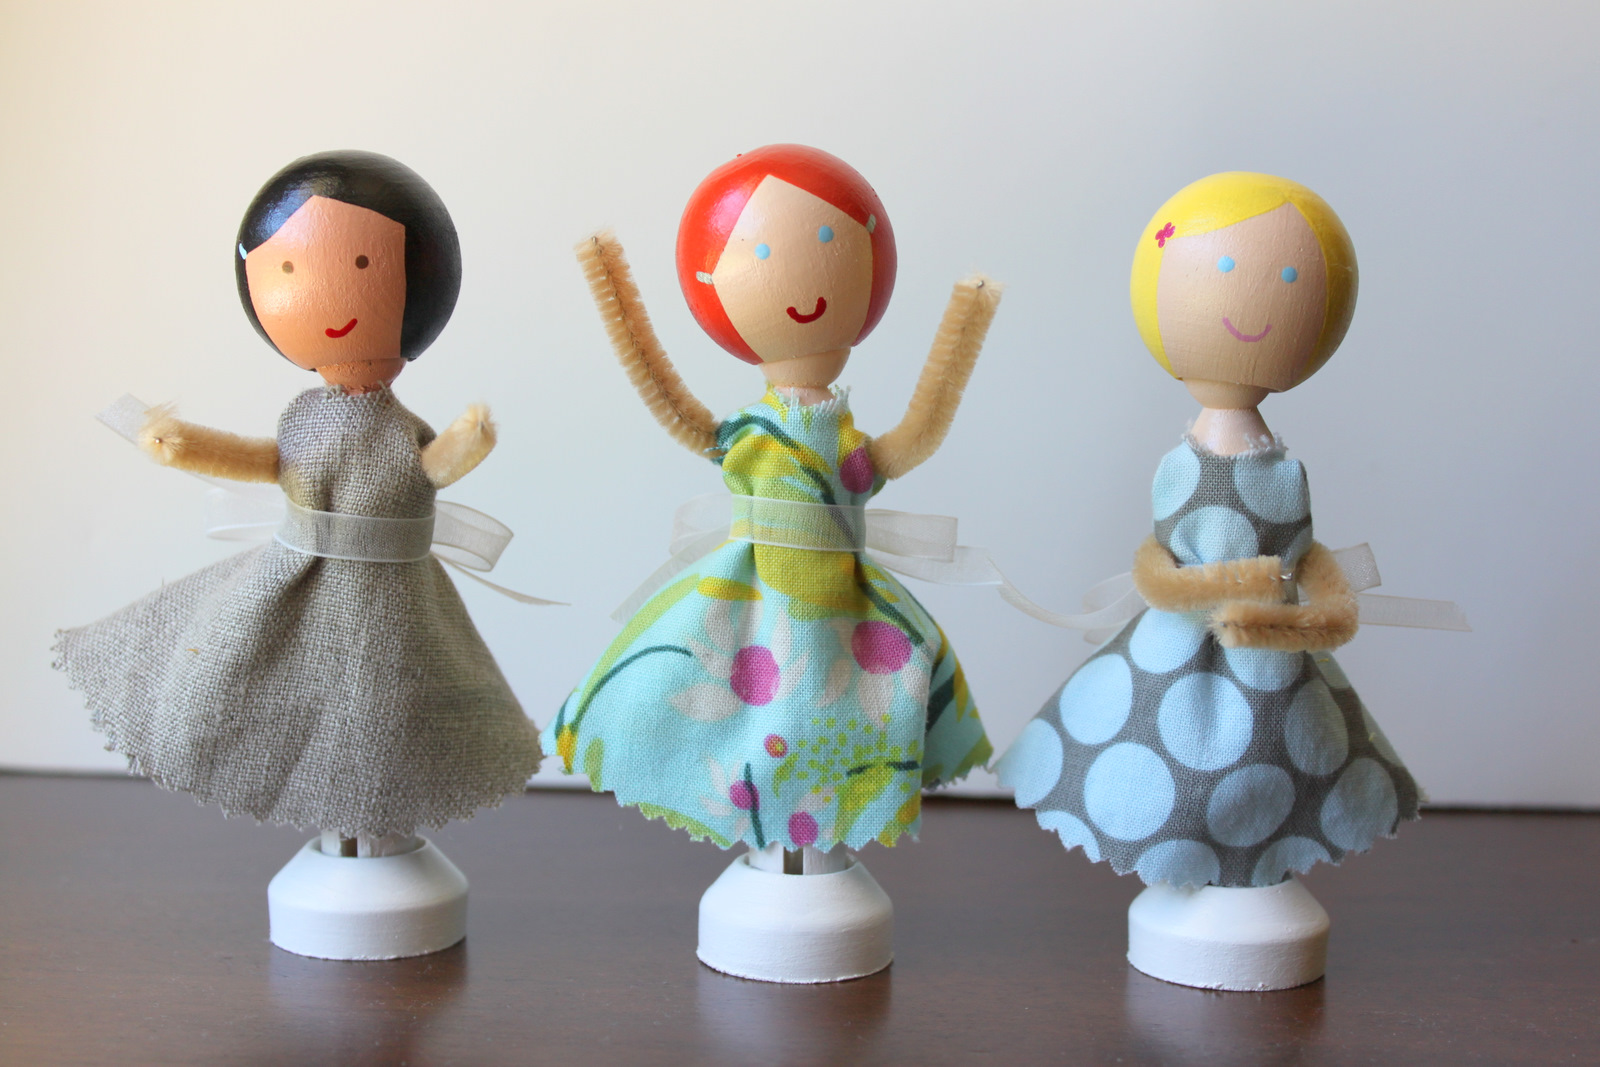
These sweet dolls were made on day one of Craft Camp. The girls all seemed to love them and I have to admit, I had a lot of fun creating the demos. Aren’t they darling? To make some of your own you’ll need to gather a few supplies.

Supplies
- -Craft paint. You’ll need a few different colors. White, a flesh color, a hair color, an eye color, and any accessory colors you may want to use.
- -Paintbrushes.
- -5″ fabric circle cut with pinking shears.
- -Ribbon.
- -Scissors.
- -Glue gun.
- -Flesh-colored pipe cleaner.
- -Clear sealer. I used a gloss finish.
- -Wooden clothespin.
- -Clothespin doll stand.
- -Wooden clothespin doll head.
I found the wooden clothespins, doll stands + doll heads at Michael’s Crafts.


Once your doll is assembled, you can start dressing her.


Slip dress over dolls head, pipe cleaner arms through arm holes, and tie your ribbon around dolls waist. If you would like the dress neckline to be smaller, you can wait to glue your dolls head on until you put the dress in place.

Abigail, Audrey and I have had a lot of fun the past week with these dolls. They are easy to play with because they have so much personality. And if I’m being 100% honest here, I have a couple of boys requesting “guy dolls”. That sounds like a fun challenge, doesn’t it?!

Happy doll making, friends.