DIY-MASON JAR CHANDELIER
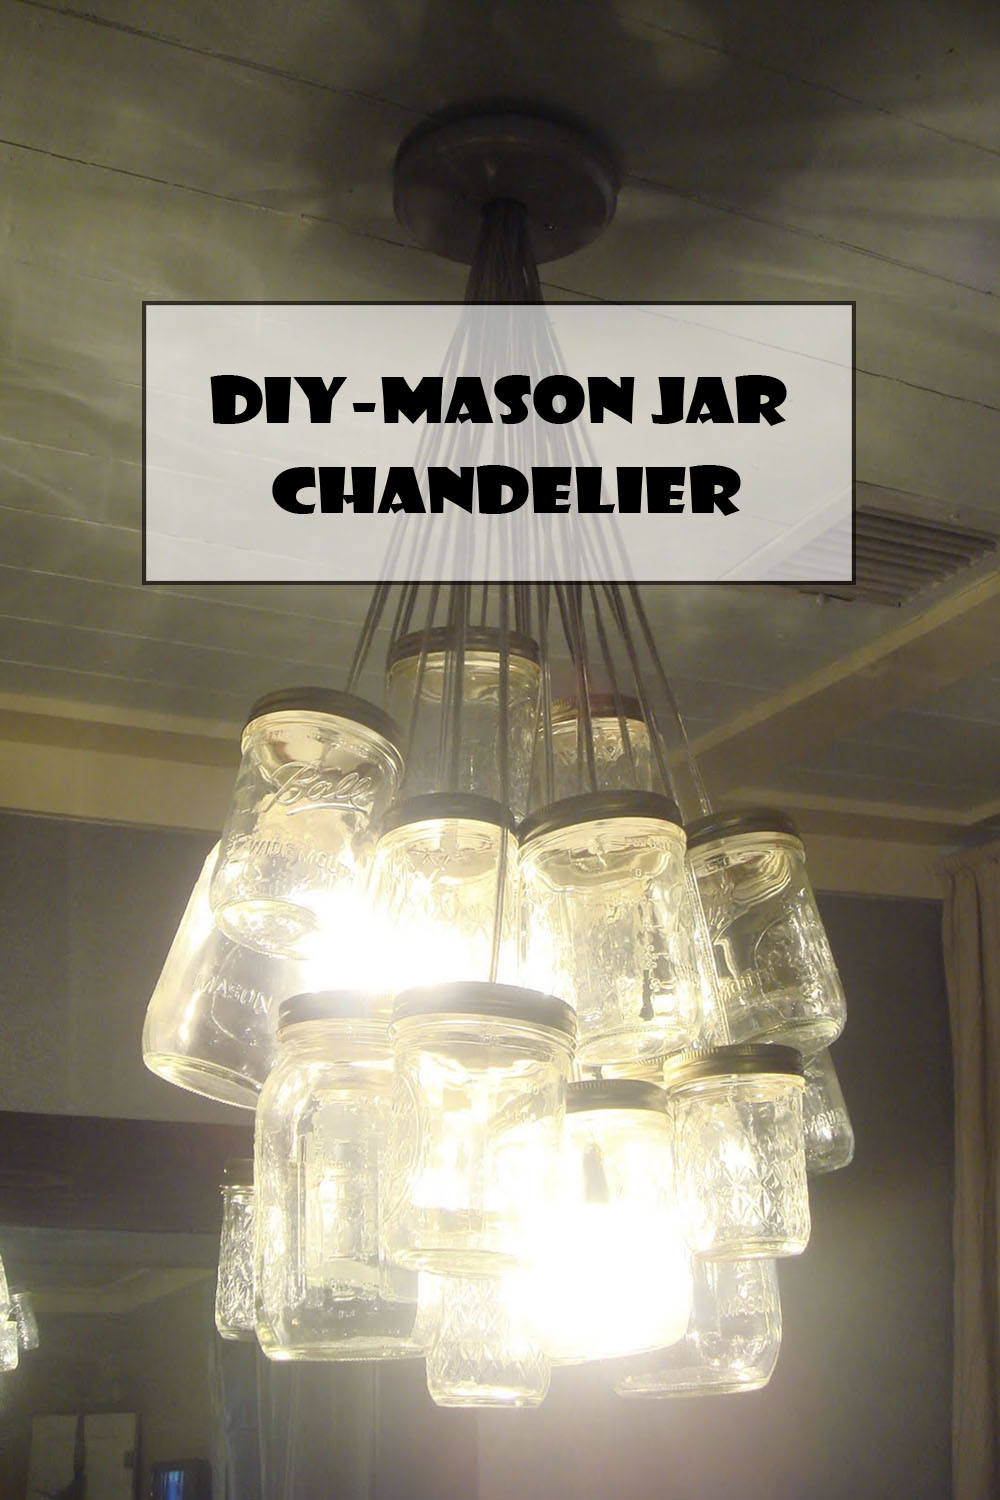
The highly anticipated DIY Mason Jar Chandelier Tutorial is ready to make its debut.
Before I get started, I must make a DISCLAIMER: We are not electricians and cannot assume responsibility if you burn your house down trying to follow these instructions!!!! If at any point you feel uncomfortable, hire an electrician!!!!!!
There are a lot a steps involved but I will do my best to explain things in terms everyone can understand. So, here goes. . .
First gather all your materials. You will need:
– Canning Jars with lids (6 large, 9 widemouth, 6 small)-Wire (18-2 Lamp Cord)-#10 Washers- Hex Nuts (that will fit your nipple (which is the threaded metal rod))- Steel Nipples- Small Hose Clamp- 4 Keyless Sockets- 4 in offset crossbar- 4 in PVC cap (found in plumbing section. We used this as the ceiling plate because it provides a lot of room to accommodate all the wires that are coming from the fixture.-3 in machine screws (to attach the ceiling plate to the crossbar)-2 wire nuts


Step 1- Drill one hole in the lids of your canning jars.

Step 2- Choose 4 (2 large and 2 small) canning lids to drill multiple holes in. These lids will hold the lights and need extra holes to release heat. The center hole must be big enough for the nipple to fit through.

Step 3- Cut 21 lengths of wire at 2 feet each.

Step 4- Use wire strippers and/or a razor blade to split the plastic coating and reveal the metal wire underneath.

Step 5- Push the wire through the hole in your lid.
Step 6- String a washer onto one wire and then twist the two together to secure it.

Step 7- Now it’s time to work on the lids that will hold the lights. First we have to cut our nipples down to about an inch. You may be able to buy these smaller, but I was not able to find any.


Step 8- Screw your hex nut onto your nipple.

Step 9- Push the nipple through the hole in your lid. And then screw on the Keyless Socket. Tighten everything together.

The keyless socket looks like this (below) when you open it. Just remove the cardboard wrap to reveal the body of the socket. DO NOT THROW THE CARDBOARD AWAY!!

Step 10-Push wire through the nipple and separate wires onto each side of the keyless socket. Feel the outside of the wires. The one with the ridges should go to the silver screw and the one that is smooth should go to the brass screw.


Step 11- Loosen the screws and wrap wire underneath them. Then tighten them back down.

Step 12- Replace cardboard wrap.
Step 13- Drill a hole through the middle of your PVC cap and spray paint desired color. If the cap is too deep for your liking, you can cut it down. We took off about an inch.


Step 14-Screw all your jars to your lids. Gather the wires together raising and lowering different ones to get the shape you want. It is good to have a husband or friend nearby to help with this stage because the jars can get heavy.

Step 15- Once you have the shape you want, push all the wire through the PVC cap/ceiling plate and then through your hose clamp. TIGHTEN YOUR HOSE CLAMP AS MUCH AS POSSIBLE! It will be holding all the weight of the jars.

Step 16- Cut all the wires back that are not connected to the keyless sockets (see above). It is best to tag these wires from the very beginning so you don’t cut something you shouldn’t.
Step 17- Cut back the plastic coating from the 4 useable wires. Then twist all the neutral wires together with all the hot wires. HOT WIRES=Smooth plastic coating NEUTRAL WIRES= ridged plastic coating

Step 18- Create a “pig tail” from a small piece of wire.

Step 19- Attach one side of pigtail (using same rules from above) to the other wires and use wire nuts to tighten and secure the wires together.

Step 20- Last, drill holes in the PVC cap/ceiling plate that correspond to the crossbar and use 3 in machine screws to hang. And obviously wire the unused “pigtail end” to the wires in your ceiling. (wires in ceiling BLACK=hot WHITE=neutral)
Step 21- Step back and admire your creation!!!!

I would love to see pictures if anyone decides to try this out in their space!!!! A big thanks to Marian, Kristen, and Yanet for purchasing a chandelier to make this DIY tutorial possible!