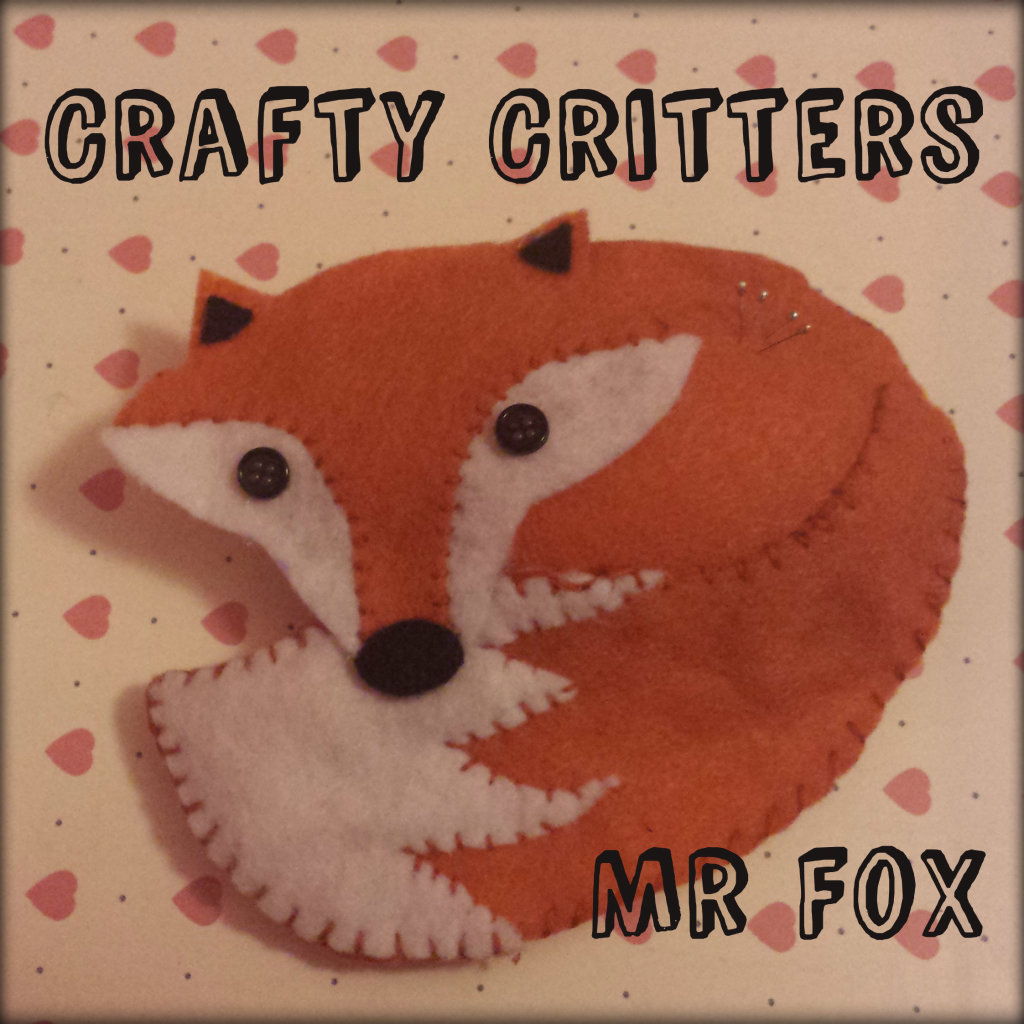
Felt craft – Fox
Mr. Fox – a favorite of mine
What you will need:
- Felt in white, orange and black
- scissors
- stuffing
- thread in orange and a needle (thick)
- two black buttons for eyes
- glue gun and glue

Cut out your pattern pieces using the felt.

Begin by assembling the face.

I chose to hand stitch his white cheeks to the main part of his head, using the stitching as a decorative feature.

Shape the edge of his tail as required

Glue the two tail pieces together. I chose to glue gun a lot of this project for ease and because it was a LOT faster than hand stitching everything.

I did, however, use a blanket stitch around the outside of the tail as decoration. You could eliminate the need for glue and handstitch everything together if you chose. You could also choose to eliminate the decorative hand stitching and simply glue all pieces together, it really comes down to preference.

Attach the tail to the front body pattern piece, again I used glue for this. Once your tail is in place, attach the face so his nose overlaps the tip of the tail.

Turn your felt critter over. Now it is time to add the back body pattern piece. I simply applied glue to the top and side edge and stuck it down. Again, and you are probably sick of me saying this by now, you could hand stitch this instead if you wished.

Pop in all that fluffy stuffing and then close the open edge, securing the front and back body pieces together.

Add the details on the face like his black felt nose and button eyes and you are done!
Wasn’t that easy? But isn’t he adorable ?!