Since I’ve kept you all waiting, I’m not going to do my usual ten-minute monologue waxing rhapsodic on the recipe I’m about to give you. But I will summarize this roll recipe by saying a) they’re a cinch to make; b) they’re totally tasty; and c) I can’t think of a “c”. So let’s get started, shall we?
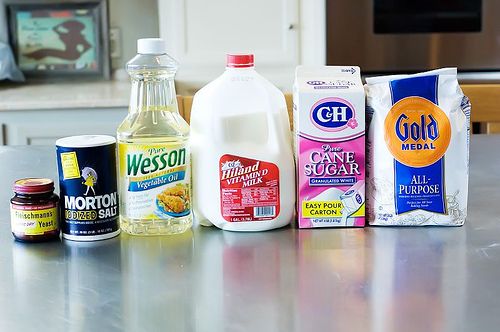
The Cast of Characters: Flour, Sugar, Milk, Vegetable Oil, Salt, and Active Dry Yeast. Everyone has this stuff!
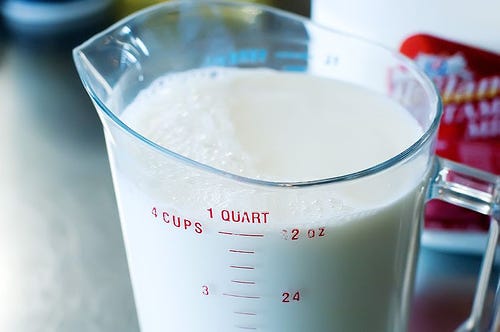
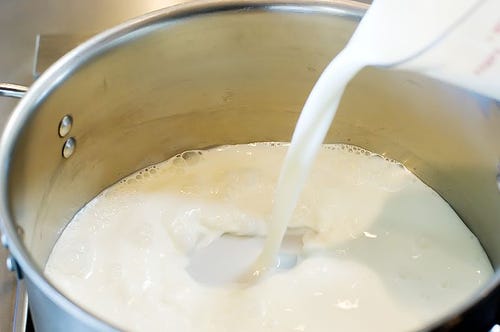
Begin with 4 cups of milk.
Pour the milk into a stock pot or dutch oven.
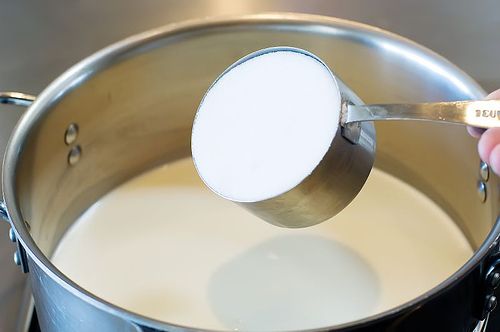
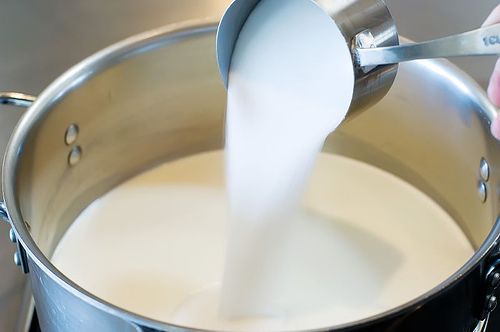
To the milk, add 1 cup of sugar…
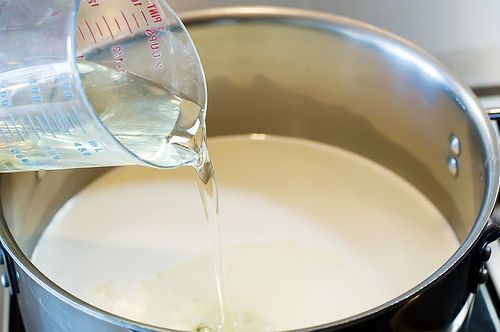
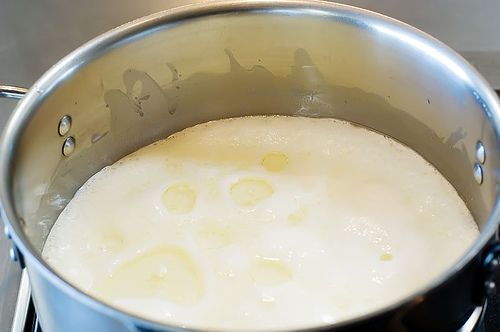
And 1 cup of vegetable oil. Stir to combine.
Now, turn the burner on medium to medium-low and “scald” the mixture, which means heat it up just until the point that it would boil.
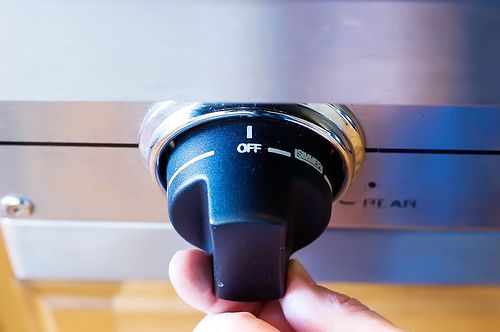
Before the mixture boils, turn off the heat. (Note: At this point in the game, I have walked away and forgotten about it more times than I care to count. If you come back to the stove and it’s boiling, don’t freak out. Just turn off the heat and it’ll be fine.)
NOW. Very important stuff here: walk away. Walk away and allow this mixture to cool to warm/lukewarm. The mixture will need to be warm enough to be a hospitable environment for the yeast, but not so hot that it kills the yeast and make it inactive. I don’t usually use a thermometer, but if you’d like to, a good temp is between 90 and 110 degrees. I usually feel the side of the pan with the palm of my hand. If it’s hot at all, I wait another 20 minutes or so. The pan should feel comfortably warm.
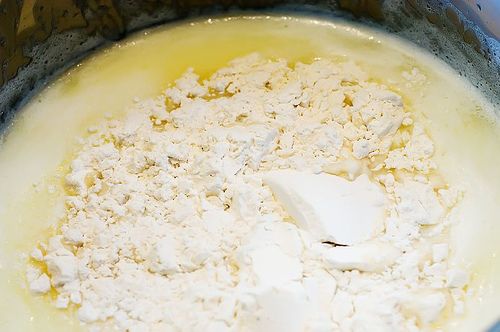
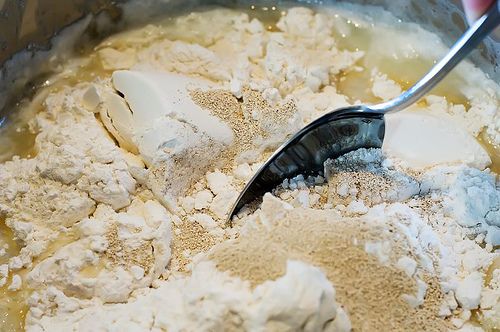
When you’re ready, throw in 4 cups of flour.
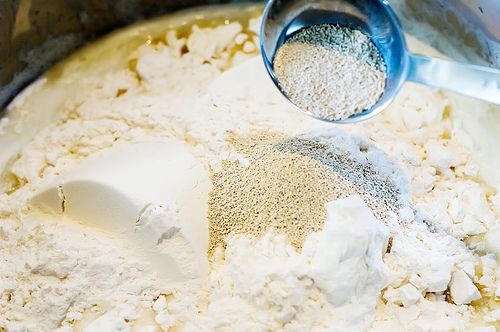
Then sprinkle in 2 packages (or 4 1/2 teaspoons) Active Dry Yeast.
Stir together to get the yeast into the warm moistness. (Warm moistness…for some reason that phrase makes me want to take a nap. I can’t explain why.)
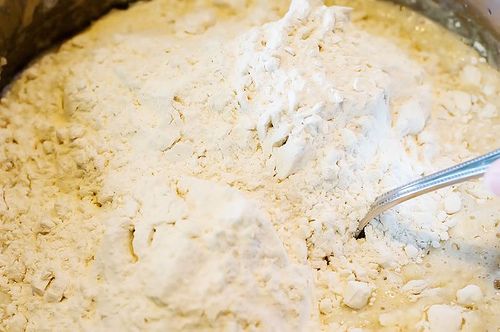
After the yeast and flour are nicely incorporated, add another 4 cups of flour. The reason I didn’t add the 8 cups all together is that I wanted to give the yeast a chance to mingle with the warmth a little more.
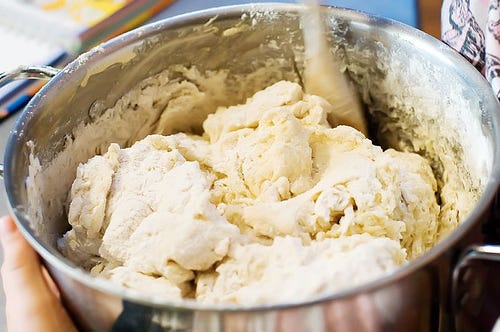
Stir together and allow to sit, covered with a tea towel or lid, for an hour. The dough will seem overly sticky. Make sure you don’t set it next to a freezing cold window; it’s best if it’s in a relatively warm environment. Near the stove is fine.
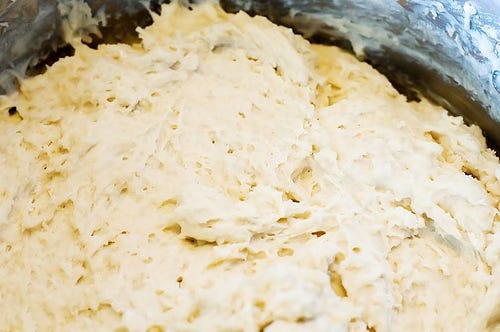
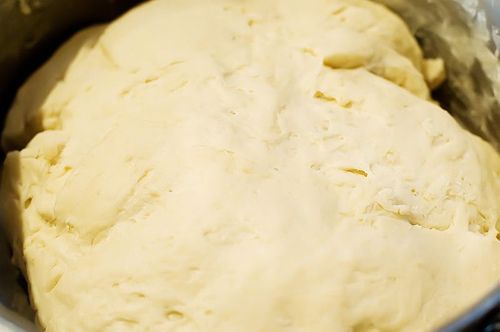
After an hour (or so) the mixture will have poufed up quite a bit. Here’s what mine looked like. If yours doesn’t look like it’s changed much, put it in a warm (but turned-off) oven for 45 minutes or so.
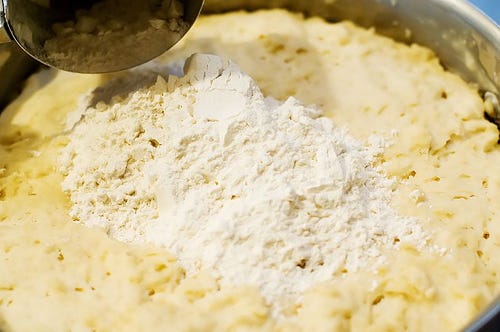
Now, to finish it off, add 1 more cup of flour…
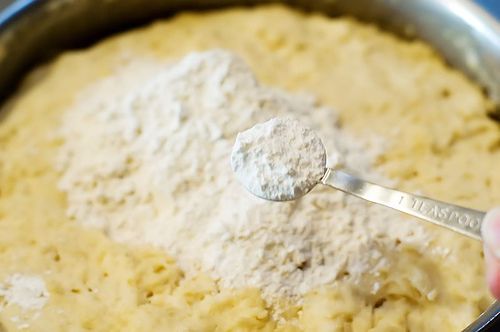
1 heaping (more than level) teaspoon baking powder…
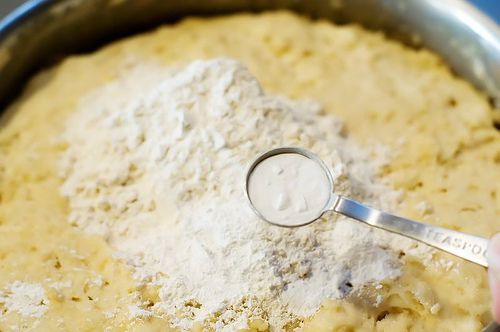
1 scant (less than level) teaspoon baking soda…
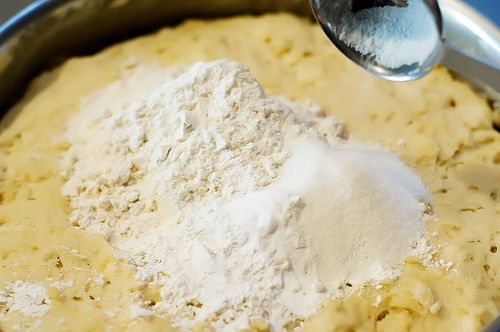
And 2 tablespoons salt.
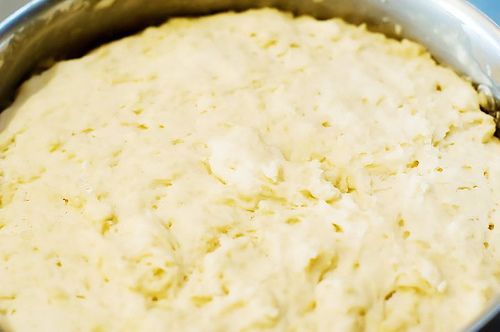
Now stir together until combined. It’ll be a little tough to stir, so sometimes I’ll knead it around on the countertip a few times just to get the ingredients combined. But remember…with this dough, there’s NO NEED TO KNEAD!
When it’s all mixed, you can put it in the fridge, covered, for up to two days before using the dough (which means you can go make the dough NOW if you’re using it tomorrow.) Or, if you make it the day of, you can just leave it on the counter until you need it. Keep in mind, though, that the dough will continue to rise (though more slowly in the fridge) so you’ll have to occasionally punch it down if it overflows. NOTE: If you do refrigerate the dough, be sure to remove it from the fridge an hour or two before you need it.
When you’re ready to make the rolls, here’s what to do:
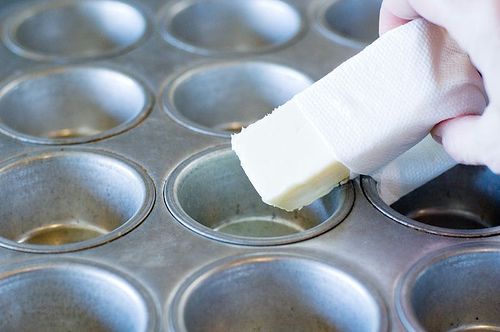
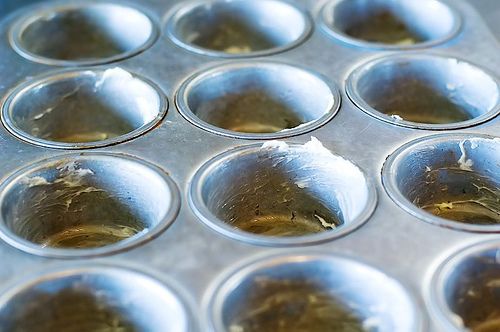
Butter 1 or 2 muffin pans, depending on how many rolls you need.
Don’t be shy, turkeys! Lay it on as thick as you want.
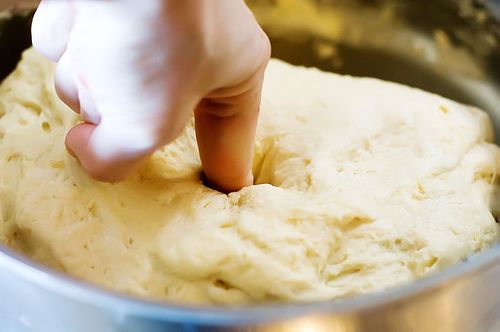
I like to poke the dough. It’s fun and makes me feel kind of funky inside.
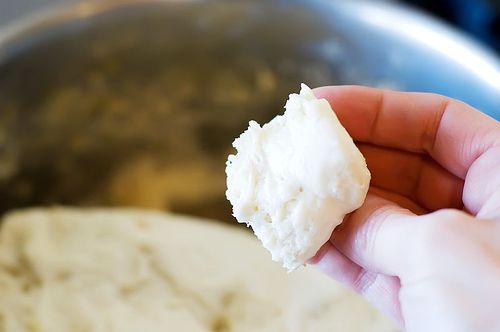
To form the rolls, pinch off a walnut-sized piece of dough.
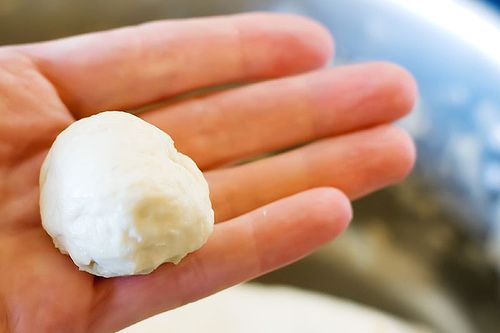
Make like a six-year-old and roll it into a ball.
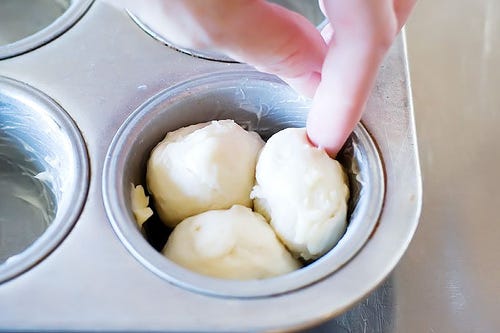
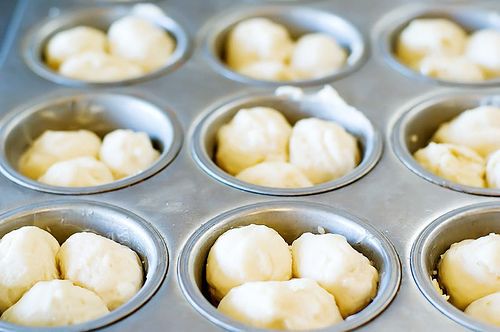
Repeat, and tuck three balls of dough into each buttered muffin tin.
Continue until the pan is full.
Now, it’s very important to give the rolls plenty of room to RISE, as that will make all the difference in the ultimate consistency of the rolls. How quickly they rise depends on many factors: how warm the room is, where the pan is, and whether or not the yeast is in a good mood that day. I always allow myself a good 2 to 3 hours before the meal to allow the rolls to rise, as there’s nothing worse than having to bake flat rolls.
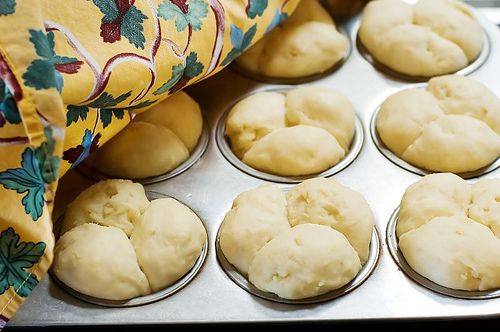
This is what the rolls looked like after an hour of rising. The dough had been slightly cold when I formed the balls, so the rising process moved along a little slowly. I decided to speed up the process a little by heating up a long griddle on my stovetop, then turn off the heat and place the muffin pan on top. This provided a little more warmth—just enough to make the yeast jump for joy.
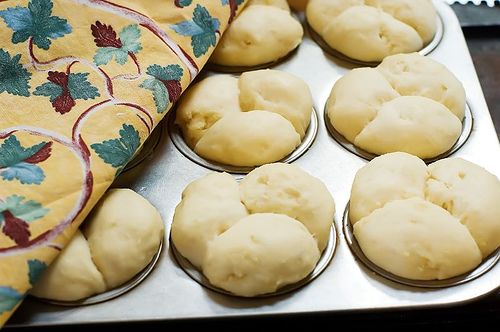
Here they are after another thirty minutes or so. I went ahead and baked them at this point, but they could have risen for another thirty minutes or so. Give ‘dem rolls plenty of time, my friends!
Bake at 400 degrees until golden brown, about 20 minutes. Keep your eye on them, though. I’m the biggest roll burner there is and you shouldn’t listen to me.
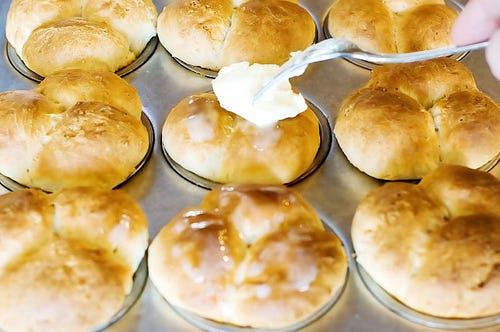
If you think of it ahead of time, you can brush melted butter on the tops of the unbaked rolls. Or, you can brush the tops with eggs whites and sprinkle them with poppyseeds. Or, if you’re lazy like me, you can just do this. Or, you can just leave them plain.
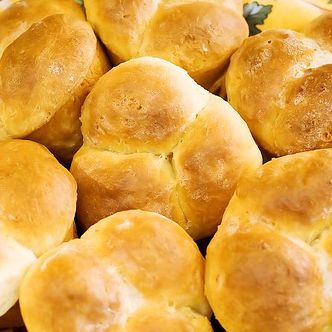
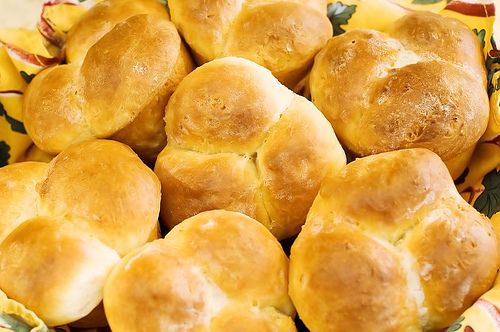
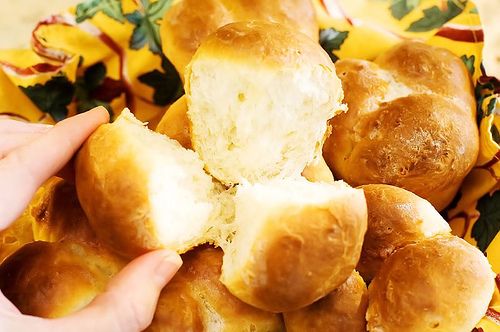
Put them into a bread basket and take a big whiff. They’re not smooth and perfect and aesthetically flawless, but they’re rustic and charming. Oh, and delicious!
Mmmmm. This is my favorite part. See how conveniently the sections open up for you? They’re just begging for butter. Listen…you can hear them. “Butter, please. Butter, please. Butter. Butter. Butter.”
You’d better go do what they say.
Happy Thanksgiving, everyone!
And for Christmas…PIES will be first on the list, I promise.
