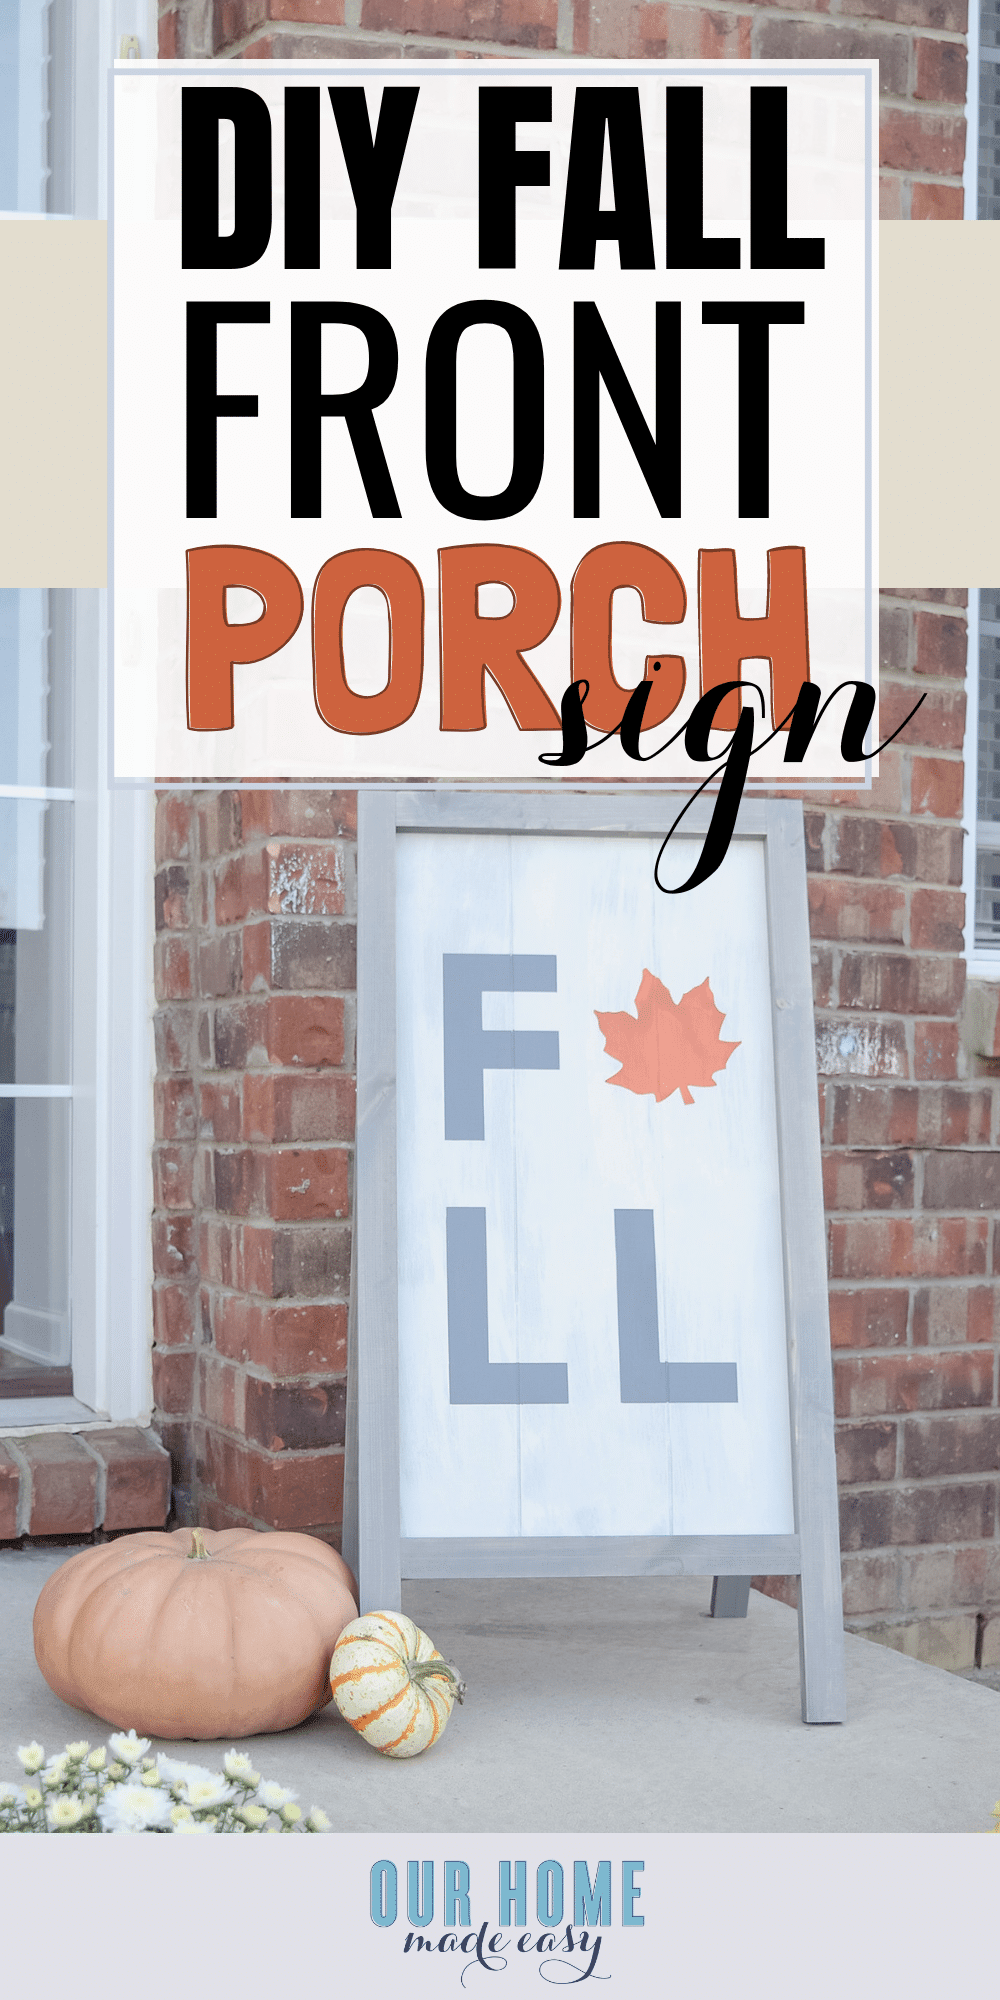
DIY Wooden Fall Sign
This DIY wooden fall sign is super easy to make! You can lean it against your wall or add support legs to stand it on its own.

(This post contains affiliate links. Please see my Disclaimer for more information)
Do you ever have those projects that always make you smile when you walk past it? You guys, I have to admit, I’ve been holding off sharing this one. It’s such a cool project that I love. And I was feeling a bit selfish about sharing it with the world.
But alas, common sense got to the better of me. How selfish am I to keep you from smiling, too? And I want to give you the step by step directions for making you happy, too.
Last week I shared our front porch looking bright for Fall. If you haven’t seen the fall front porch yet, jump over and take a look!
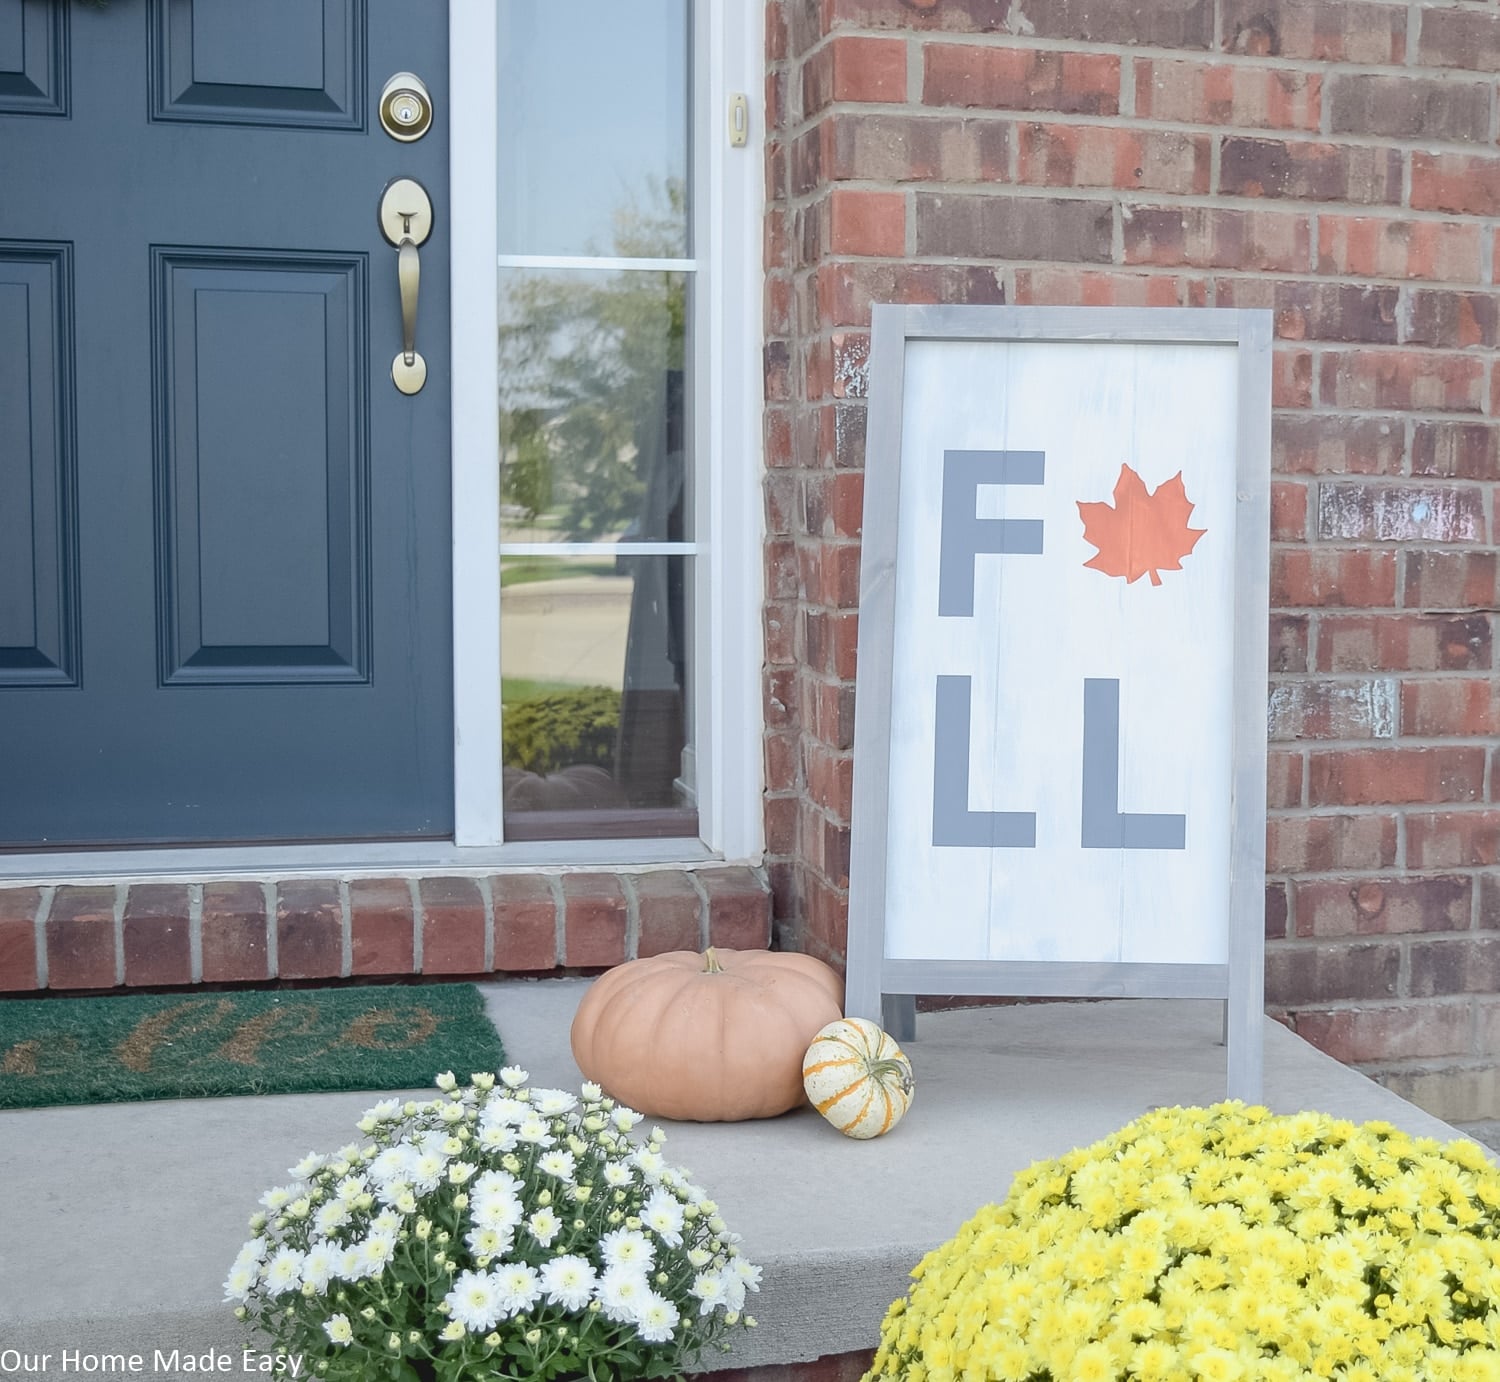
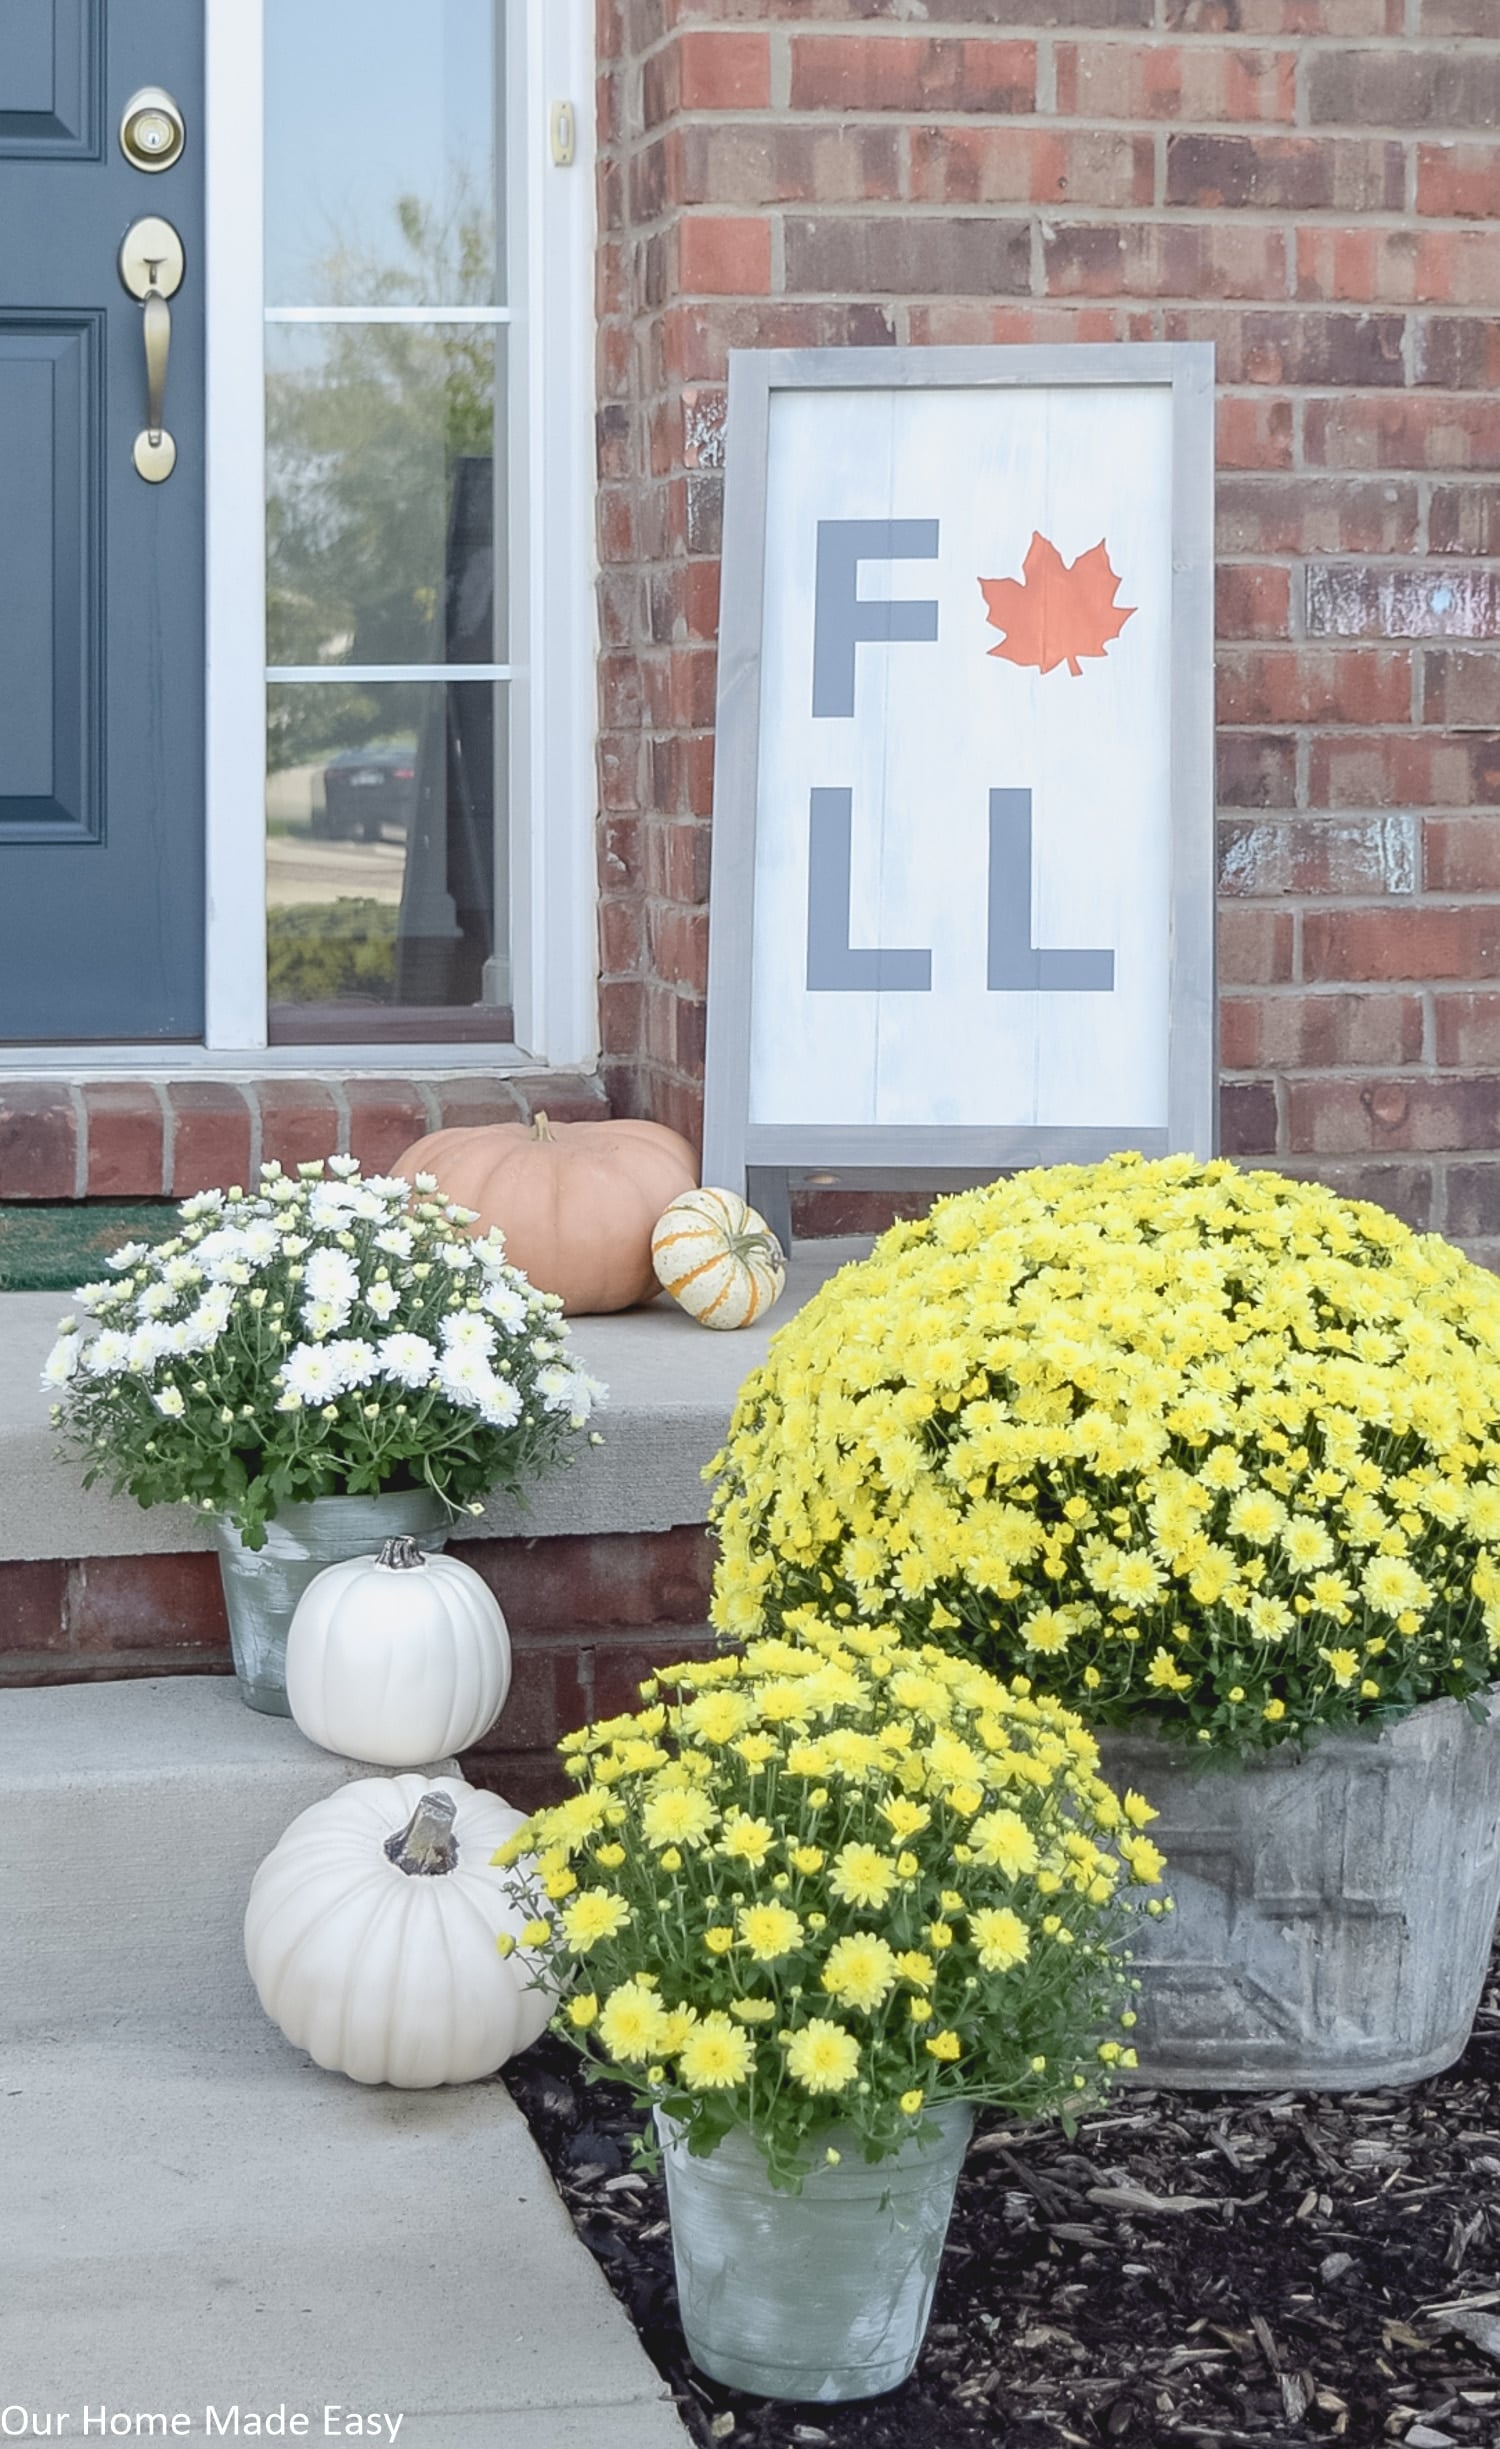
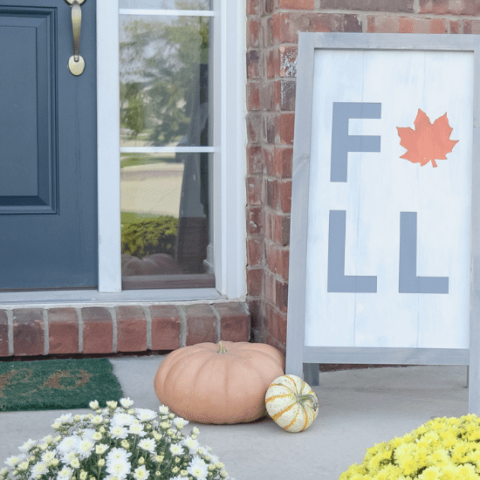
You’ll notice that cute sign in the corner. We found this one at Jo-Ann Fabrics earlier in the year and thought, “We could totally make that for cheaper! And personalize it!” Turns out, I still loved the ‘FALL’ wording after all. ?
But who should ever stop a husband from a DIY in the making? Not I!
DIY Wooden Fall Sign
I know that you’ll love making this sign for any holiday! Simply choose a different stencil and make it perfect for your home!
Until I was ready to decorate the front porch, I kept this sign in the fall entryway. Every time I came downstairs from folding another load of laundry, it was there to greet me at the base of the steps. #happy
Supplies Needed for DIY Wooden Fall Sign
- 2 ea 1” x 2” Pine Boards
- 2 ea Hinges
- 10” Jack Chain
- 2 Eye Hooks
- Plywood
- Wood Stain (We used this one)
- Paint for the sign (We used this one & this one)
- Painter’s Tape for Lettering
- Craft Paint for Lettering
Total supplies cost: $21 for a custom sign!
Cut Your Boards
For the frame & legs
Like most of our wooden projects, you’ll start by making a few cuts. Cut 1 of the 1”x 2” into lengths of 36”, 24”, 15”, and 15”. Then, the other 1”x 2” into lengths of 36”, 24”, 15”, and 17 7/8”.
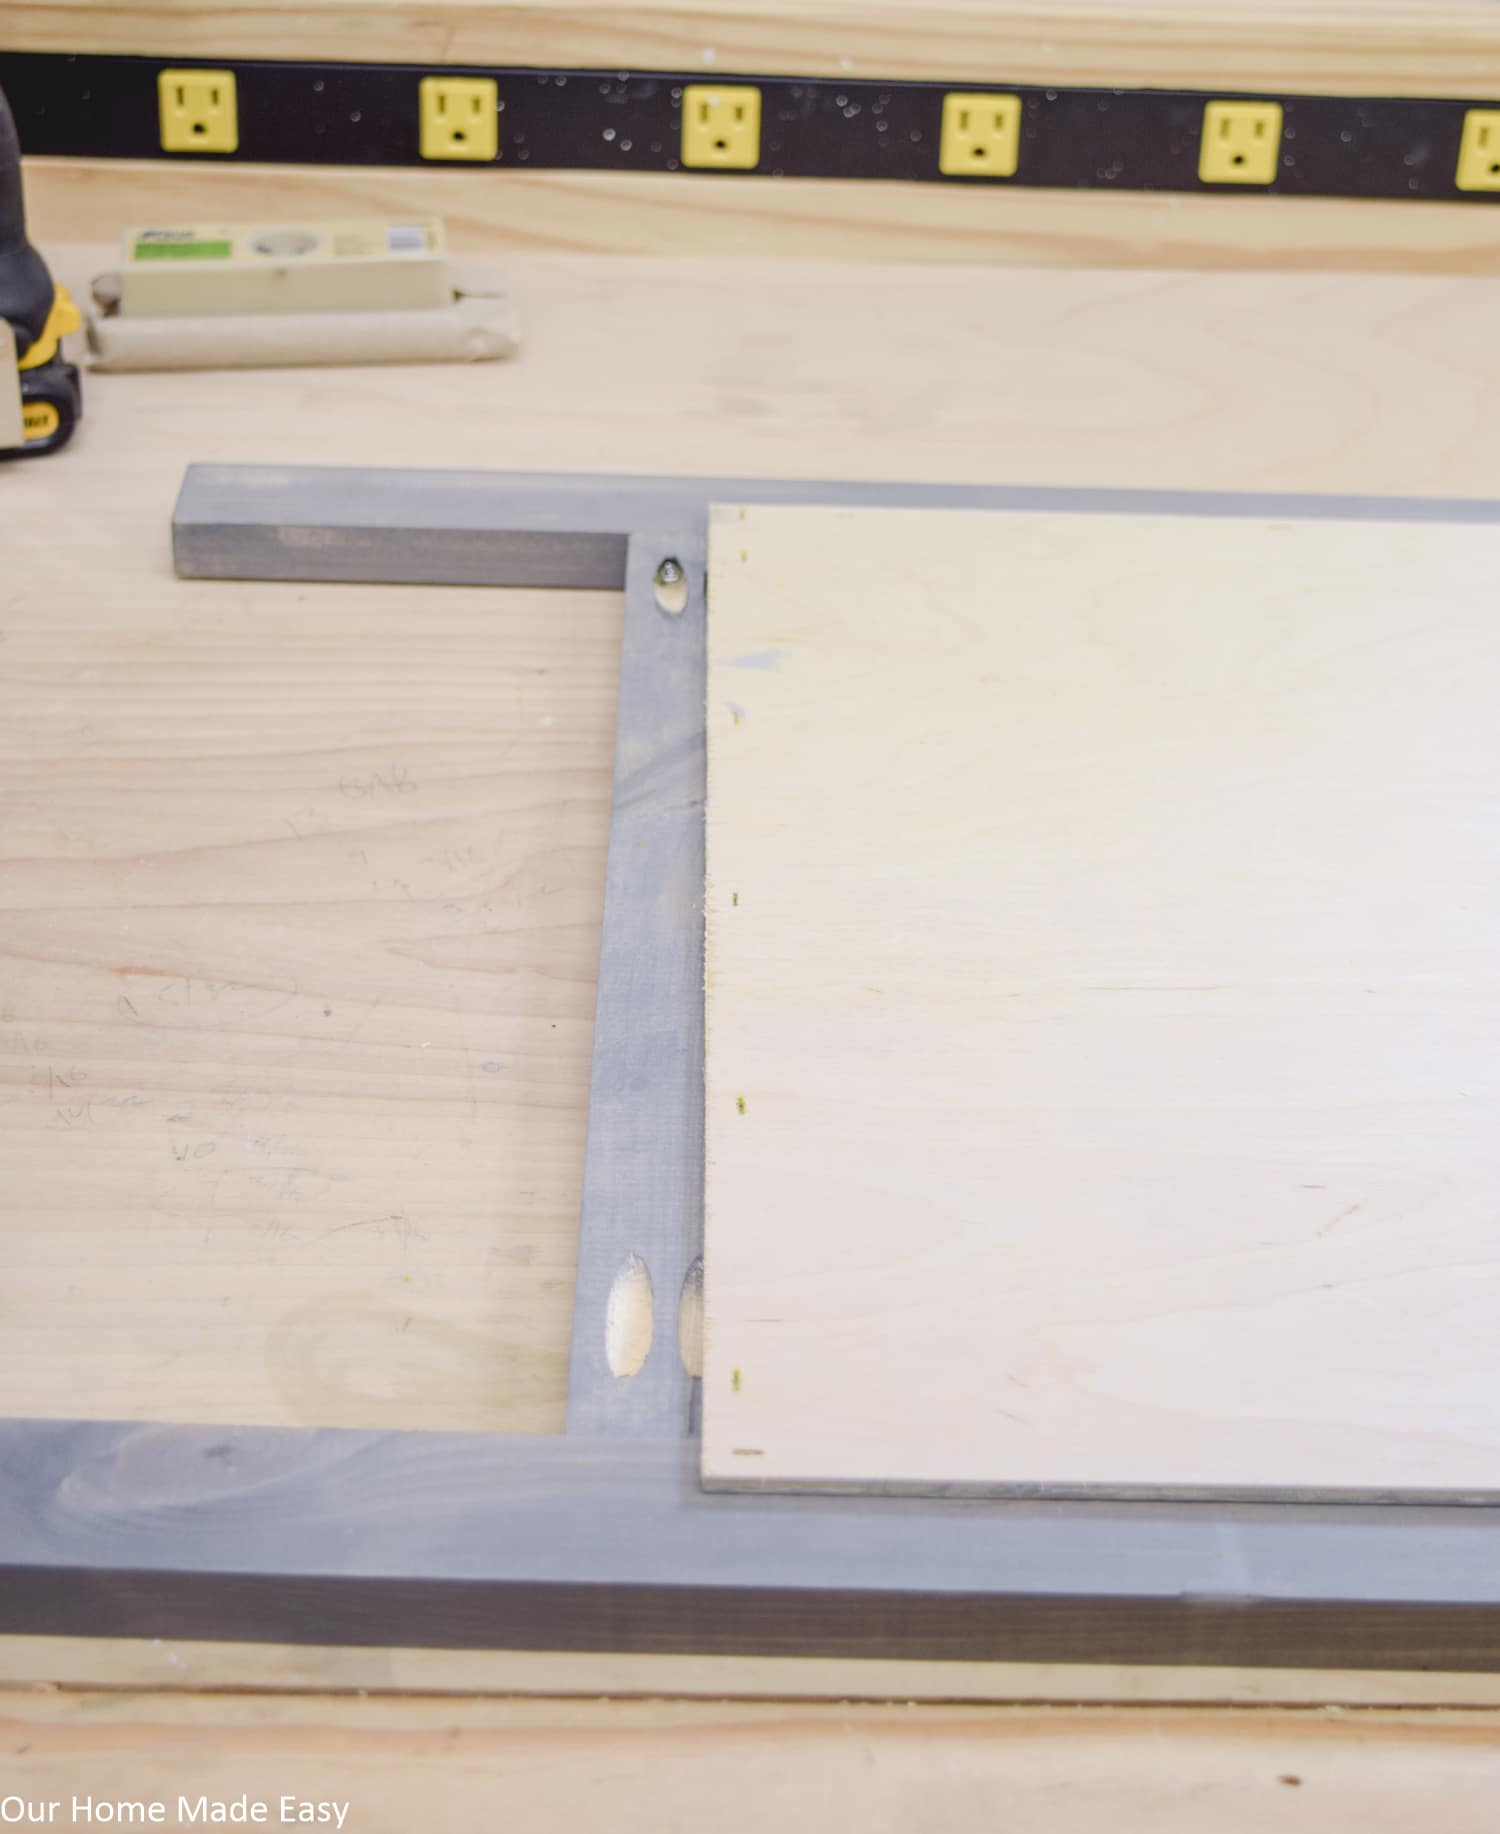
Pull out the three 15″ pieces. Using a Kreg Jig, drill 2 pocket holes on the same side for all the pieces.
Stain all the 1”x2” boards with the weathered gray stain.
For the sign board
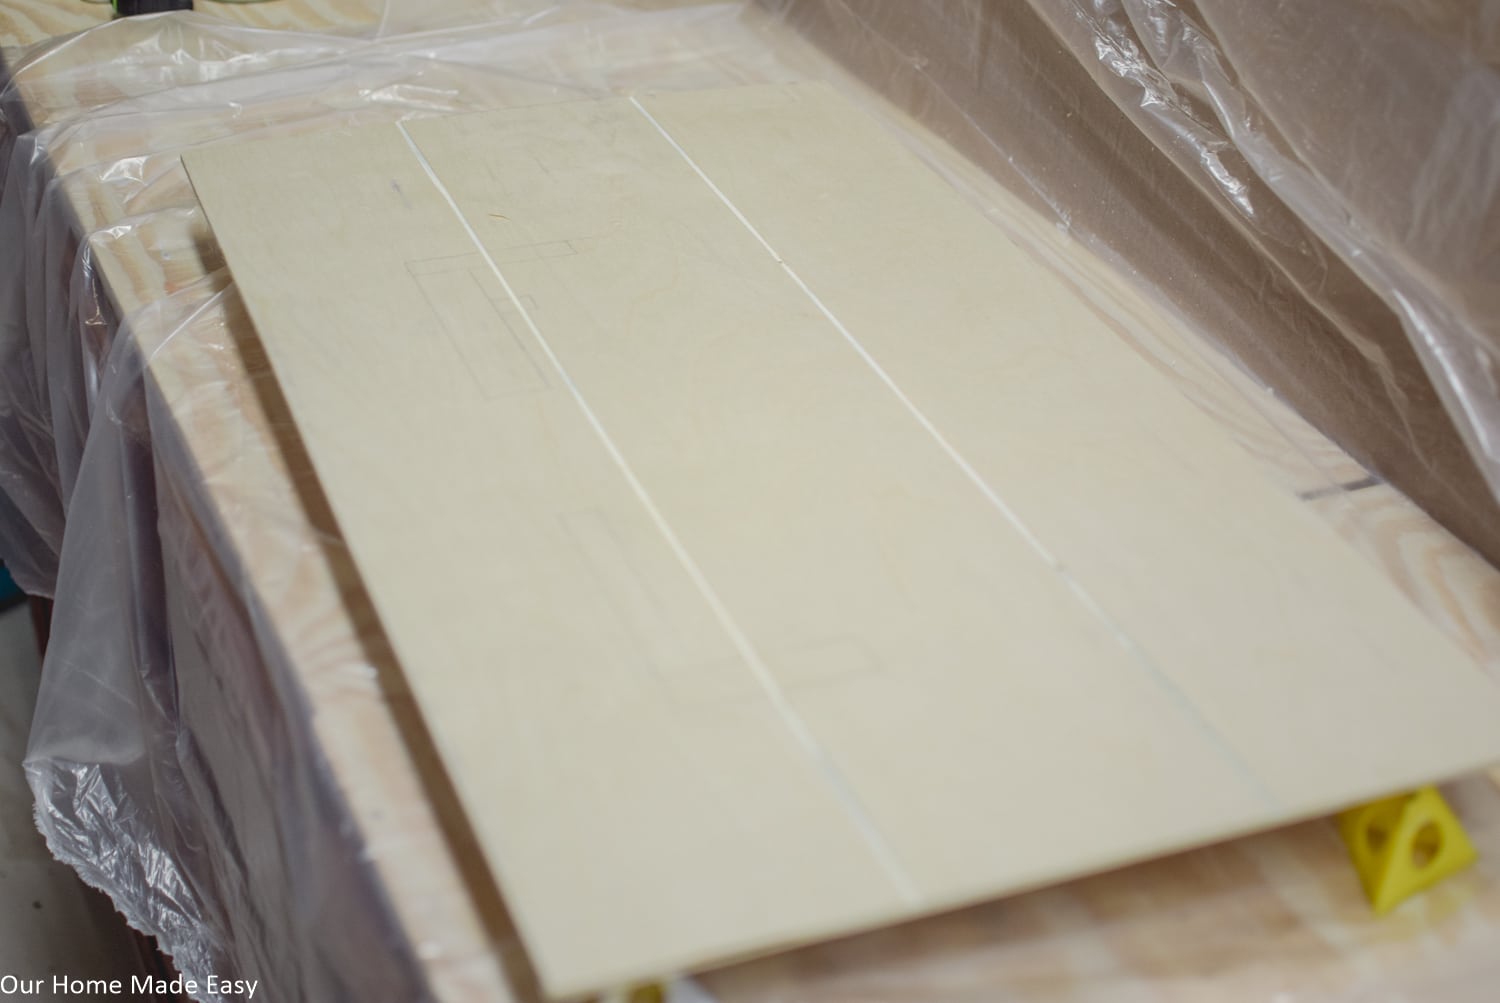
Have the store or cut at home your plywood into 28 ¾” x 16”. Home Depot & Lowe’s are great for cutting plywood boards down your preferred size. Easy peasy!
Totally optional: To add some extra interest, we made a small groove, two times on the plywood to have the appearance of planks. If you are doing this, our grooves were 5” from each side and used a table saw.
Keep it simple: Skip to the next step, you don’t need the grooves!
- Related: Harvest DIY Fall Sign
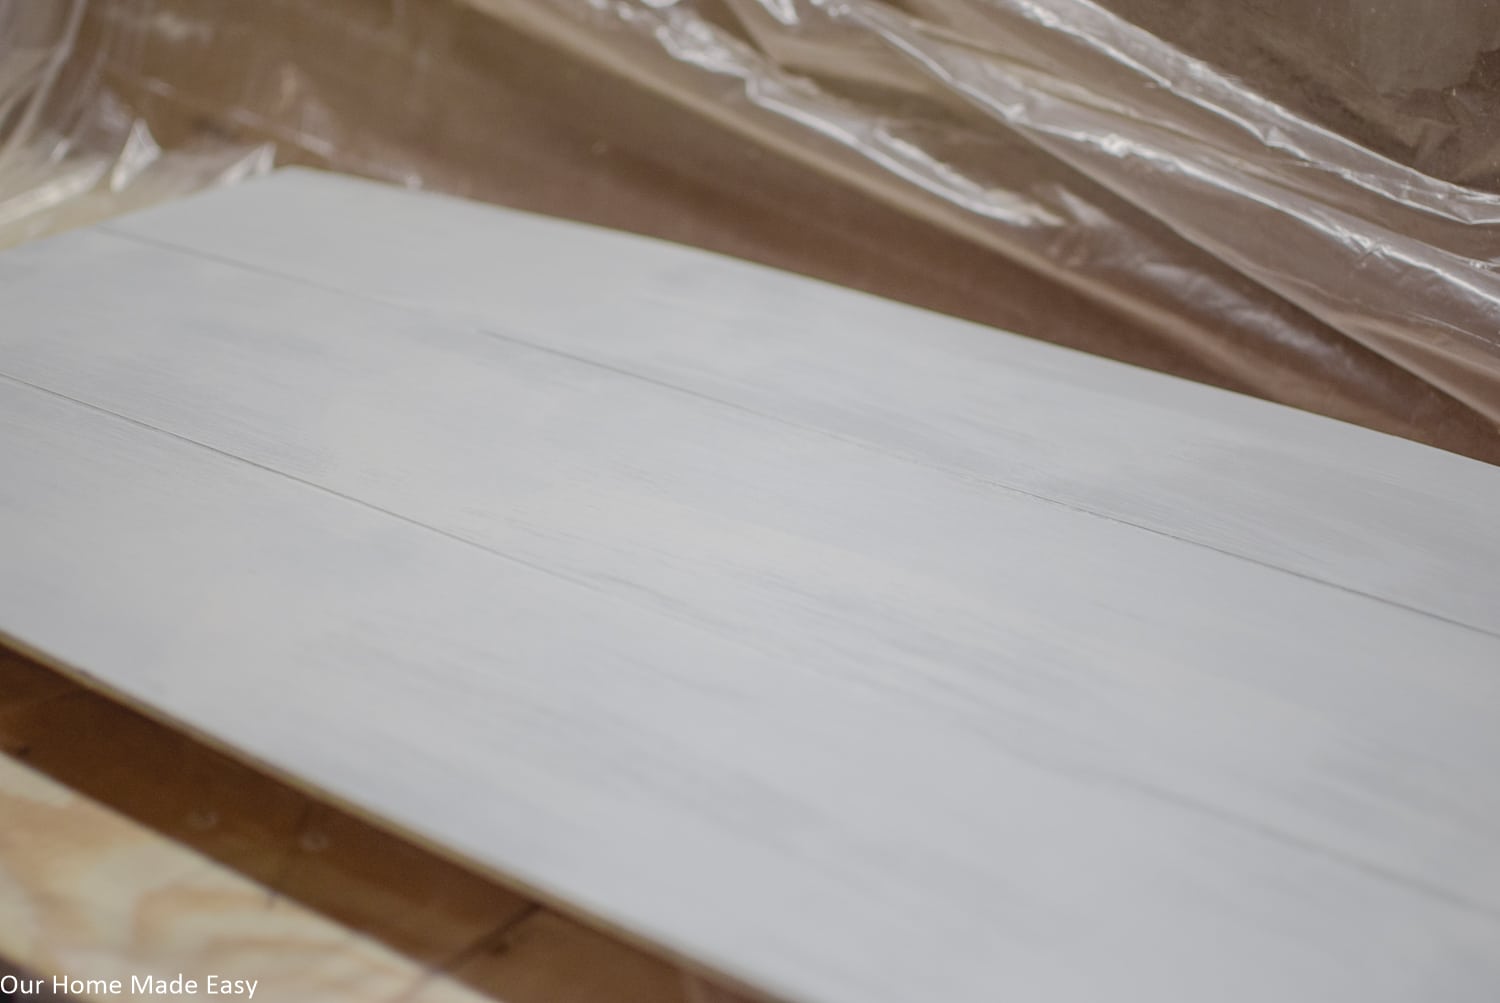
Paint Your Sign Board
Paint the plywood with a dark gray paint. Once try, whitewash with a chip brush and light gray paint. It shouldn’t be perfectly painted and some of the dark gray should show through.
Once the paint is dry, begin to assemble your sign!

- Related: How to Prepare Your Home For Fall
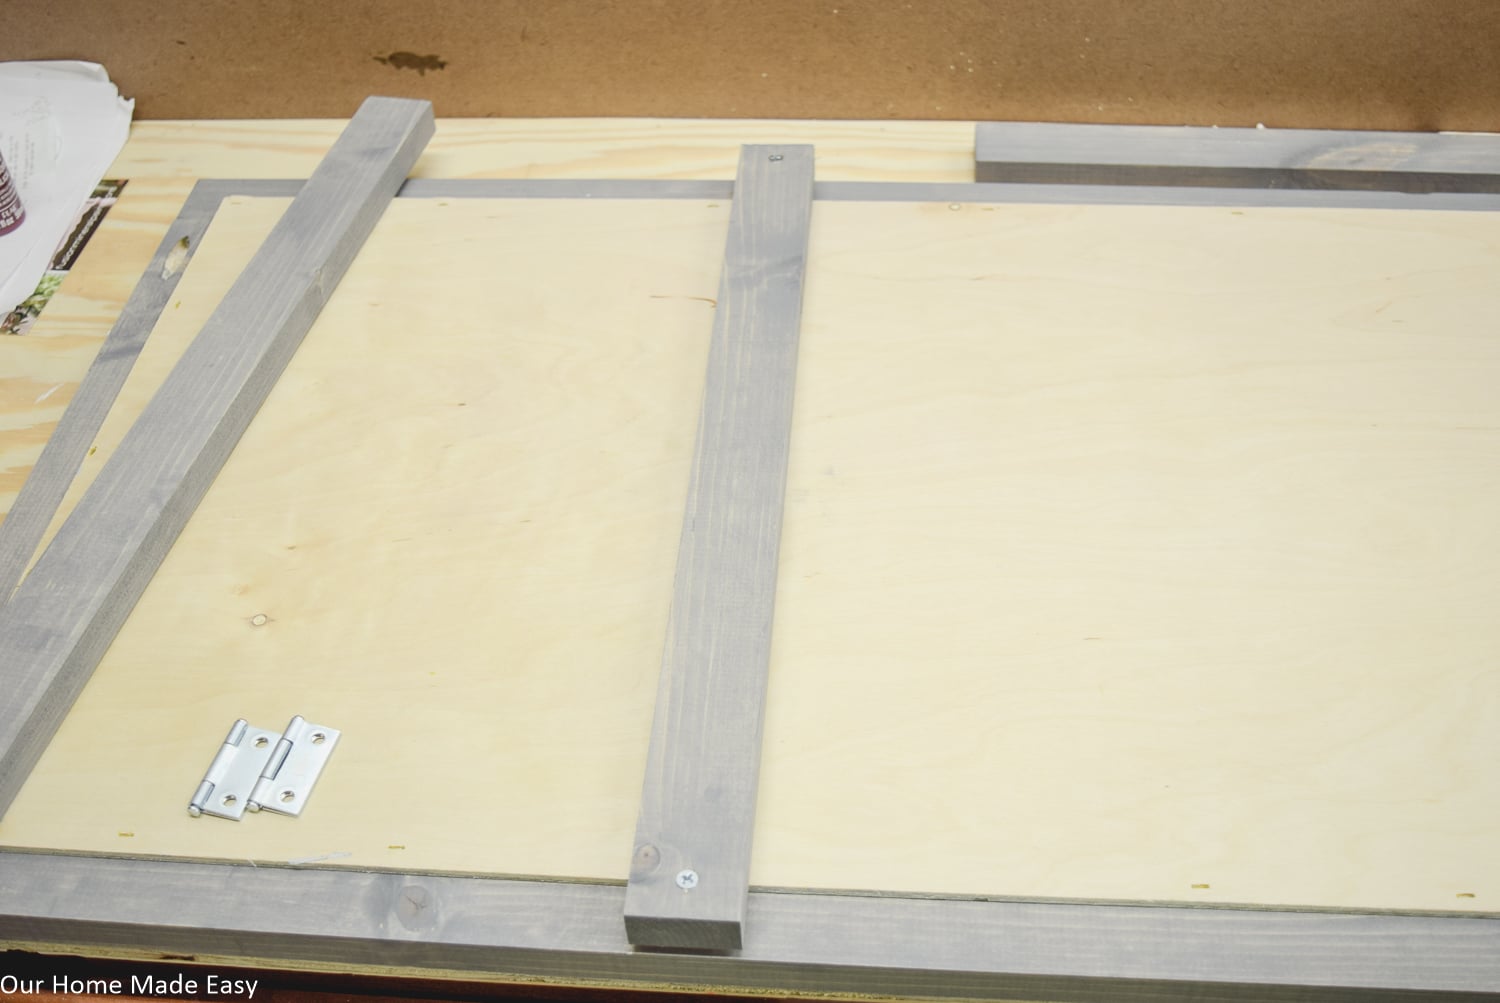
Assemble Your Sign
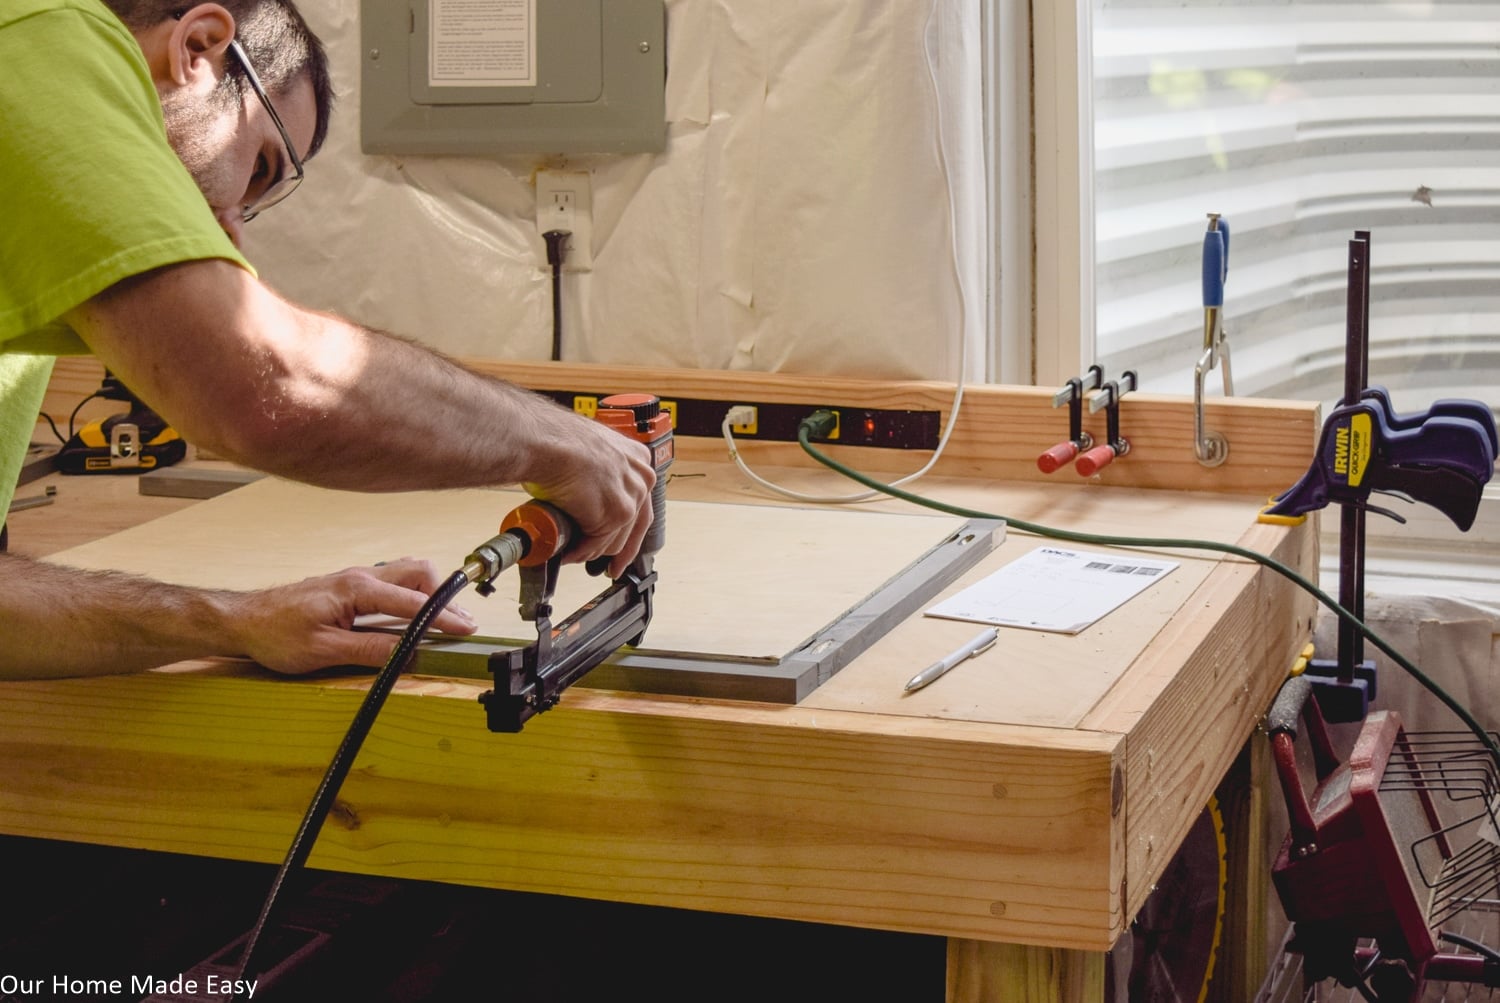
Start by attaching one of the 15” pieces to the two 36” pieces with pocket hole screws. From the opposite end, measure 5 ⅜” up. This is the bottom edge of the bottom support; attach with pocket hole screws.
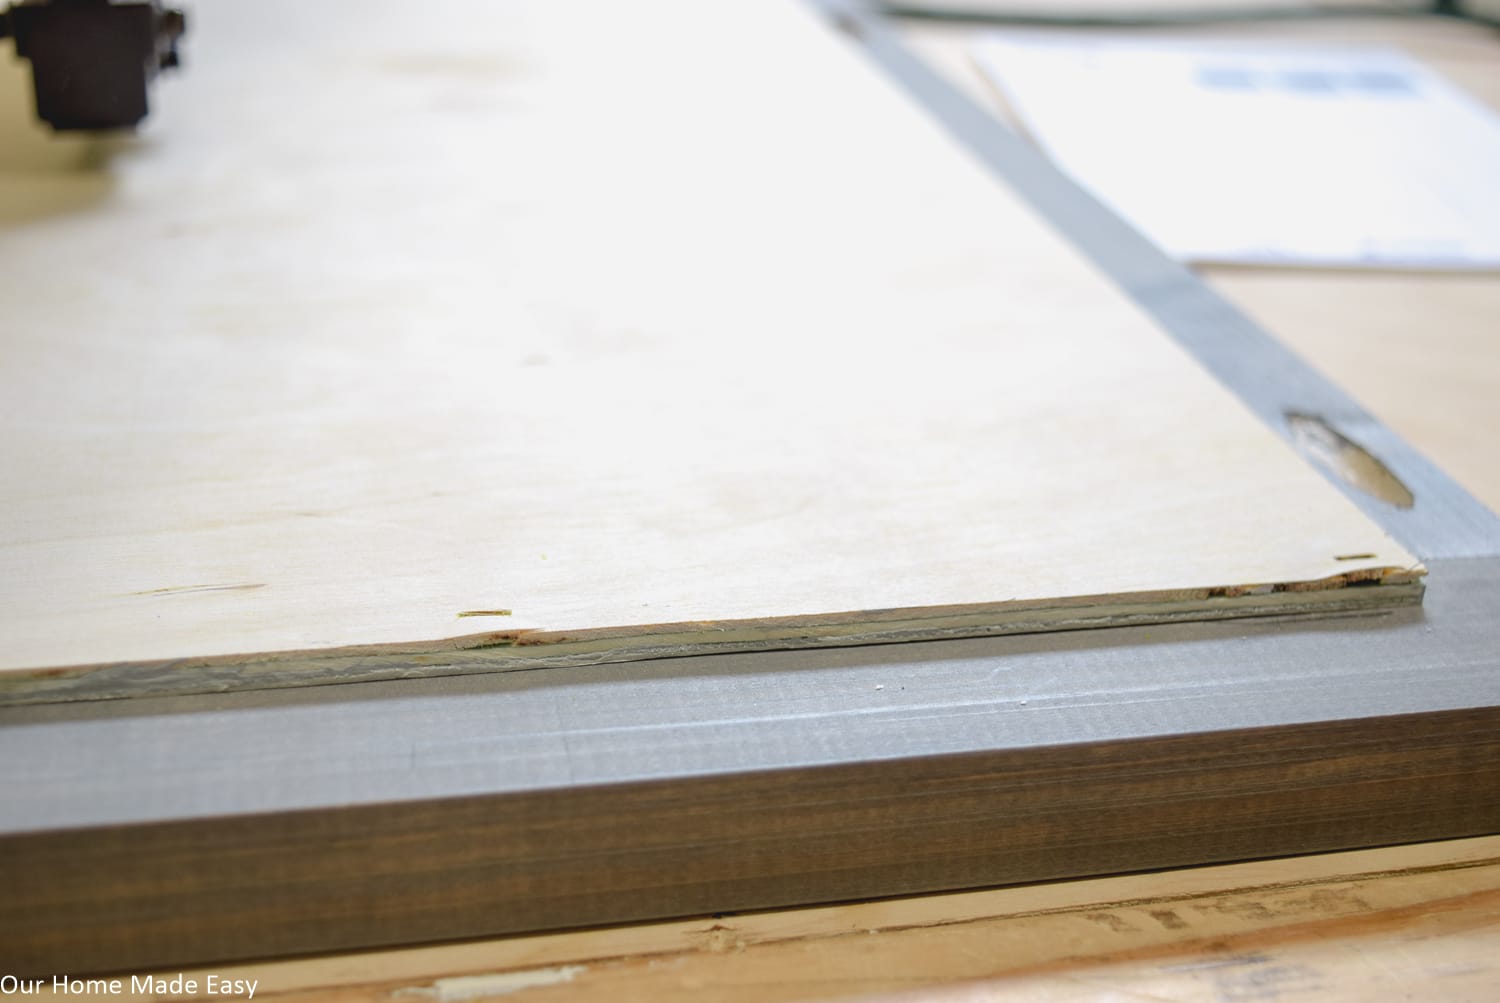
Then nail or glue the plywood sheet to the back of the frame so the painted side faces out.

Lettering The Sign Board
After this, I worked on the lettering. Since we don’t have a Cricut cutting machine, we used the power of painters tape and an Exacto knife.
I promise it’s much easier than you think! I followed the how to stencil without a machine tutorial.
If you want to replicate the ‘Fall’ lettering from Jo-Ann’s, follow these directions:
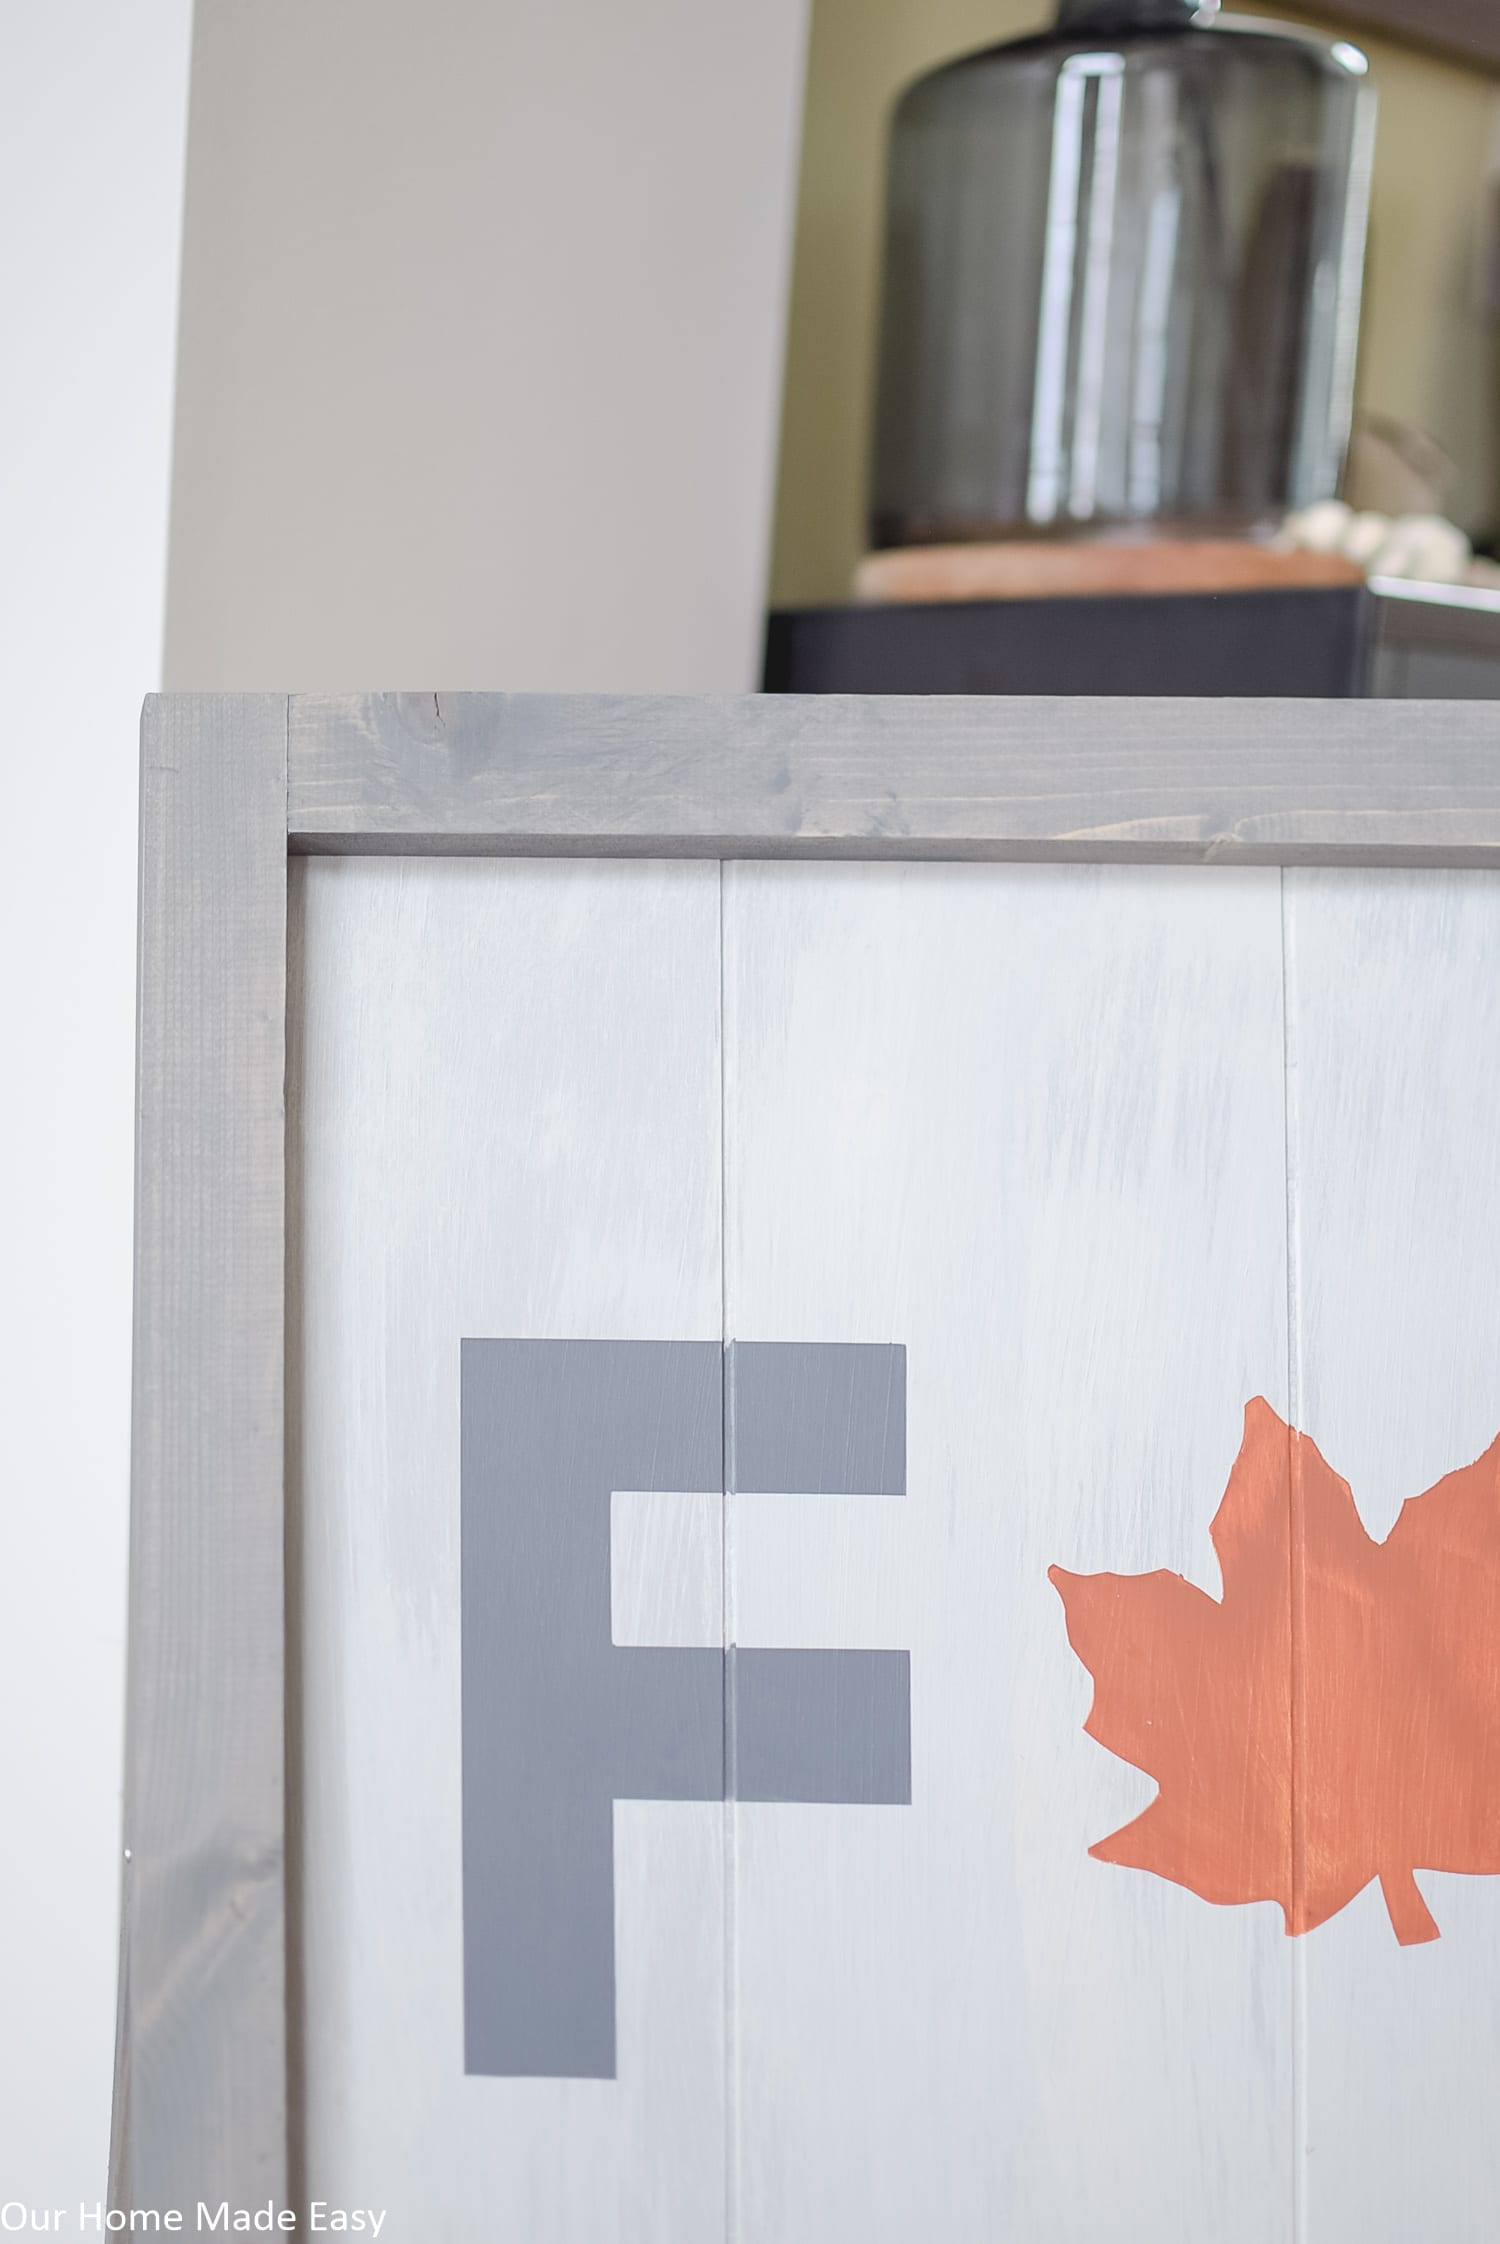
I used a utility square to create the F and L’s. The utility square is great because it is the shape of the F and L’s and is a common thickness. The letters were 1.5” thick. The top of the F and bottom of the L started 5” from the inner edge of the frame. The sides of the letters started and ended approximately 2” from the edge of the frame.
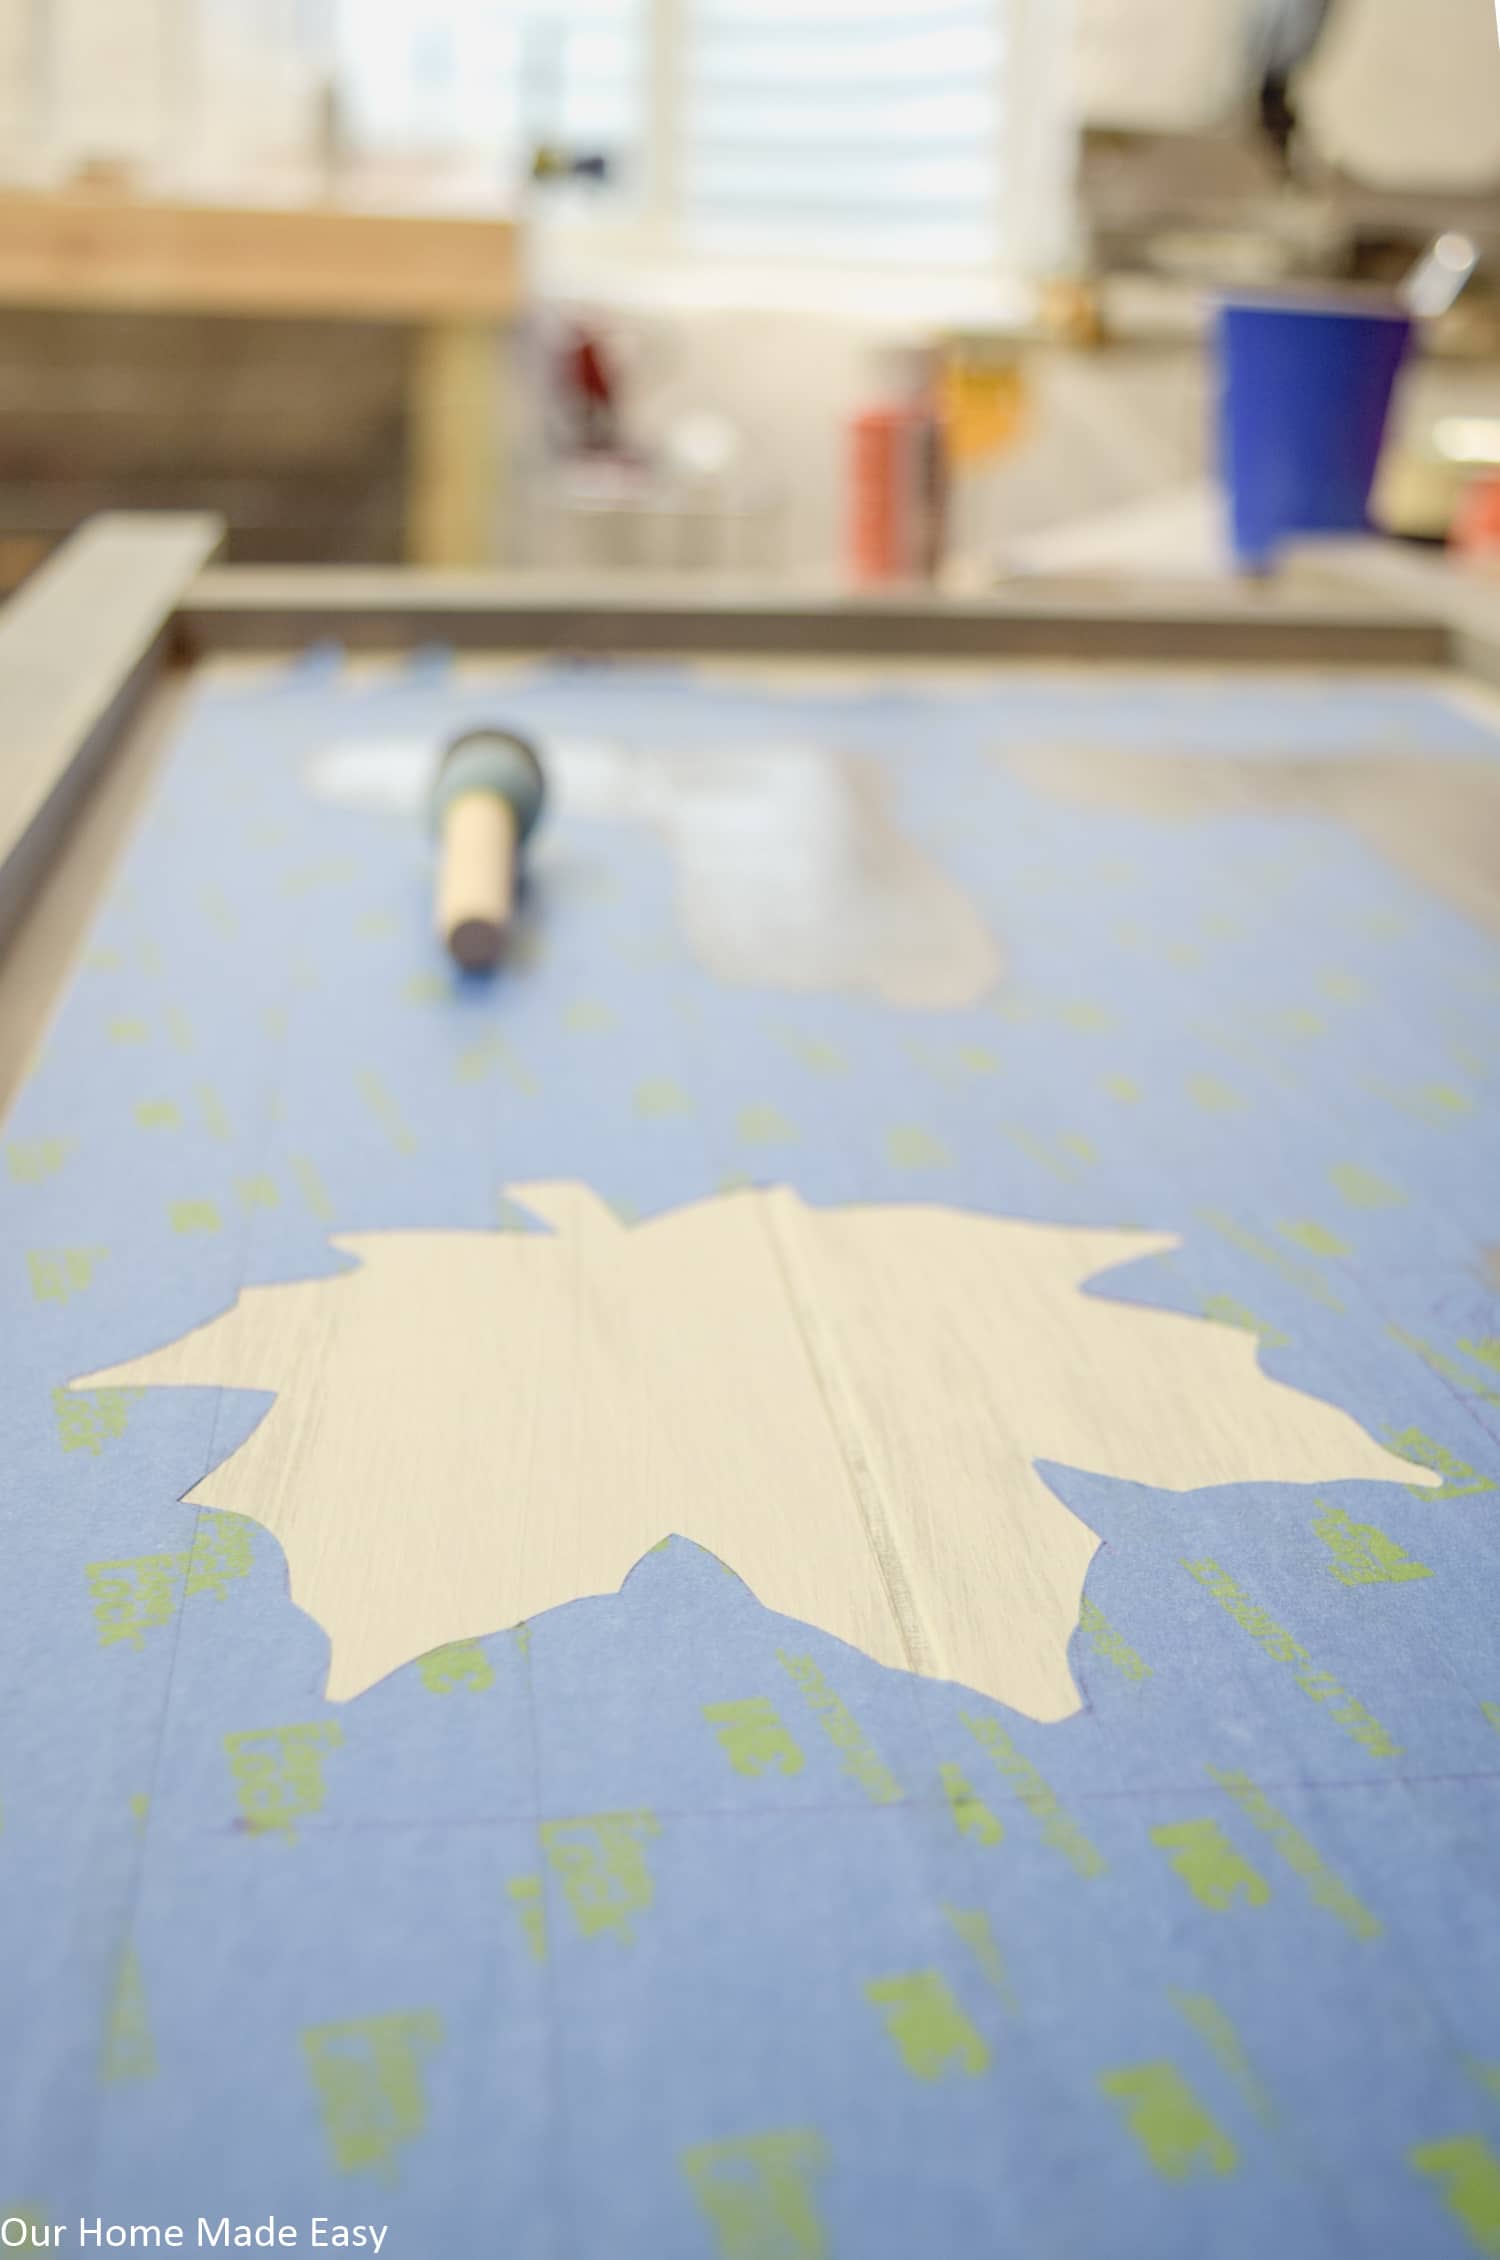
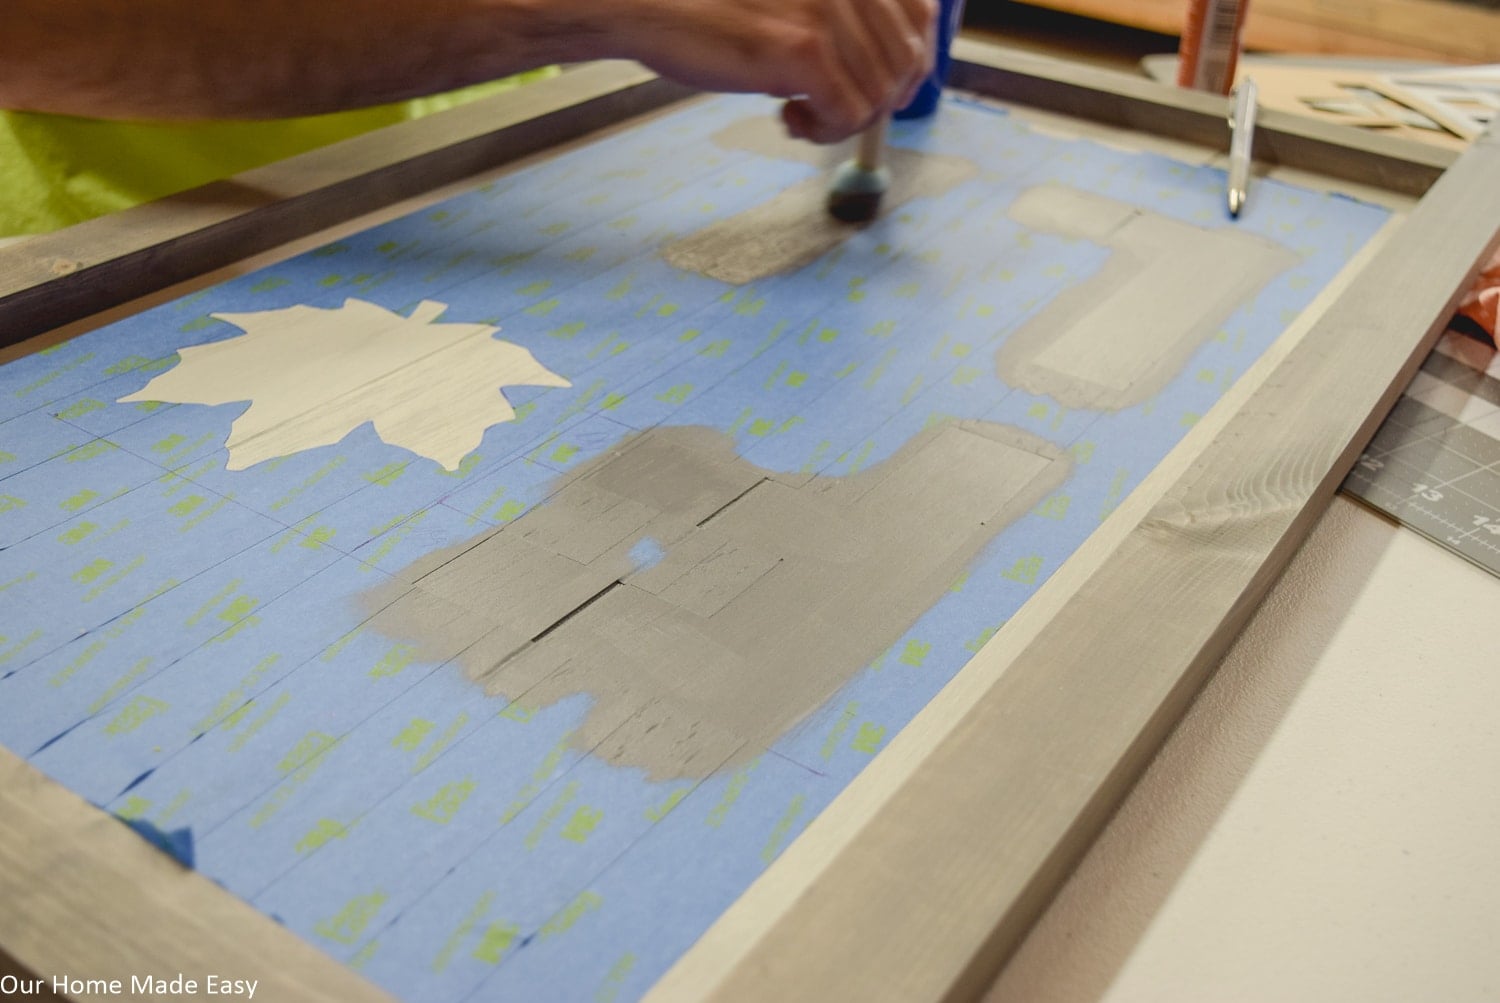
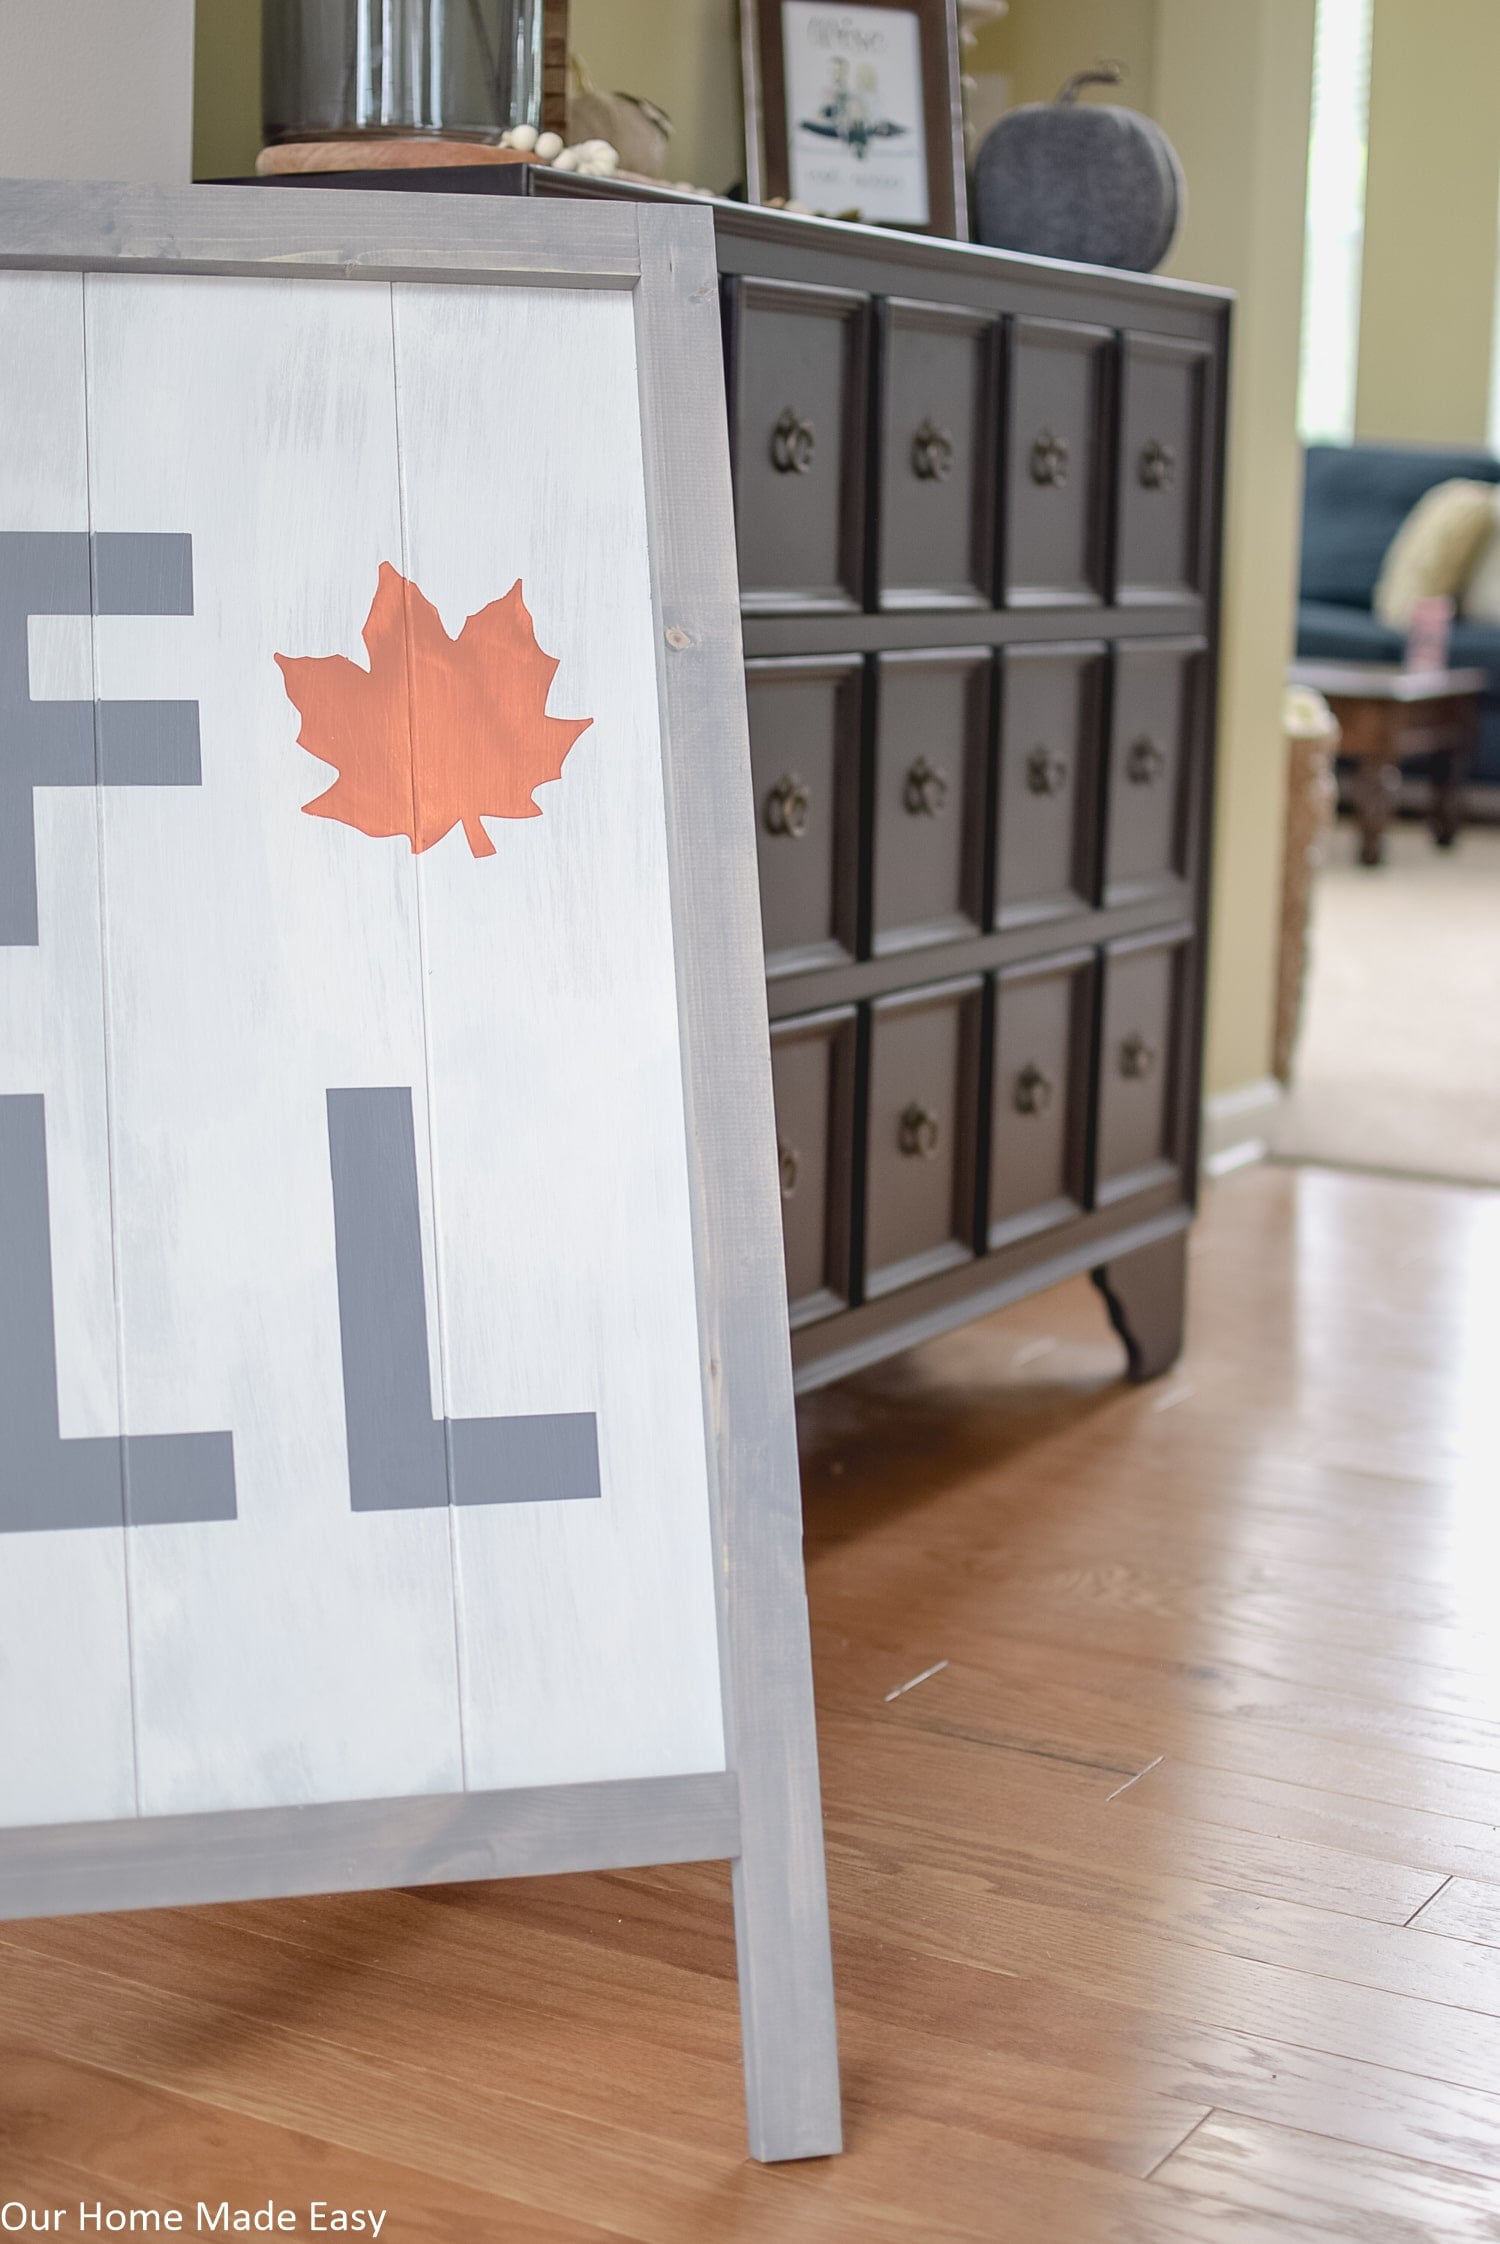
After spacing and tracing the letters with the utility square, I carefully cut away the painters tape where I wanted to paint the letters F and L. Then I painted the F and L’s with the same dark gray paint I painted the back of the plywood panel with. Then I moved on the leaf, or A. Since I couldn’t find a leaf stencil, I just found one online and printed it out.
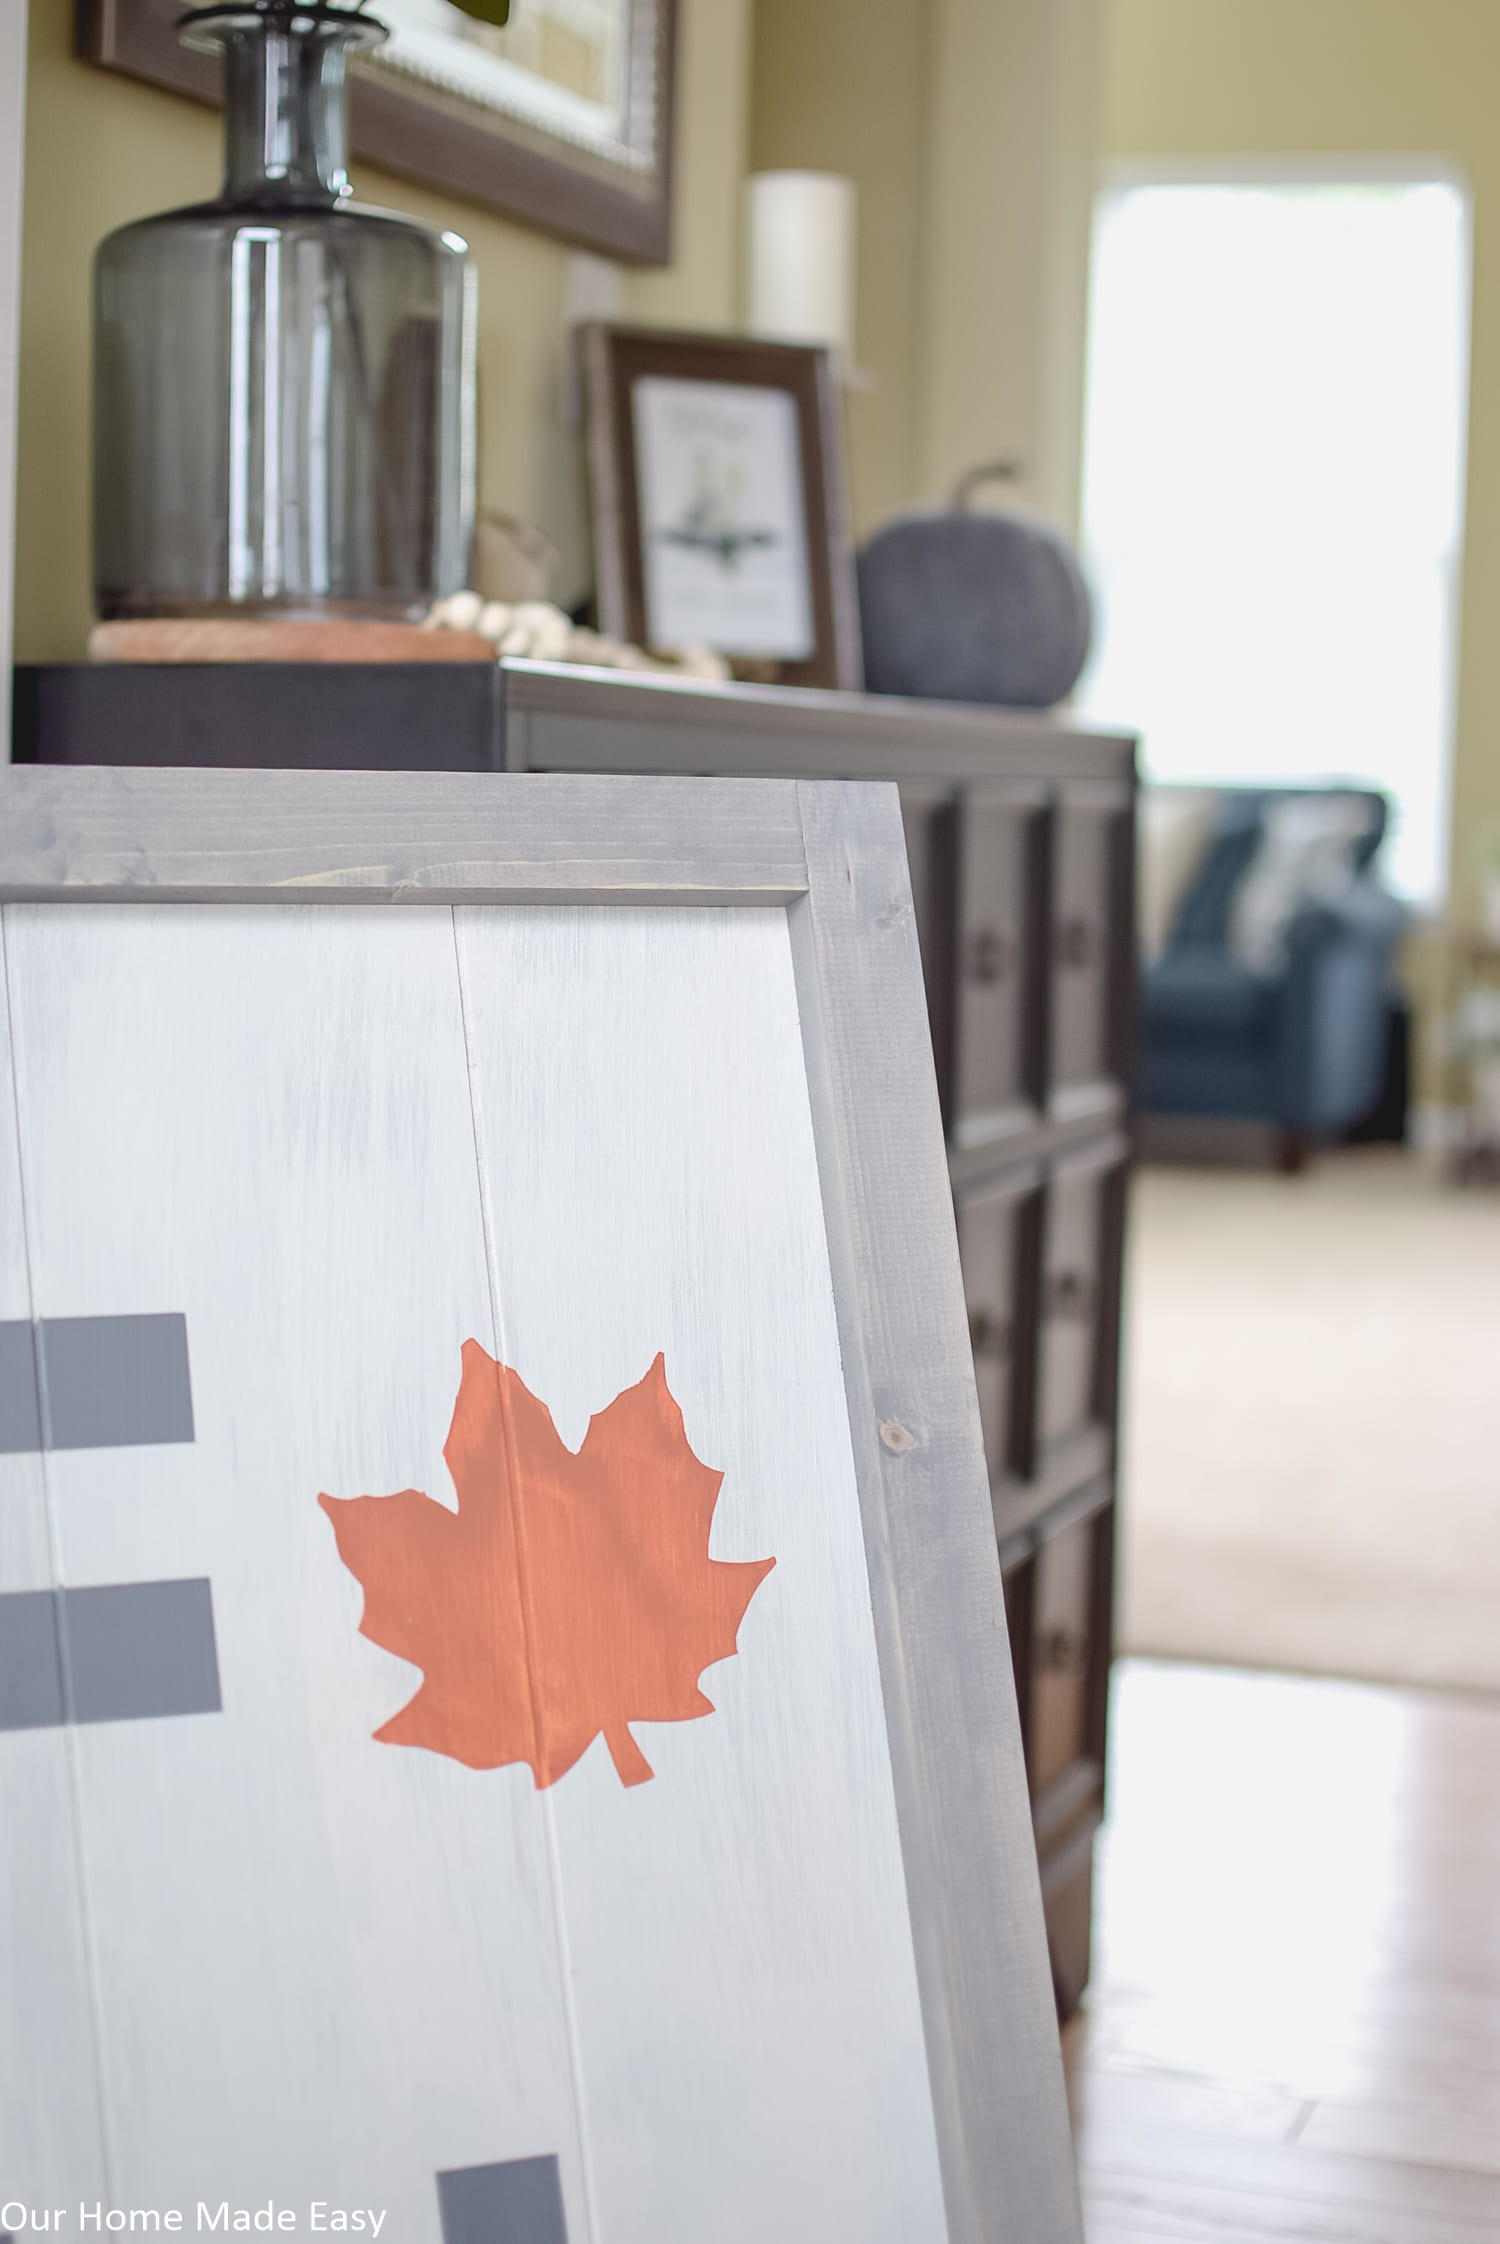
Then I cut the shape out, traced it on the panel and cut away the tape. This time I used an orange color but added a little black. When I mixed it, it didn’t mix fully. When I painted it, it gave a streaky look, which actually turned out neat.
Remove all the painter’s tape as soon as possible.
Building the Support Legs
If you want your sign to be completely self-standing, build your own legs!
However, this is totally optional.
You can stop your DIY wooden fall sign right now and be done! But since I knew this was going out on a porch that has zero protection from wind & rain, I wanted it to have some extra support and stand on its own.
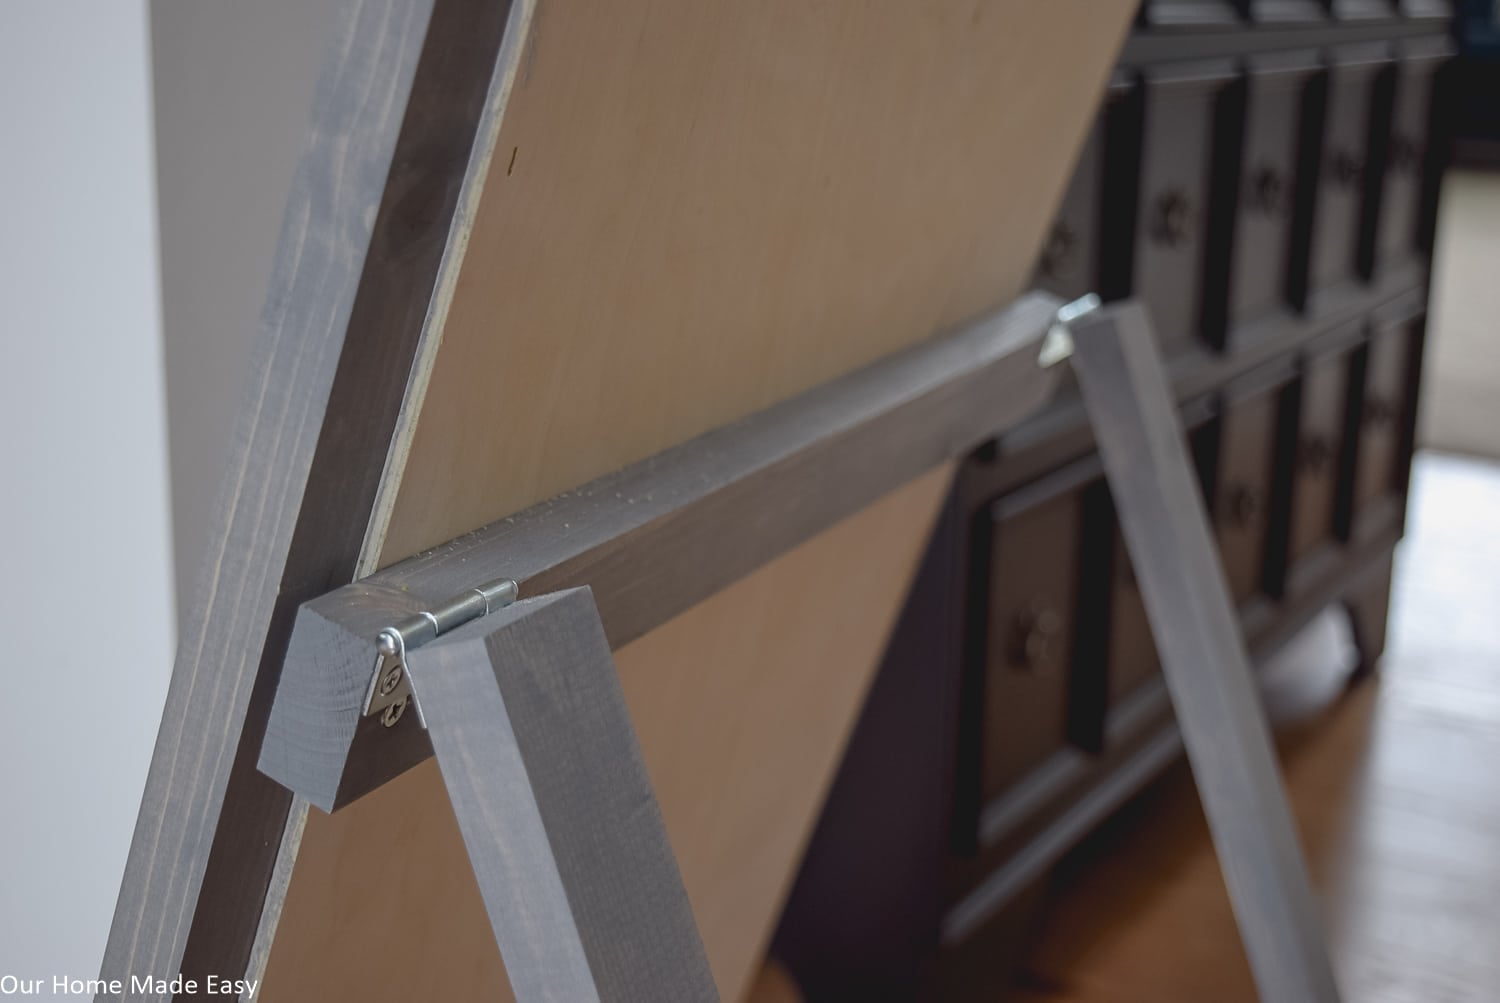
While the lettering was drying, I worked on the support legs. I took the two 24” pieces of 1”x2” and attached them together with my remaining 15” piece. I attached the 15” piece to the bottom of it was about 3” from the bottom of the legs.
I attached the hinges to the side of the support legs where the pocket holes are seen and on the end that doesn’t have a crossbar support. Then, I attached the 17 ⅞” 1”x2” to the other side of hinges.
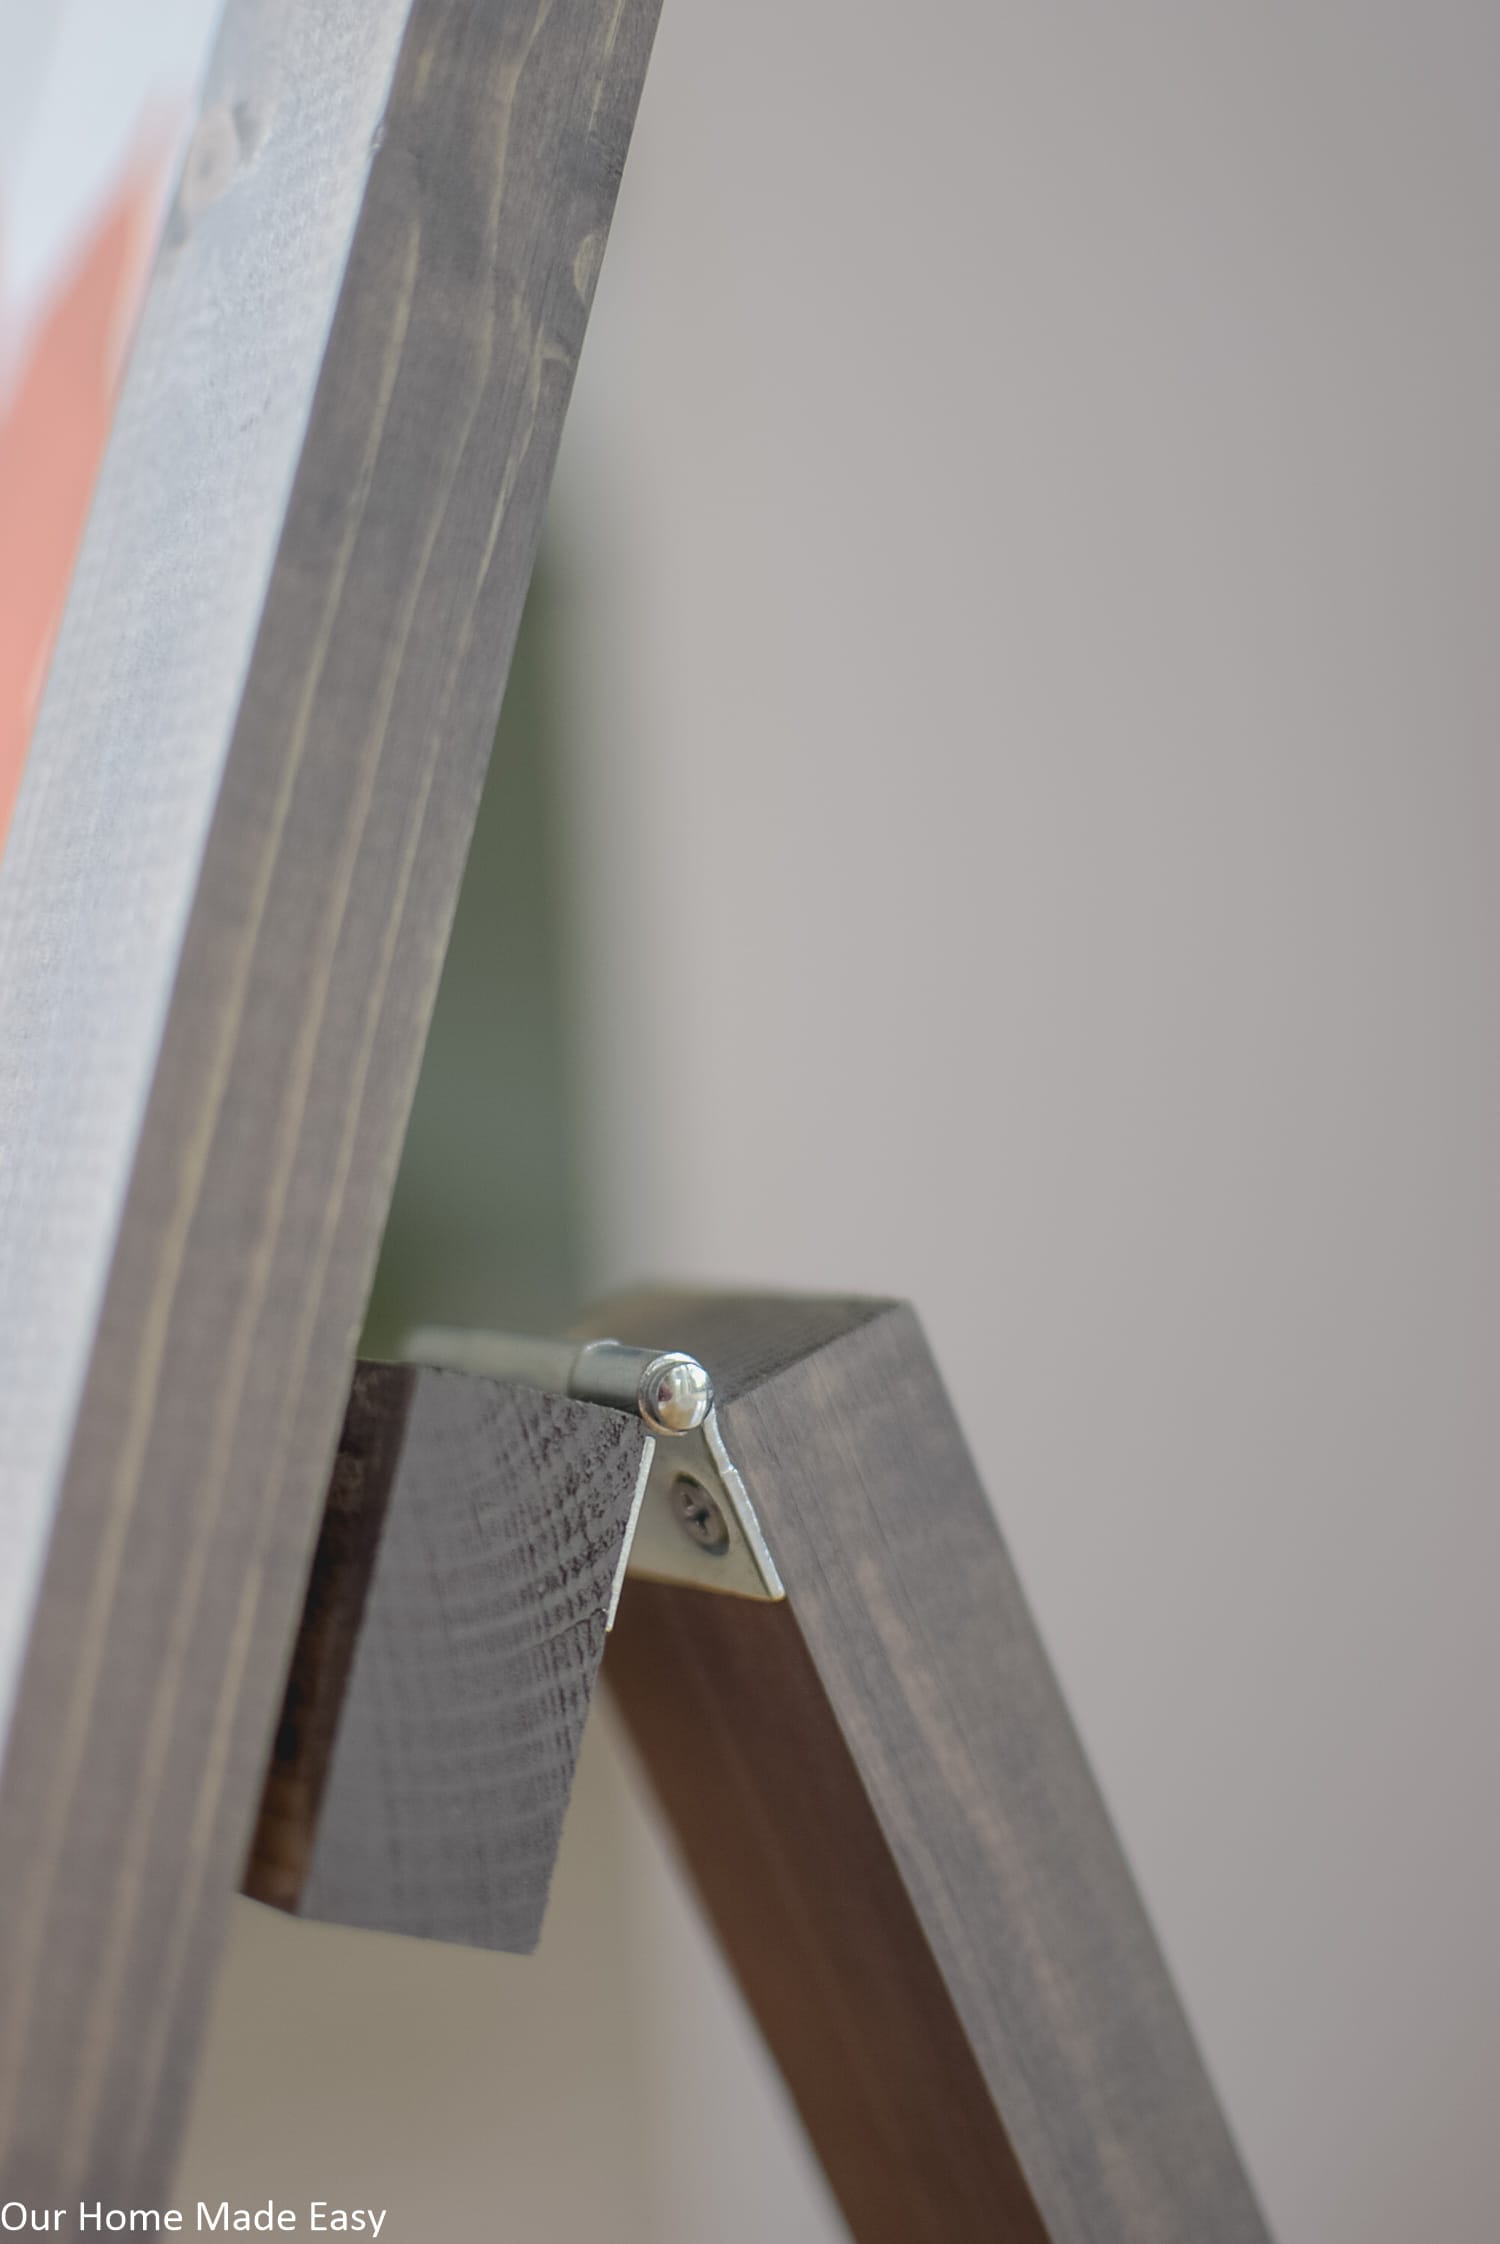
Finally, lay your sign face down. Open the support legs, so you can see the hinges and pocket holes. The legs should be pointed up, towards the top of the sign.
Measure 12” down from the top of the sign; this is where you will screw the 17 ⅞” support to the back of the sign. Screw it into the sign on both sides, ensuring that the screws will not go through the front of the sign (1 ¼” or 1 ½’ will do the trick depending on your thickness of the panel).
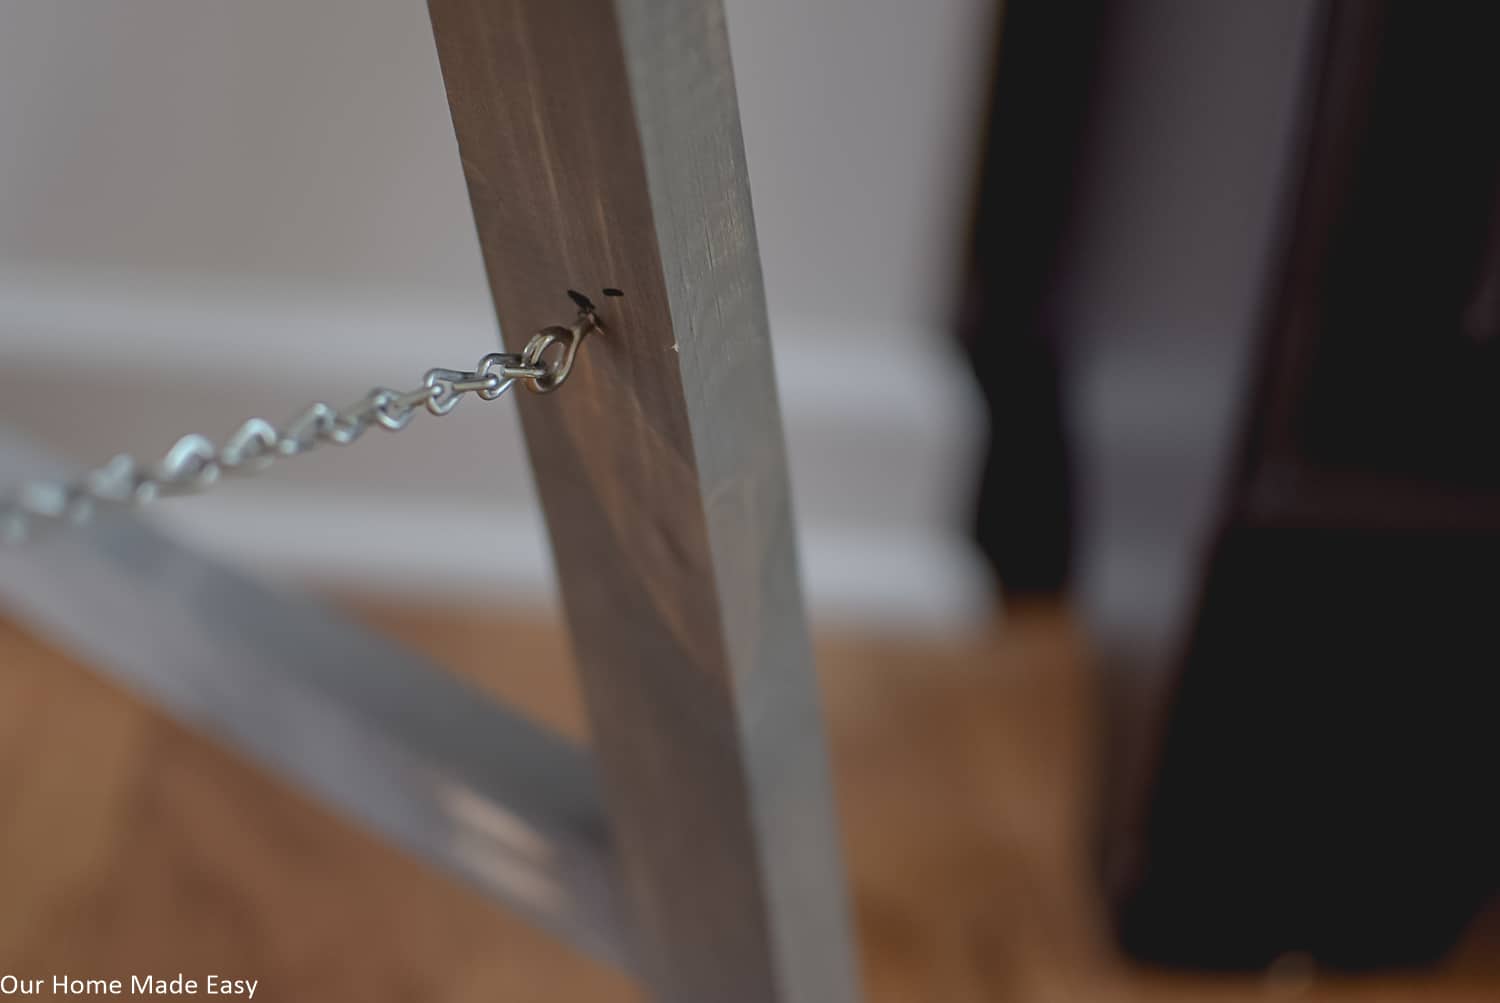
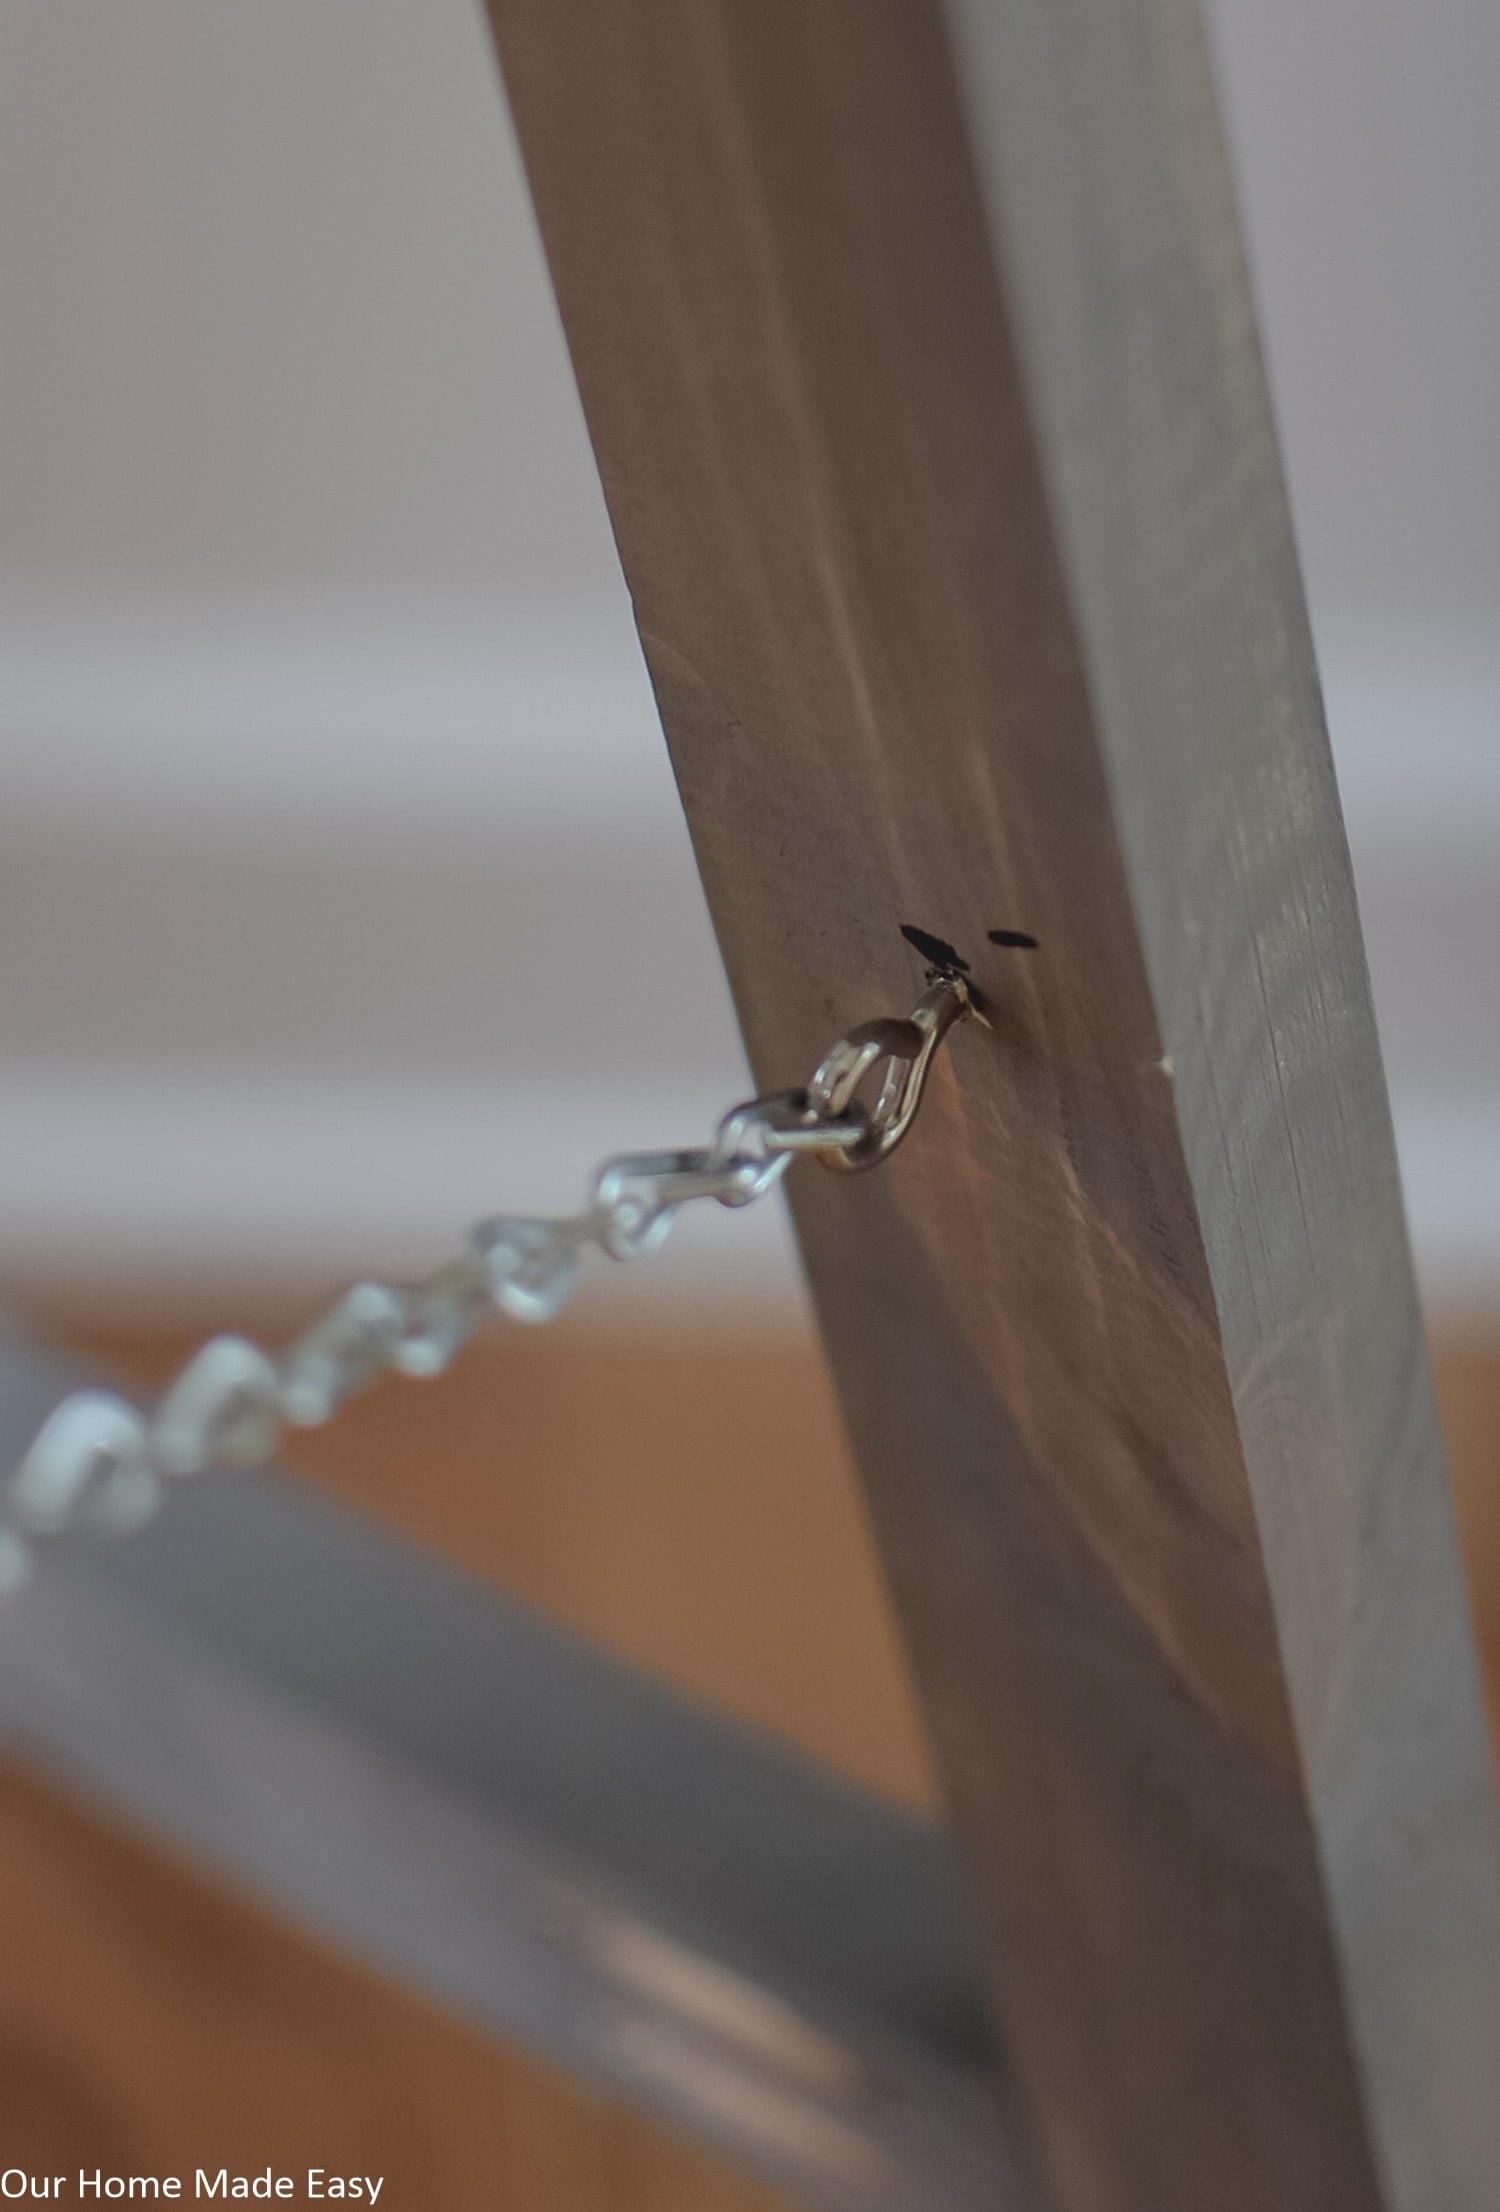
On one side of the sign, drill a pilot hole for the two eye hooks 9 ½” from the bottom of the sign from and support form. Screw in the two eye hooks. With a pair of pliers, carefully separate a link from both ends of the jack chain and attach to the eye hooks.
Use the pliers to close the chain back again.
Yep, I am feeling pretty selfish with this project. But I finally gave in and moved it outside to where it belongs– on the front porch.
While the plan wasn’t to exactly replicate the one we saw in the store, I love how it all turned it out. #happyMistake
Happy crafting my friends!
DIY Wooden Fall Sign
This simple Fall front porch sign adds the perfect rustic touch to your Fall front porch decor.
Materials
- 2 ea 1” x 2” Pine Boards
- 2 ea Hinges
- 10” Jack Chain
- 2 Eye Hooks
- Plywood
- Wood Stain
- Paint for the sign (We used this one & this one)
- Painter's Tape for Lettering
- Craft Paint for Lettering
Instructions
Start by making a few cuts. Cut 1 of the 1”x 2” into lengths of 36”, 24”, 15”, and 15”. Then, the other 1”x 2” into lengths of 36”, 24”, 15”, and 17 7/8”.
Pull out the three 15" pieces. Using a Kreg Jig, drill 2 pocket holes on the same side for all the pieces.
Stain all the 1”x2” boards with the weatheredtheweathered gray stain.
For the sign board, have the store or cut at home your plywood into 28 ¾” x 16”. Home Depot & Lowe's are great for cutting plywood boards down your preferred size. Easy peasy!
Painting the Sign Board
Paint the plywood with a dark gray paint. Once try, whitewash with a chip brush and light gray paint. It shouldn't be perfectly painted and some of the dark gray should show through. Once the paint is dry, begin to assemble your sign!
Start by attaching one of the 15” pieces to the two 36” pieces with pocket hole screws. From the opposite end, measure 5 ⅜” up. This is the bottom edge of the bottom support; attach with pocket hole screws.
Then nail or glue the plywood sheet to the back of the frame so the painted side faces out.
Lettering the Sign Board
Since we don't have a Cricut cuttingCricutcutting machine, we used the power of painters tape and an Exacto knife.
I used a utility square to create the F and L’s. The utility square is great because it is the shape of the F and L’s and is a common thickness. The letters were 1.5” thick.
The top of the F and bottom of the L started 5” from the inner edge of the frame. The sides of the letters started and ended approximately 2” from the edge of the frame.
After spacing and tracing the letters with the utility square, I carefully cut away the painters tape where I wanted to paint the letters F and L. Then I painted the F and L’s with the same dark gray paint I painted the back of the plywood panel with.
Then I moved on the leaf, or A. Since I couldn't find a leaf stencil, I just found one online and printed it out.
Then I cut the shape out, traced it on the panel and cut away the tape. This time I used an orange color but added a little black. When I mixed it, it didn't mix fully. When I painted it, it gave a streaky look, which actually turned out neat.
Remove all the painter's tape as soon as possible.
Building the Support Legs
I took the two 24” pieces of 1”x2” and attached them together with my remaining 15” piece. I attached the 15” piece to the bottom of it was about 3” from the bottom of the legs.
I attached the hinges to the side of the support legs where the pocket holes are seen and on the end that doesn't have a crossbar support. Then, I attached the 17 ⅞” 1”x2” to the other side of hinges.
Finally, lay your sign face down. Open the support legs, so you can see the hinges and pocket holes. The legs should be pointed up, towards the top of the sign.
Measure 12” down from the top of the sign; this is where you will screw the 17 ⅞” support to the back of the sign. Screw it into the sign on both sides, ensuring that the screws will not go through the front of the sign (1 ¼” or1 ½’ will do the trick depending on your thickness of the panel).
On one side of the sign, drill a pilot hole for the two eyetwoeye hooks 9 ½” from the bottom of the sign from and support form. Screw in the two eye hooks. With a pair of pliers, carefully separate a link from both ends of the jack chain and attach it to the eye hooks.
Use the pliers to close the chain back again.
GRAB YOUR FREE FRONT PORCH DECOR GUIDE HERE!
PIN FOR LATER: