The Conversation (0)
Sign Up
Research
Do research and make a budget for the theme you're going for. Browse furniture online. For my space, I went with furniture I already had, a sofa set from Ashley Furniture and Expedit items from Ikea.
Planning
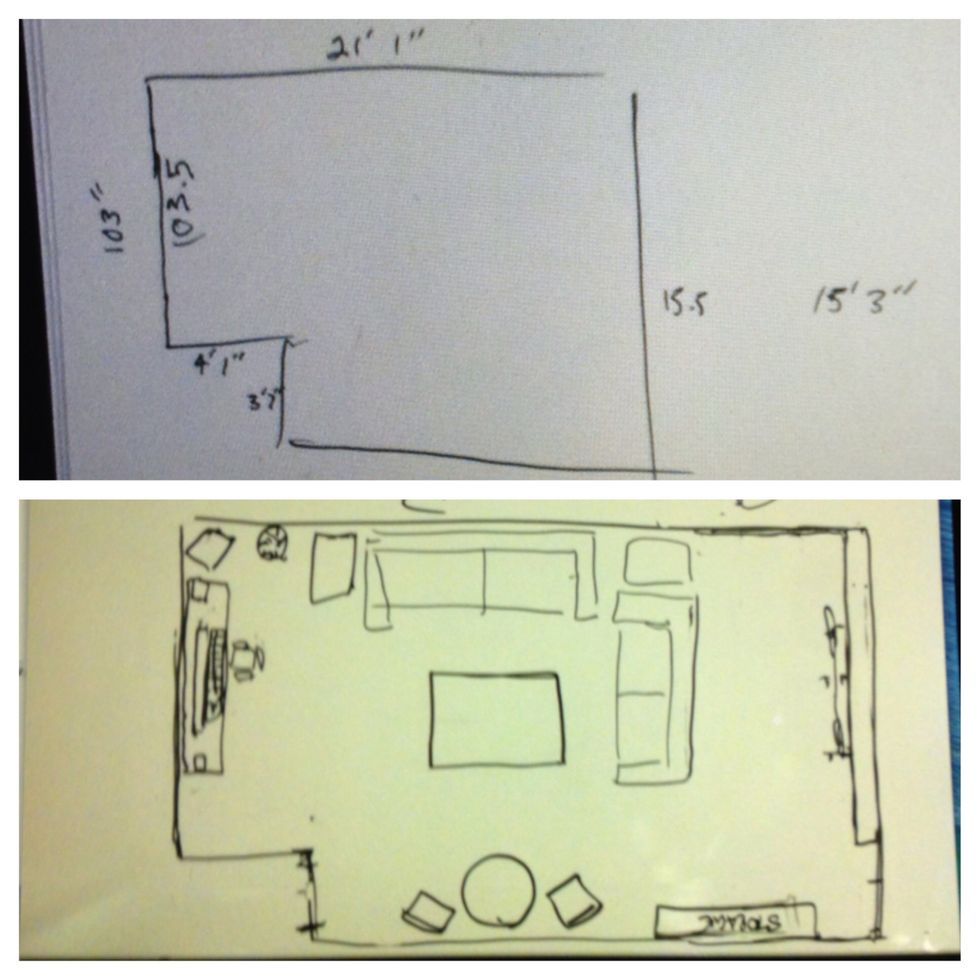
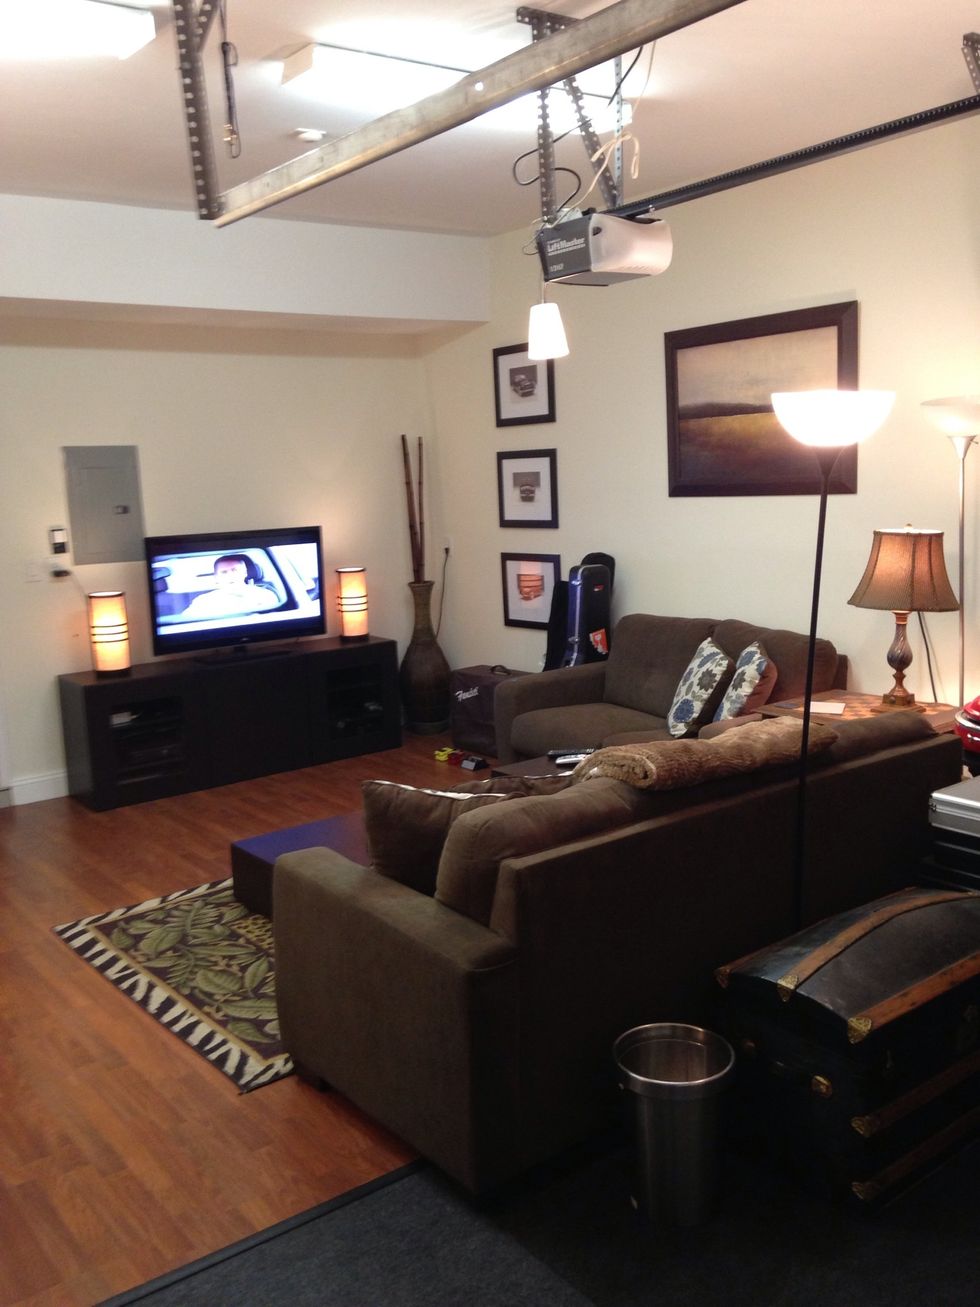
During the planning process, I considered foot traffic for the dart board and tv positioning. I placed the TV facing the garage door so guests could be outside and still enjoy the show. Eg: Super Bowl
Painting
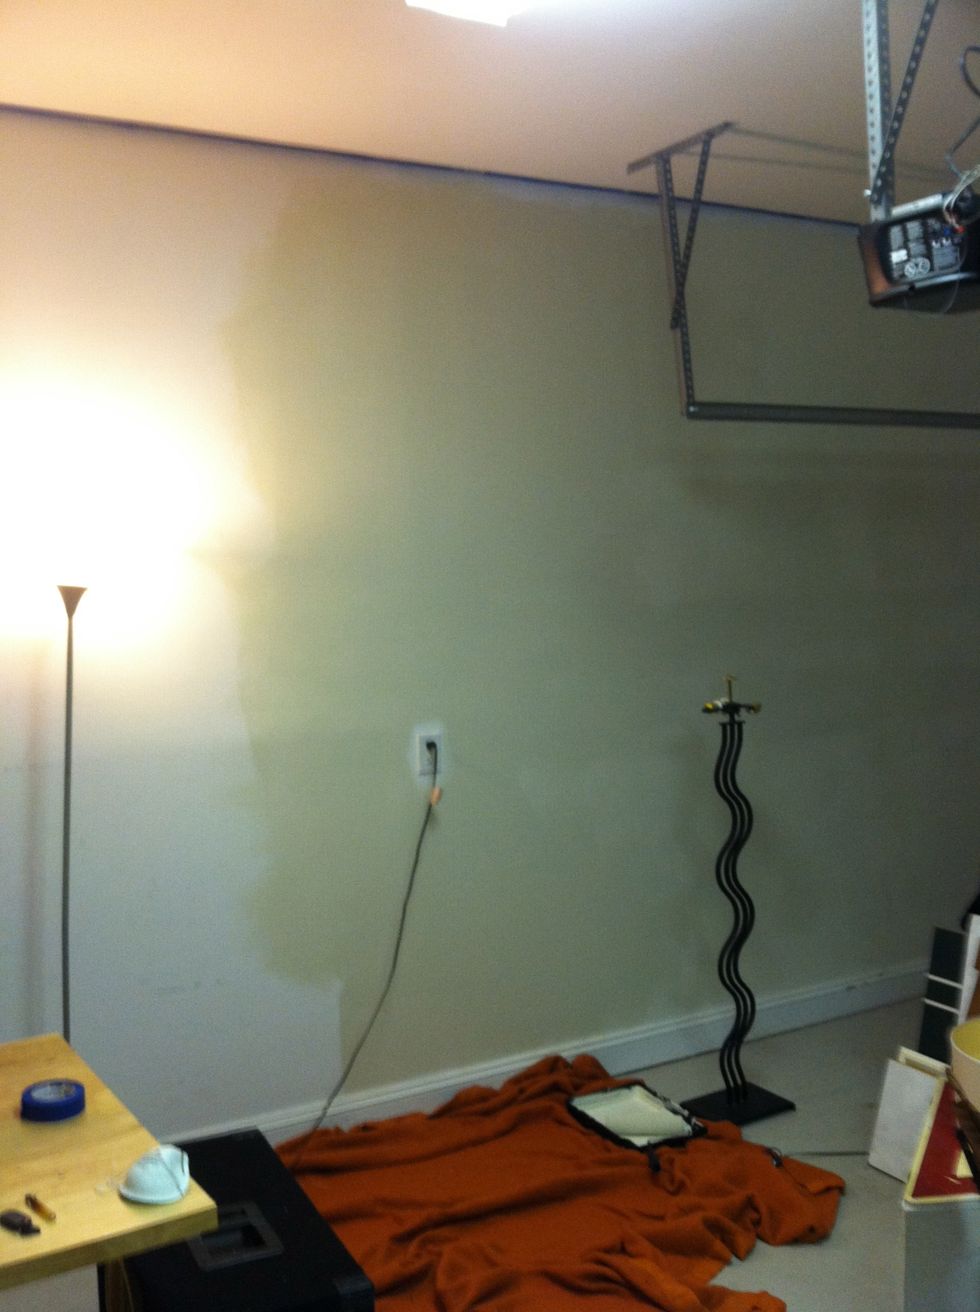
Repair any holes or punctures with filler. sand surface after filling holes. Tape up baseboards and ceiling to prevent undesired accidents/drips. Place a splash sheet beneath the area you're painting.
I recommend selecting a neutral color to not detract from the value of the home or force you to repaint when it's time to move. My appraiser said the temporary nature of the room wont affect the value
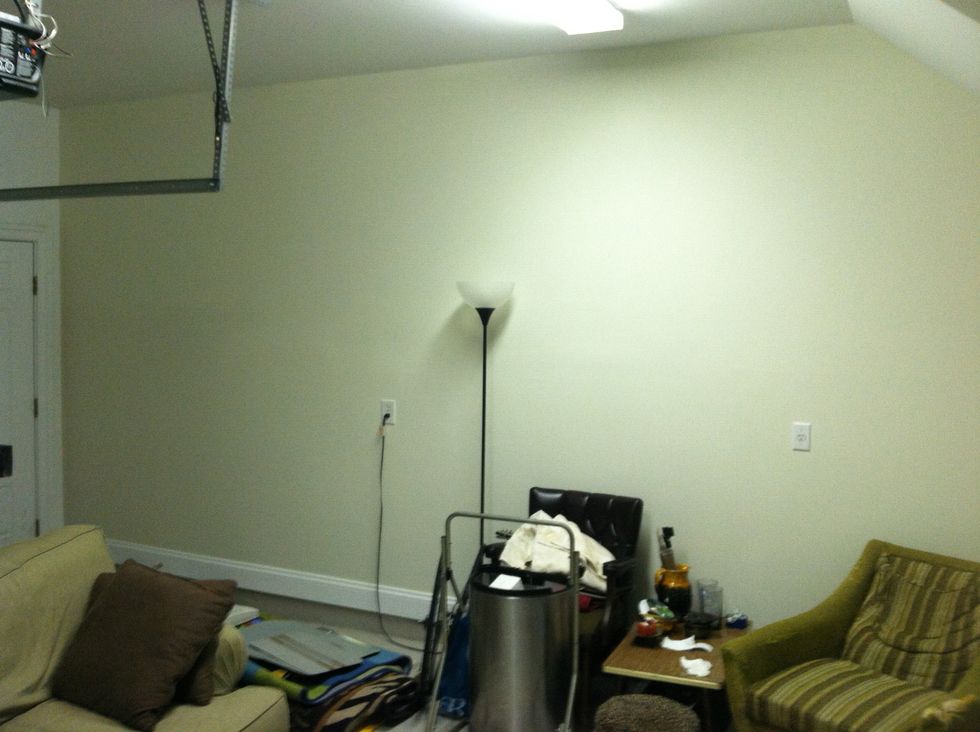
Apply paint to roller and roll onto wall in zigzags, never in straight lines. Once the rolling job is done, use a paint brush to precisely paint the portions that weren't covered by the roller.
Flooring
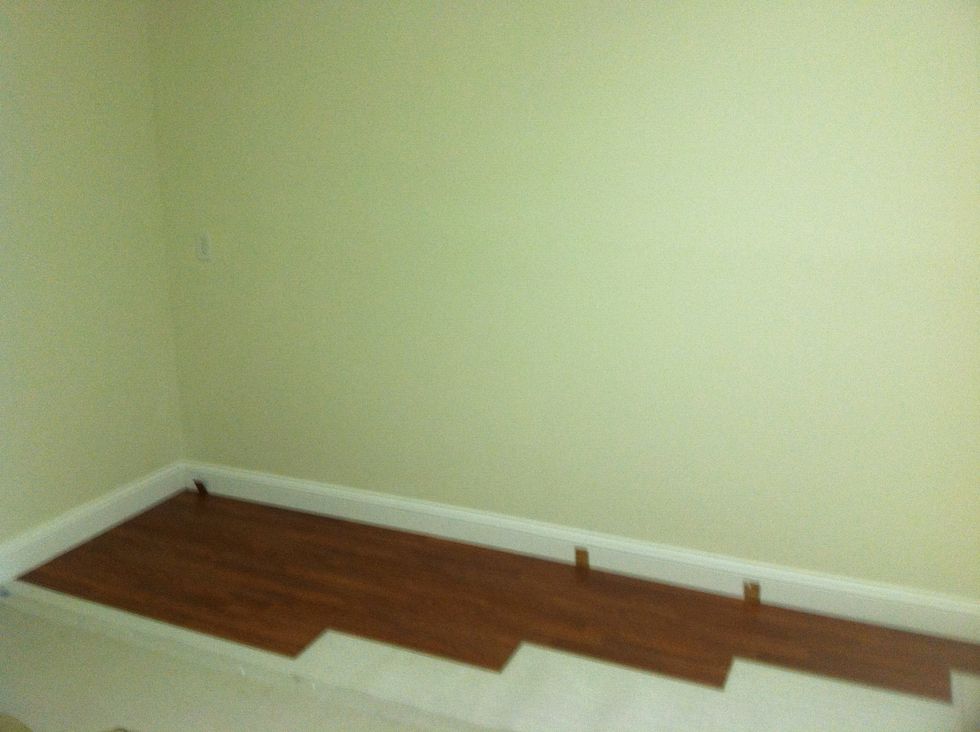
Place the underlayment down first (helps with moisture, temperature, noise and debris) Be sure this surface is clean prior to laying the laminate on top. I used some laminate samples as wall spacers.
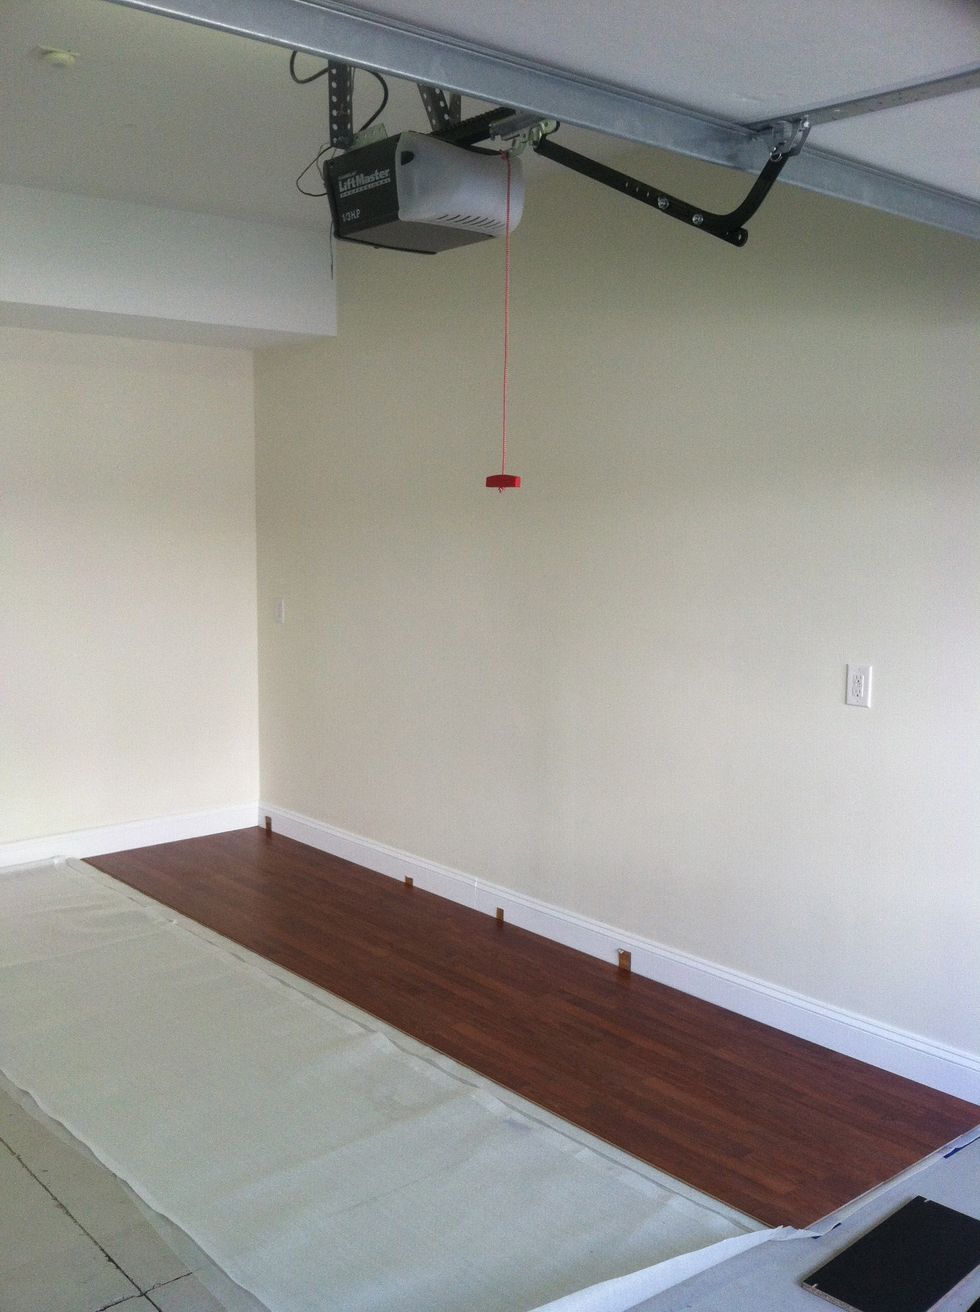
The flooring literally snaps into place with a tongue-n-groove. You have to really wiggle it into place with tender forcefulness. For the stubborn pieces I used a block and a hammer. be verrry careful
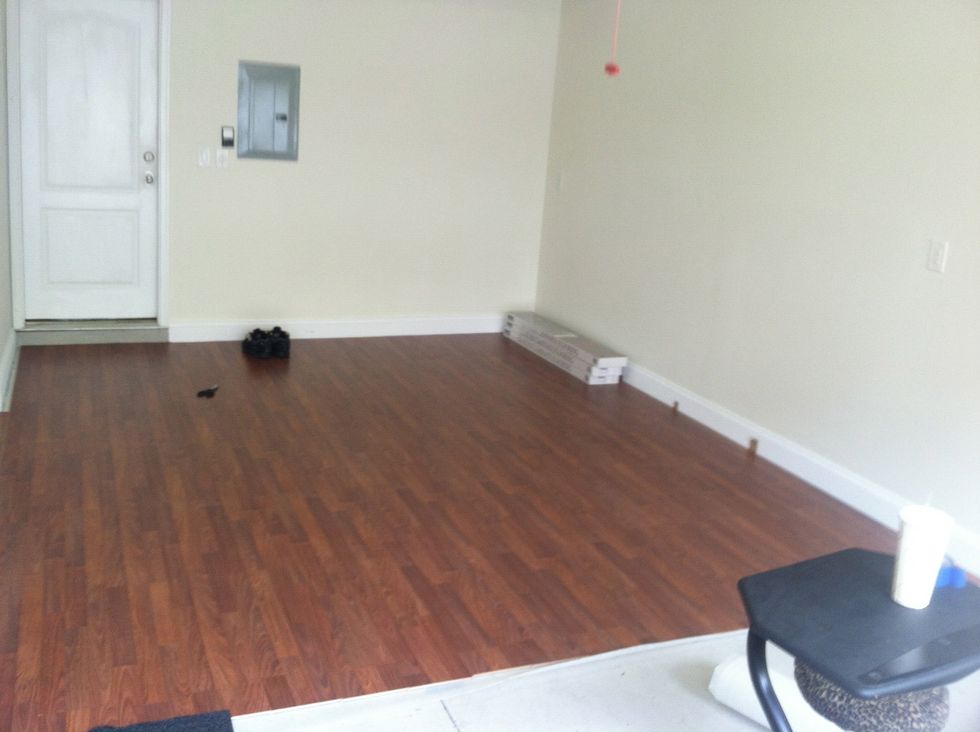
I cut the first board in odd rows in half to assure no seams on adjacent boards would align. I cut the last board in each row leaving 8 ft of space for the carpet in front of the garage door.
Quarter Round Molding
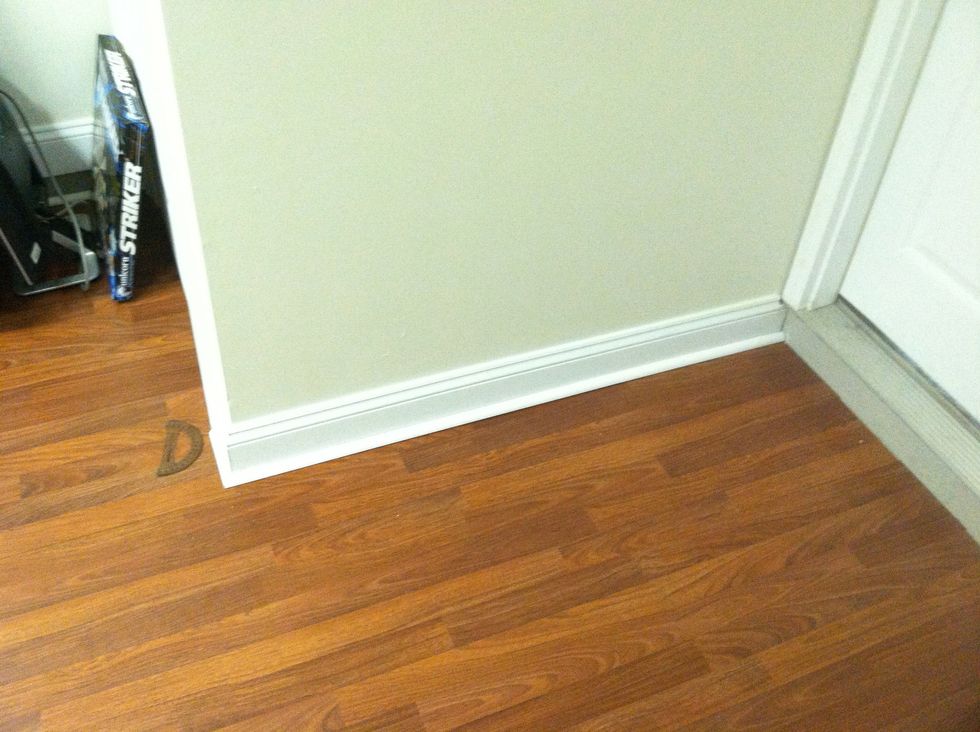
Use trim nails to fasten. If the molding joins another piece at an angle, as depicted here, account for the depth of the joining piece. when on a long straight line cut the each strip at a 45º angle.
To save money I decided to only cover the baseboards that would be seen with molding.
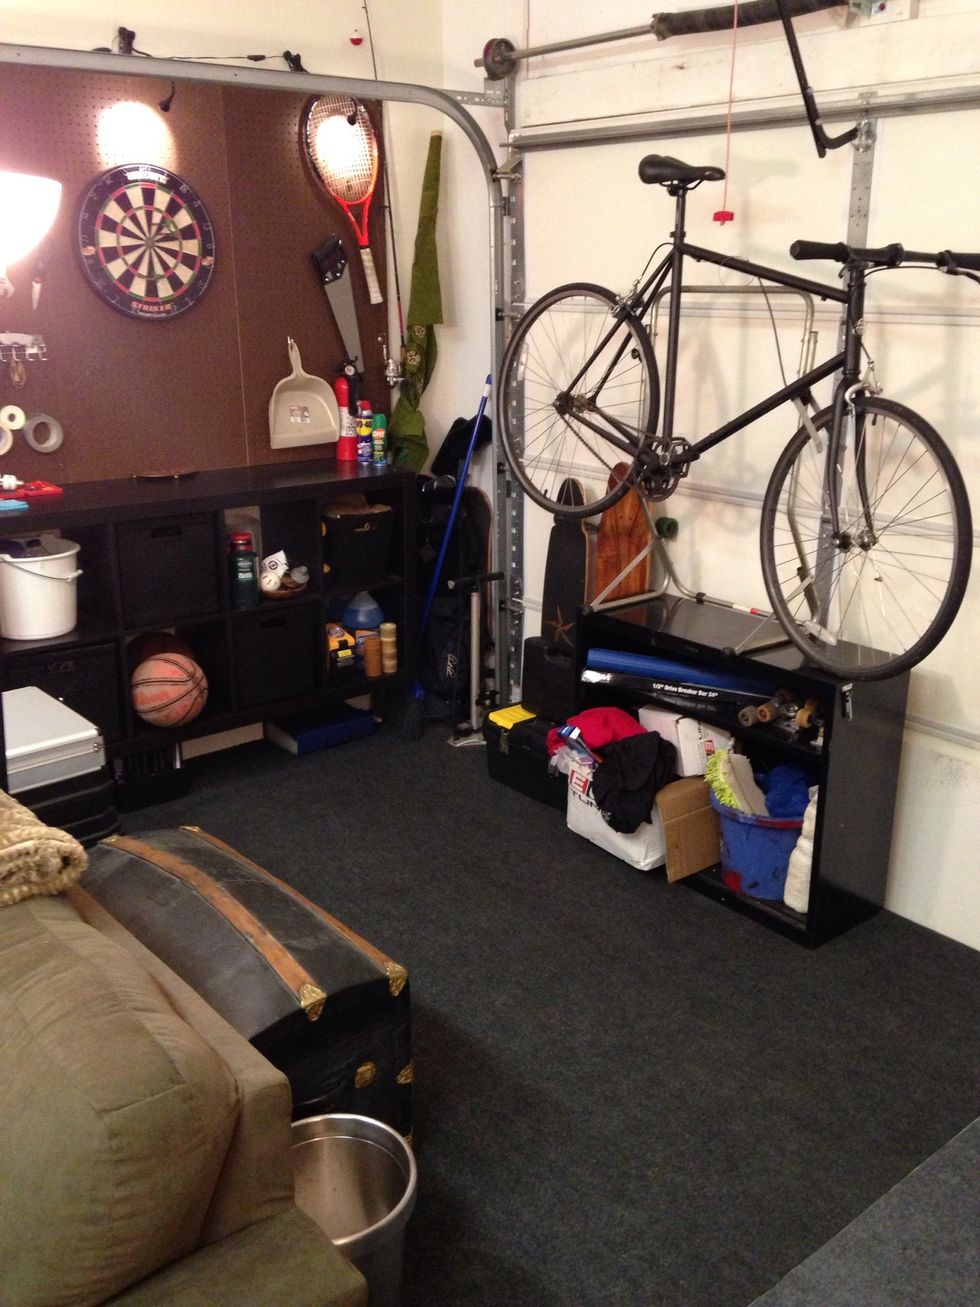
Carpeting
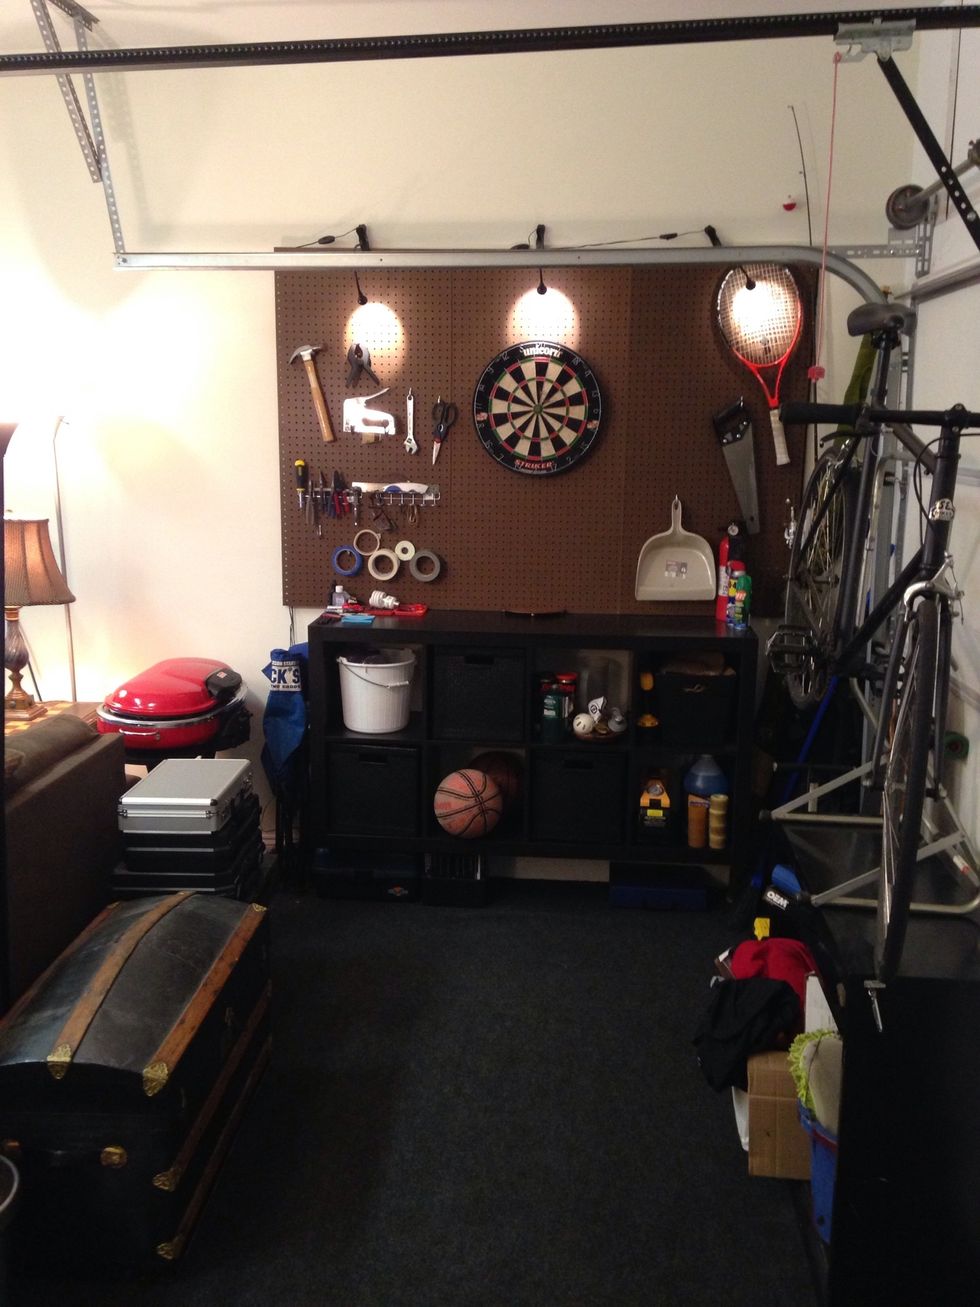
I used double sided tape to adhere the carpet to the concrete garage flooring. i decided to use this 8 ft of space as a work area and mud room. I used a storage cabinet from Ikea as a workbench.

To couple the carpet with the laminate, I purchased a rubber strip that holds everything in place by compressing the carpet and laminate between the rubber and a metal backing
Install Cable
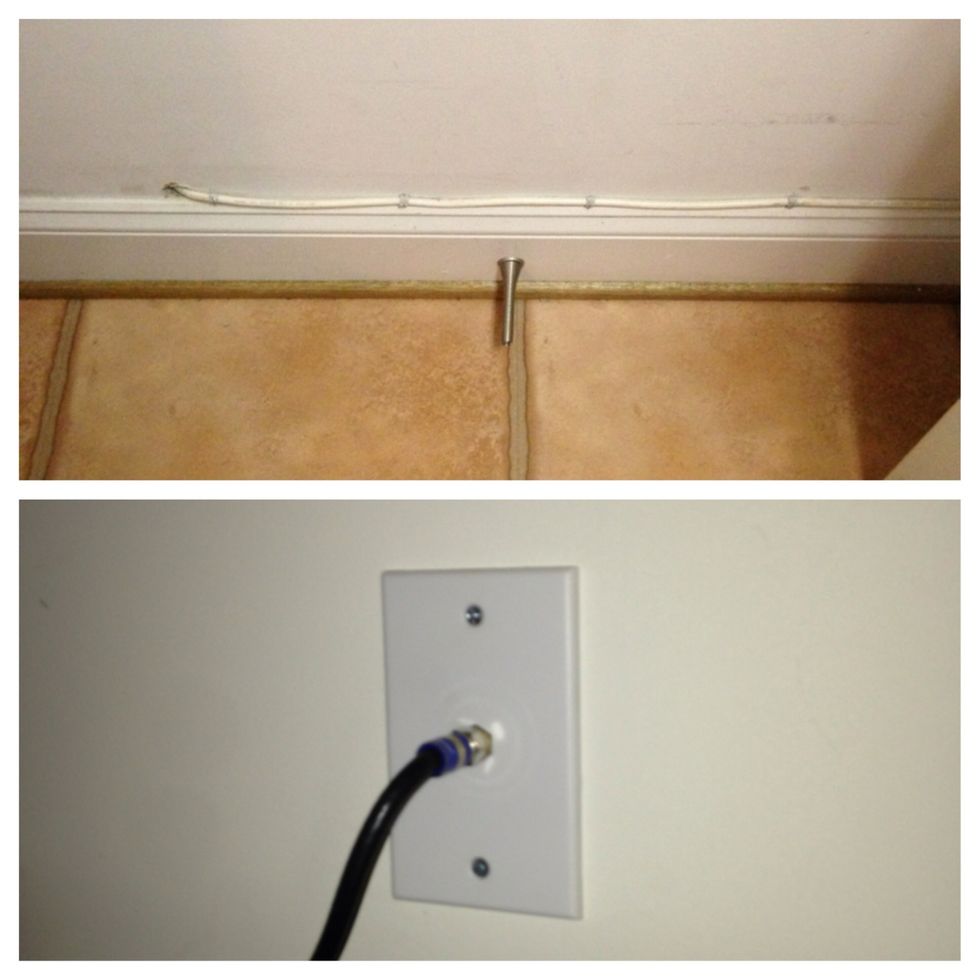
This was way easier than I anticipated. Simply puncture a hole, feed the cable through and fasten the coax plate to wall. This was easy for me bc my cable terminal is in the next room over.
Heating & Cooling

I purchased a Vornado space heater for about $30 from 'Woot' and if it gets a little hot during the summer I pull out a fan. Ive considered installing a ceiling fan/light but have yet to execute on it
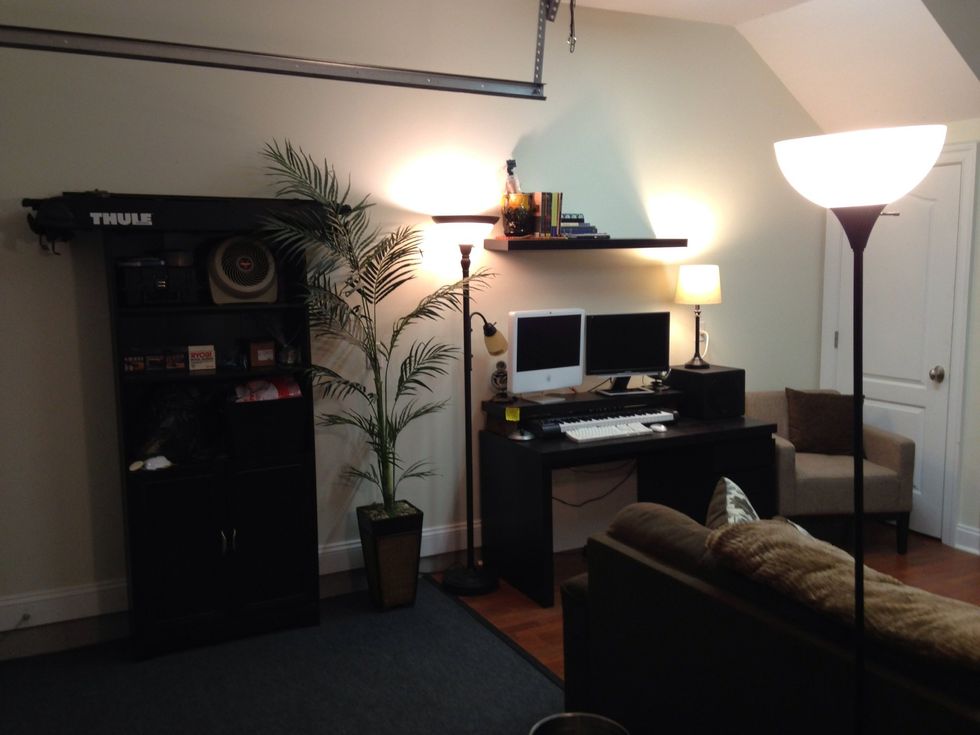
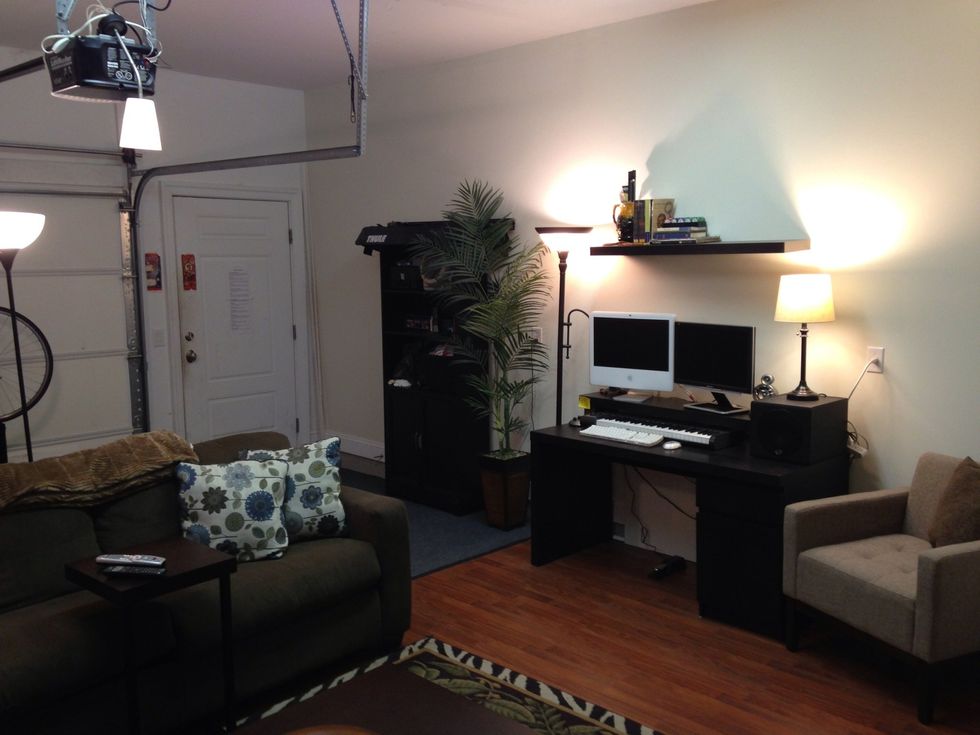
Final Product
Cost Breakdown: paint: $30, paint supplies: $47, laminate: $150, misc flooring supplies $32, carpet: $50, carpet supplies: $4, rubber strip: $15, cable supplies: $2.50, heater: $30