Shopping Bags
We were inspired to make our own homemade bags after learning how easy they are to make from Wisdom of the Moon. After making hers we modified the design to hide the triangle on the side and make a more square bottom. That’s what is so great about making your own bags. You can change them to fit your own needs. Larger bags are great for large light items like paper towels or toilet paper and smaller ones for heavy small items like cans and produce. We like to use recycled materials like vintage table cloths, shower curtains, and sheets. This makes the project very earth and budget-friendly.

Once you choose your material wash, dry and iron it. Cut the material into a 36 x 19 inch rectangle.

Fold the rectangle in half with the right sides facing each other. Sew the sides using a zig zag stich. This will make your basic bag shape.

Now fold the top down 2 times about an inch. Iron and then topstitch the top and bottom of the fold to make a sturdy place to attach the handle.

To the square, the bottom, line the two side seams up with each other.
This will make a triangle shape in each of the bottom corners.

Sew the bottom of each triangle at the point where the triangle measures about 7 inches.

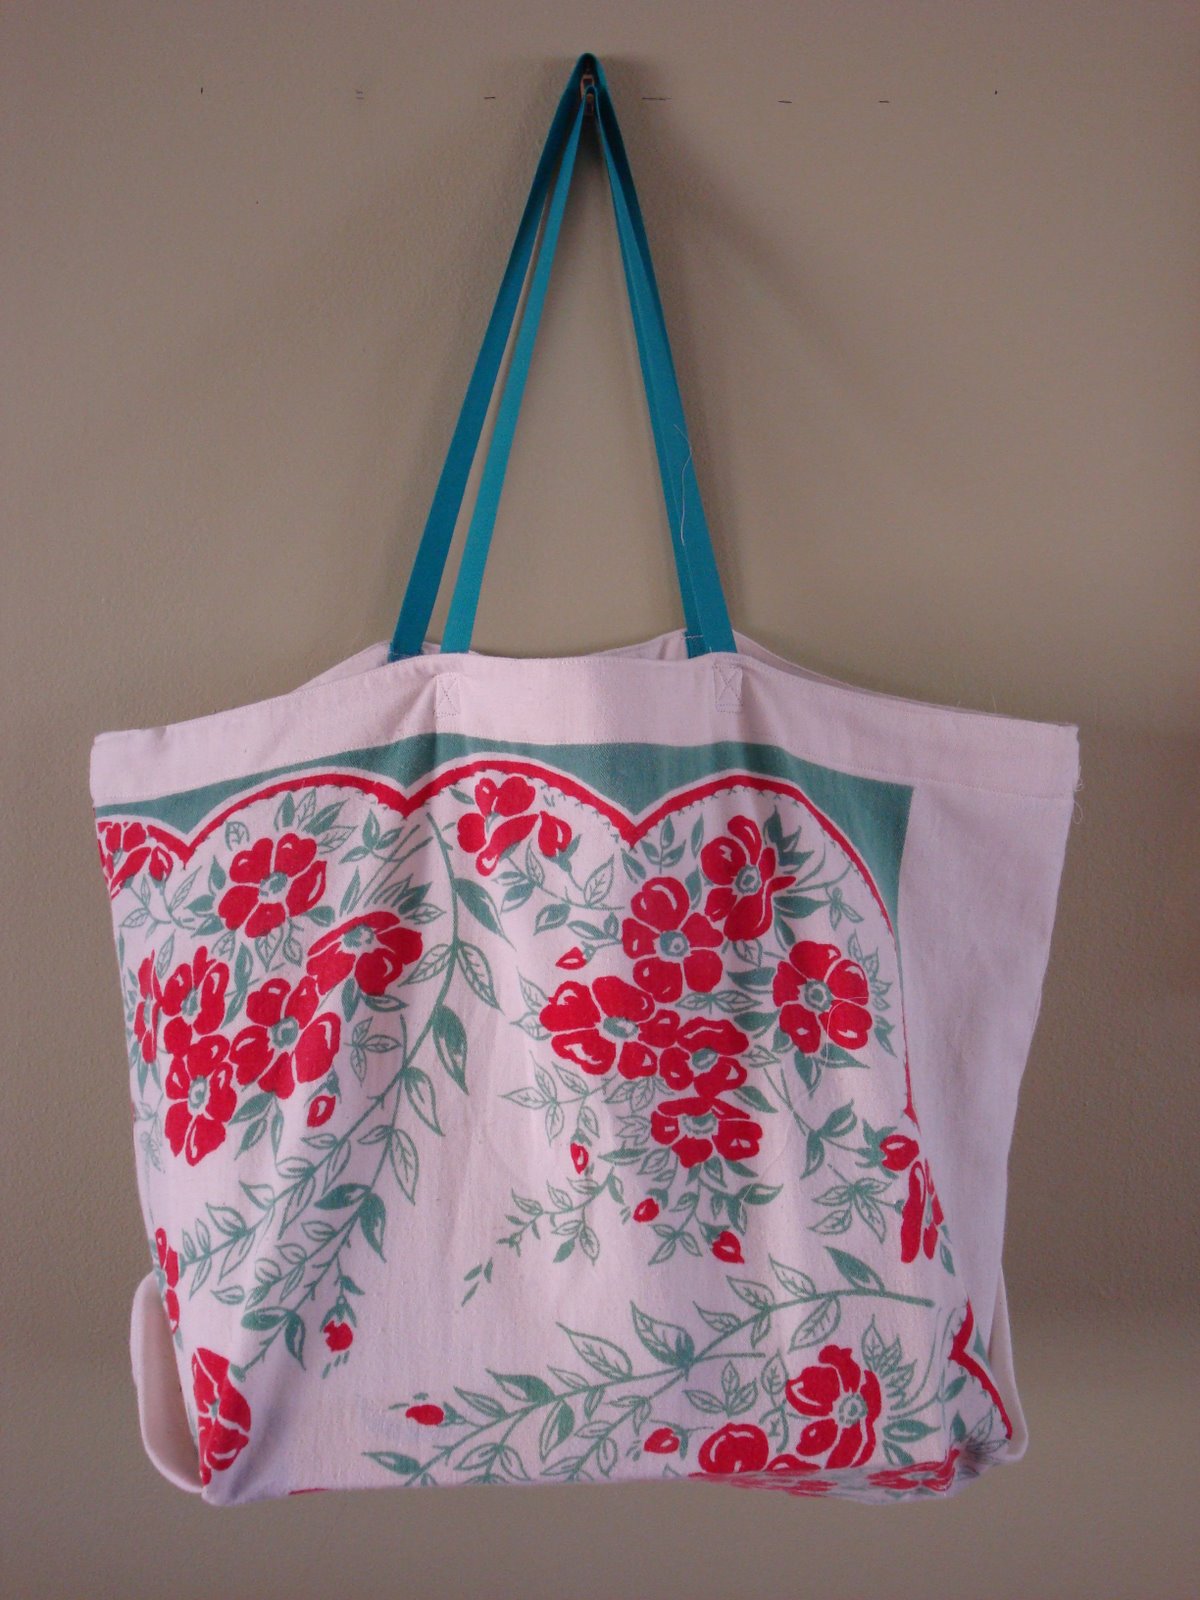
Now turn the bag right side out and it should look like this. Now you are ready to attach the handles.

We used straps that were 24 inches long. They can be attached on the outside or inside of the bag. We bought webbing for the straps but you can also make your own using the scraps from your bag. Fold the ends of the strap 2 times and sew them on about six inches in from either side of the bag. Sew them on securely using a box with an x pattern.
You are now ready to shop!
