Tutorial: Passport organizer

{ passport organizer} here is the passport organizer tutorial. i took over 80 pictures for this tutorial and hope you can see the detail parts and if the writing isn’t clear to you please let me know, but hope the pictures will be help the description. you could use your scraps for this project which i did! s went through my scarp basket and picked out what she like for her organizer and i just trim down the size that i need. this is a extreme long post and here so here we go~ {material/supplies} 25 pieces of 2.5″x2.5″ fabric – outer piece 1 piece of 10.25″x10.25″ fabric- inner piece 2 pieces of 8.5″x10.25″ fabric- large pockets 1 piece of 4.5″x12″ fabric- folded card pocket 1 piece of 2.5″x4″- pen holder cut 2.5″ wide fabric and piece together for the binding buttom elastic thread sewing machin {fusible craft interfacing} cut 2 pieces of 10.25″x10.25″ – outer piece/inner piece 2 pieces of 10.25″x8.5″ – large pocket 1 piece of 12″x 4.25″- folded card pocket

25 piece of 2.5″x2.5″ layout the pieces and make your own arrangement

sew the pieces together please remember use 1/4″ seam allowance for this project

press the back seams well, so you don’t leave any unpressed area

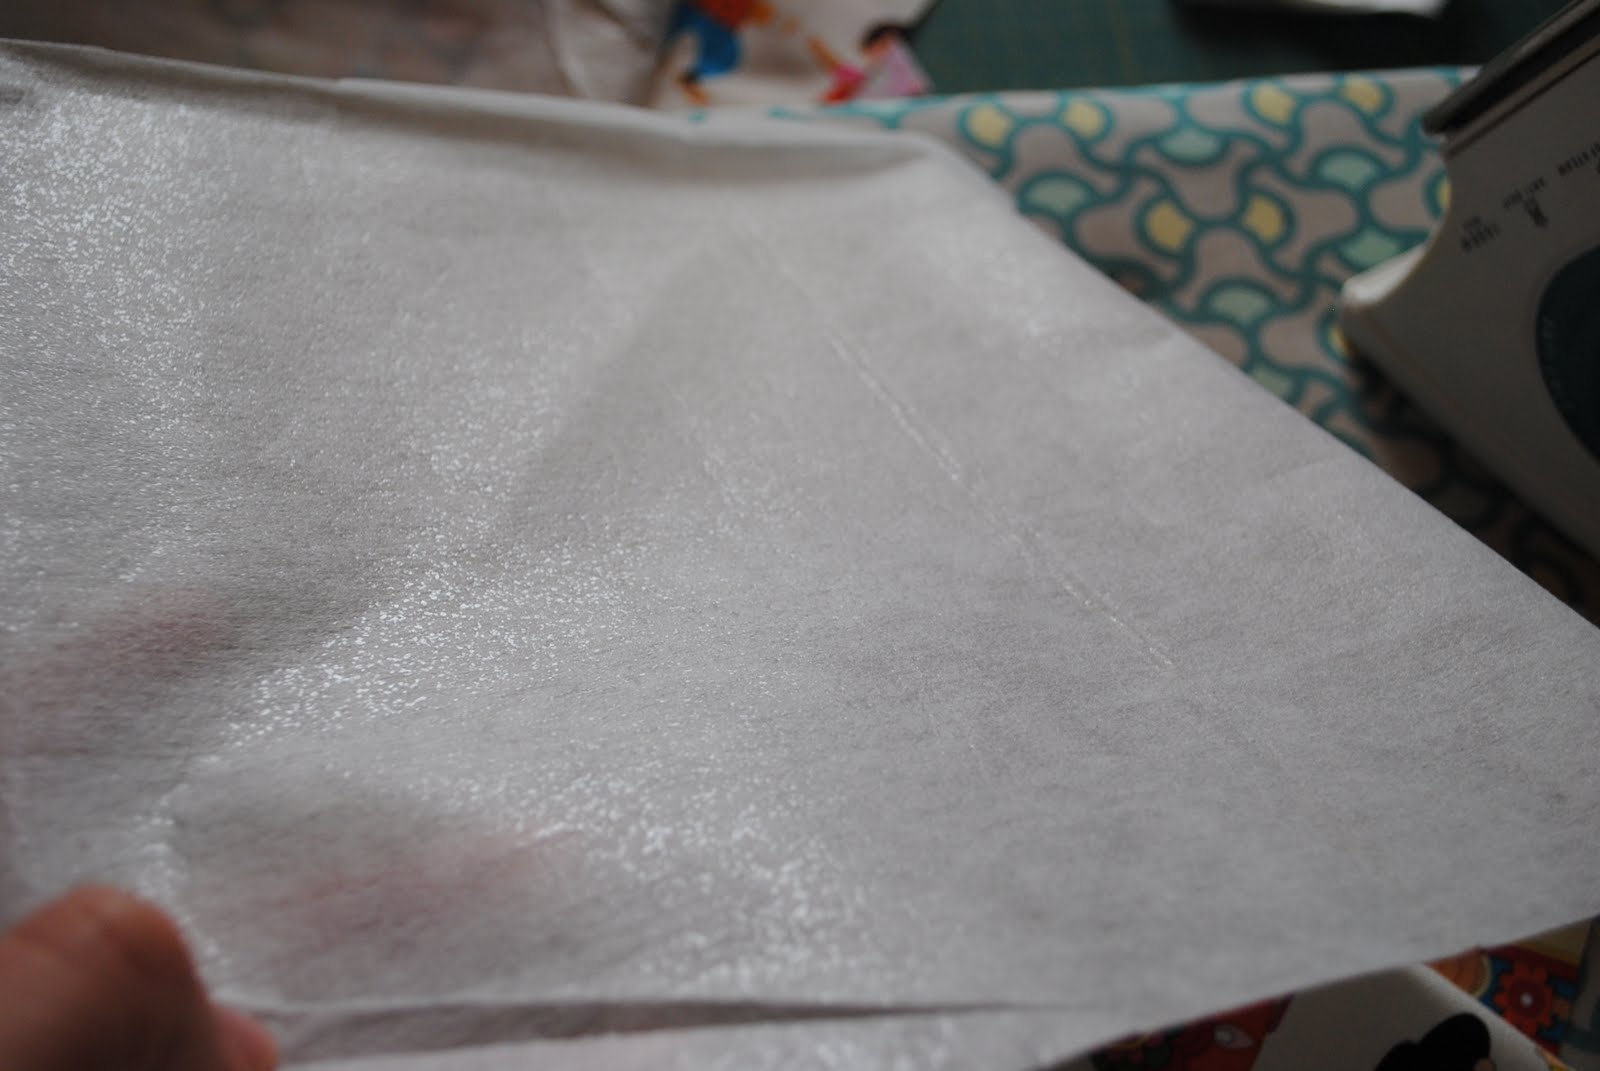
iron your top piece to a fusible batting recommend: heavy weight fusible batting you can purchase it in joann’s or local craft store

press well with the iron watch for the corners the corners tend to get miss out recommend: no steam

after press the top piece and batting together machine quilting is highly recommend i used 1/4″ straight stitches for my quilting but please be creative you can use any stitches you like after finishing quilting put this piece aside

2 pieces of 10.25″ for the inner large pockets
2 pieces of 10.25″ fusible interfacing. you need to look at the shinning side where you will iron your fabric on i got my in joann’s and it is called craft fusible. however, any fusible interfacing is durable. there’s no need to buy this type if you only have light weight fusible at home recommend: craft fusible

press the two pieces on the interfacing i like my interfacing slight larger than the fabric i like to trim it down after press there i can get the exact size i need

now, fold your two inner pocket pieces in half and press with iron

top stitch both pieces. it will make the piece look so professional i like two top stitches for mine. it just nice look and clean

remember 10 minutes ago you just pieced the outer piece with 25 pieces of 2.5″x2.5″? this is the inner piece that’s measure 10.25″x10.25″. again, you need a piece of 10.25″x10.25″ craft fusible interfacing for it and remember iron and press nice

so far you should have 4 pieces done and ready to set aside

this is a 2.5″x4″piece for your pen holder


first you fold the shorter side of the edge in then fold the piece in half press with iron

sew around the edges. please don’t feel like making it perfect it is a little trick sewing on small pieces note: NO interfacing need for this piece

measure from the top where you want your pen to be i had mine 2″ away from the top

sew a small box on each side then a cross to secure the piece on the inner piece 10.25″x10.25″

member card holding piece: 12″x4.5″

take one long side of the edge and fold 1/4″

iron a piece of 4.25″x12″ fusible interfacing onto the piece look close on the picture you only start the line that you have folded so later when you are doing the multiple folding you will not create a bold folding seam

on the side of the interfacing draw a measurement of 2″ and 1.5″ here you’ll create three 2″ section and three section of 1.5″ leave the last part that is left blank

follow the lines that you drew from the last picture and fold it as it go press with iron here you have create multiple folding

this would be the pre-pocket look

this side is the side where you previously folded 1/4″ as you can see the edge folds are pretty nice

remember the blank piece that you left? now trim it down it about 1/4″ and fold in


now, you would need one side of the large pocket you create draw a line and that’s the line where you’ll attach your little pocket how to measure the line? lay your folded pocket down from the bottom of the large pocket piece then you’ll see the 1/4″ piece location that would be the place you need to draw

you would sew the folded piece on the large piece

now stitch the folded pocket piece with the large pocket piece together

now bring all your pieces back and lay them down together you should have the picture look

i am not sure if the passport is stander size for all countries so measure your passport now drew a light line on the large pocket piece (where you’ll store you passport) then stitch the pocket piece on the inner piece

sandwich all 4 pieces together. i used 1/8″ seam for secure the pieces. make sure the edges are clean and you are happy about it

create you binding cute the fabric 2.5″wide the length would depend on the final size of your piece

i used hair elastic for this organizer

attach the elastic onto the piece, piece it as shown on the picture

sew your binding on the sandwich piece


i prefer hand sewing my binding

don’t forget attach a nice size button

the completed passport organizer inner look

hope the pictures and description is clear to you