drawstring dress tutorial
i love following tutorials with new sewing projects, so i thought i would share one of my own.
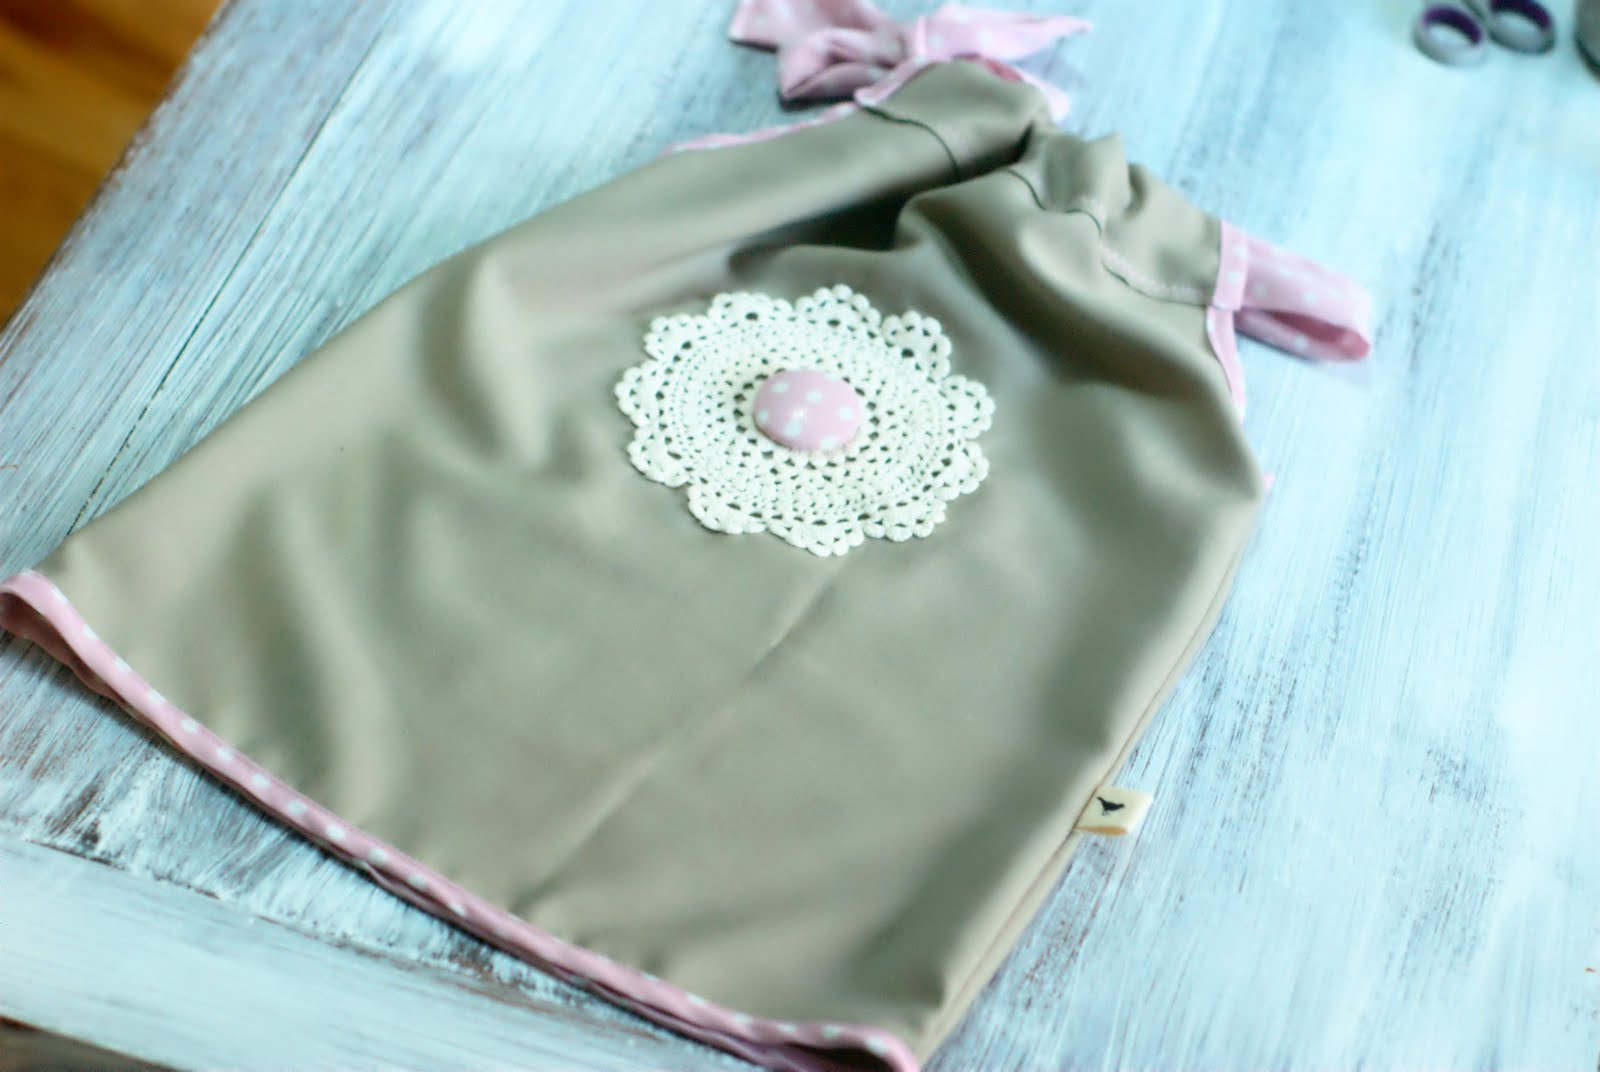
i had this idea for a little dress a while ago, and my beautiful mum helped me design a pattern and started me off. so here it is…
you will need…
2x 50x40cm dress fabric1m x 10cm of fabric for the tie74cm bias binding for the hem82cm bias binding for the arms

the pattern…
FIRST…
cut out your pattern onto the fabric for the dress. pin the two pieces together right sides facing out.


SECOND…
is adding the bias binding to the arms. if you’re not familiar with putting this on, here is a great little video for a quick lesson. when putting the bias tape on the arms, make sure you encase the seam edges.


now..this is what you should have…

next, repeat with the bias tape on the hem. just make sure that you fold over the bias tape when you start sewing it on, so that you have a neat finish with no raw edges.

THIRD…
now it’s time to make the drawstring. fold your material in half lengthways right sides facing each other. iron the material flat.

sew along the edge.