FUN AND LOW RISK DIY ART
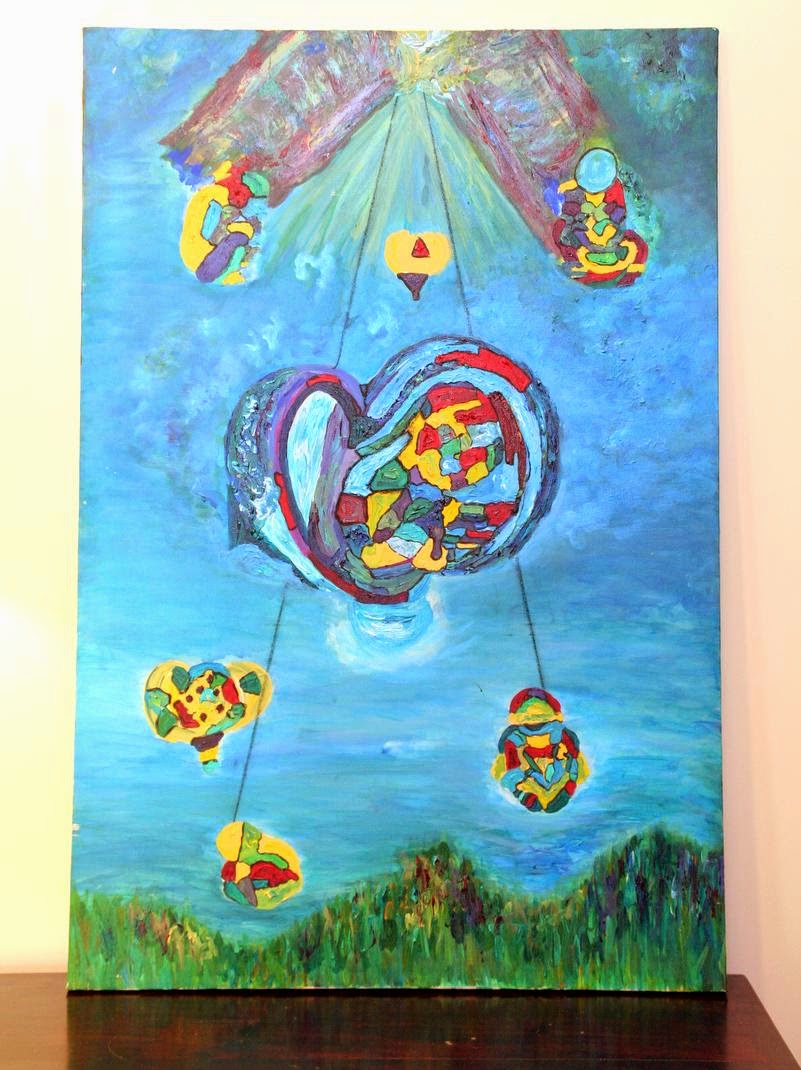
Any perfectionists out there who want to #startnow? Try something that’s a fun and low risk…what do you have to lose? Here we go… One day I was thrifting and found this for $2.
I have no idea what it is, other than someone’s DIY discard. Or dare I say DIY disaster? But it’s a 24 x 36-inch canvas, which you can’t otherwise buy for $2. I first planned to do a DIY word art project with it, but inspiration hit to change up this table vignette before that happened. Repainting this weird thing to hang over the table was part of my plan. I decide to use this Easy Abstract Art tutorial as my guide. Now, what colors? The whole problem with the previous table vignette is that the colors weren’t working right. I wanted to pull together the colors from a nearby painting (red and navy) and the turquoise and orange accents I have to go on in my house. Uh, red, navy, turquoise, and orange sounds like another DIY disaster in the making.
Cool, I wasn’t sure that was going to work. Design Seeds saves the day. Now off to Walmart for cheap craft paint.
I matched the Design Seeds palette as closely as is possible with 50 cent paints. That’s about $6 worth of paint. Don’t try to do the math.
Now for the fun part! My only tools were a paintbrush and some putty knives. First, I painted a coat of white over the whole canvas.
Here I am with the fanciest painting tools in the world, trying to match up the orange from the palette and then deciding that orange plus a little white would be just fine.
I painted orange all around the edges. At this point, I’m flipping back and forth between the abstract art tutorial and the design seeds palette, wishing I knew what I was doing.
I smeared some gray around at the top. The putty knife was great for smearing one paint over another (dry) color while allowing some underneath the color to show through.
Right. Apparently, I stopped taking step-by-step pictures. I think there, for a minute, I lost faith that this would turn out. I layered colors over colors, still loosely following the tutorial, but with different colors. When I wouldn’t say I liked the color, I added another color over it. Either spread on with the putty knife or mixed with water and applied with the brush. I’m taking the liberty of calling this paint plus water technique a “glaze.” When the turquoise was too bright, I painted a gray glaze over it. You can see it towards the top of the stripe.
I added in some touches of white. I did that around the edges, in a few streaks across the middle, and in some of the spots where different colors touched. I applied the white with the edges of the putty knife. Sometimes I left it in a line, and sometimes I spread it out with the putty knife. Then I applied a gray glaze (again, paint plus water, more water than paint) over the whole thing. I had a wet paper towel handy to wipe it off in some spots.
Here it is in its new home. I don’t think I’m missing my calling as an artist or anything, but I appreciate having $8 custom wall art. This was so fun. I can’t wait to try it again! What fun project are you going to try? Thanks for reading!


